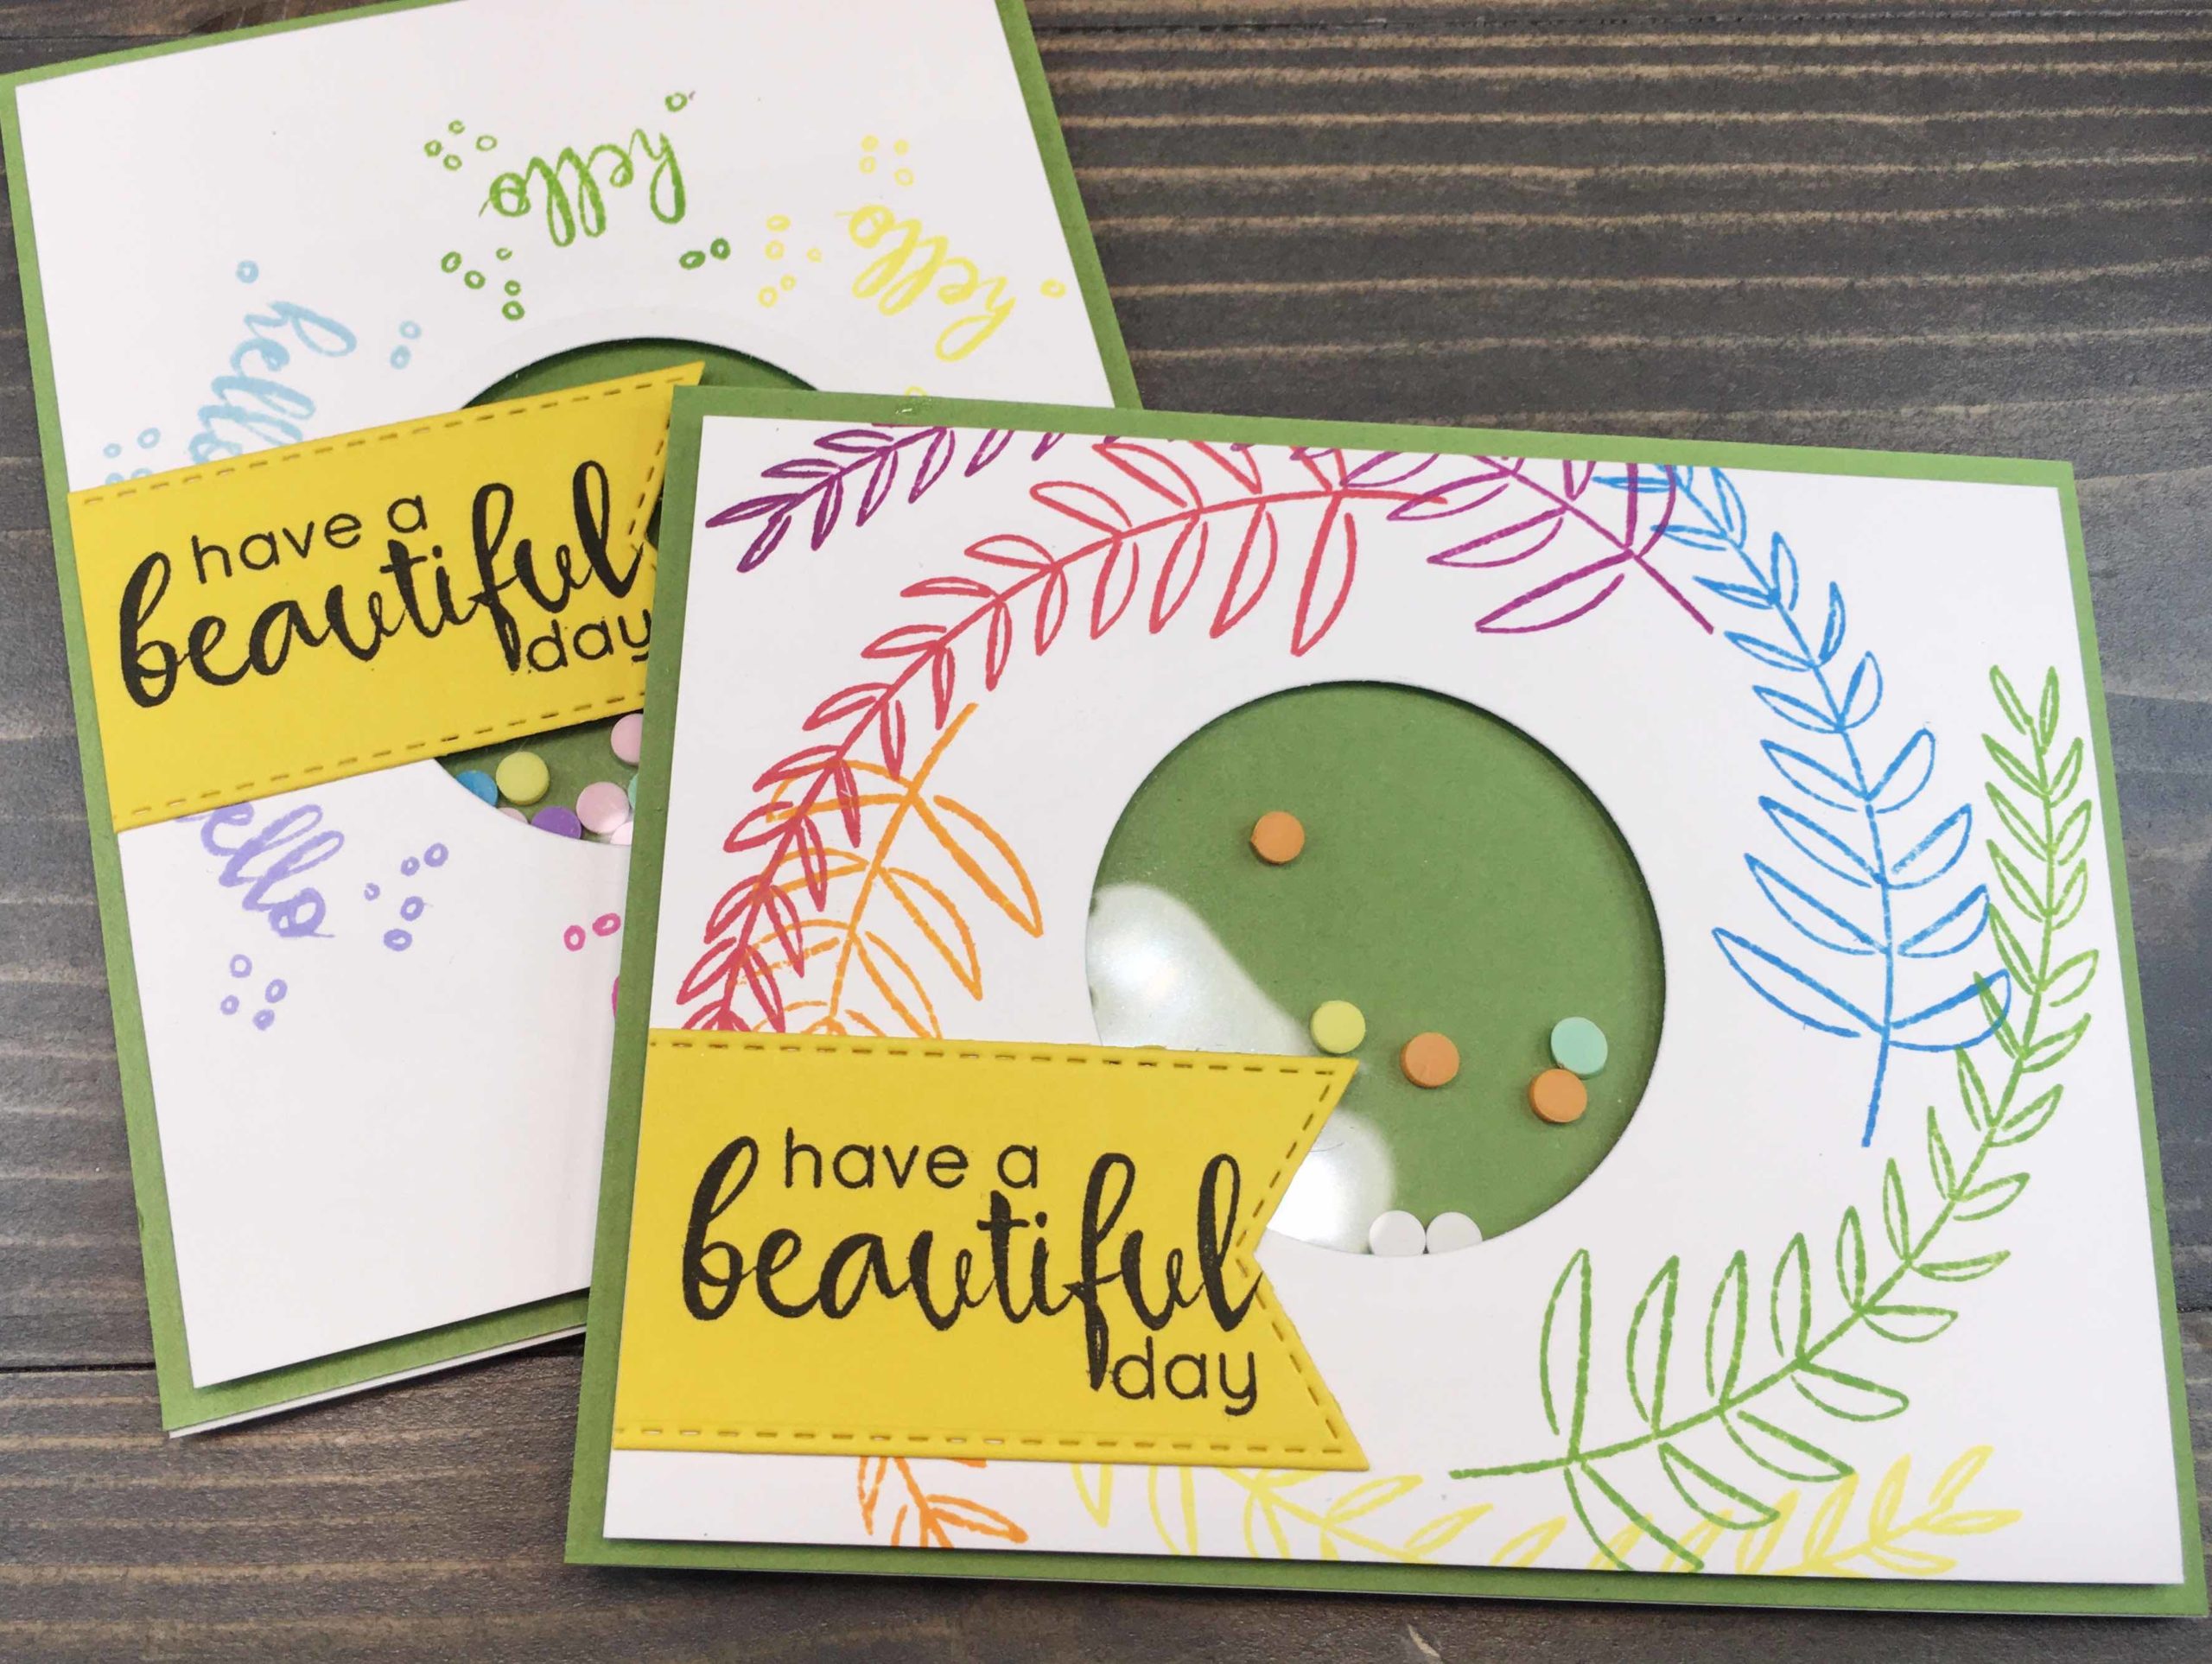
I am definitely feeling the need to see rainbows lately, and figure the happiness they bring me can be shared with others as well. Today, I have an easy rainbow wreath shaker card, that not only brings together the colors of the rainbow, but adds a fun shaker element as well.
Supplies
Neenah Classic Crest Solar White Cardstock: 110lb for card base, 80lb for card panel
My Favorite Things Cardstock in Gumdrop Green, Lemon Drop
Distress Oxides – Light Rainbow: Carved Pumpkin, Mowed Lawn, Picked Raspberry, Shaded Lilac, Squeezed Lemonade, Tumbled Glass
Distress Oxides – Dark Rainbow: Carved Pumpkin, Festive Berries, Mowed Lawn, Salty Ocean, Seedless Preserves, Squeezed Lemonade
Hero Arts INTENSE Black ink
Altenew Floral Frame Stamp Set
Acrylic stamping blocks
Scrapbook.com Double Sided Adhesive Foam Roll
Trinity Stamps Rainbow Sherbert Confetti Embellishment Mix
Sizzix Framelets Circles dies
My Favorite Things Stitched Fishtail Flag dies
Spellbinders Platinum 6 Die Cutting Machine
Tombow Mono Liquid Glue
pencil & eraser
Stamping
To prepare your card panel for stamping, first lightly draw/trace a circle, centered. I used a plastic Fiskars stencil I had hanging out in a drawer. Lightly add tick marks where you want your stamps placed. This will allow you to make adjustments for placement prior to stamping. I elected for 6 color rainbows today: Red, Orange, Yellow, Green, Blue, Purple.


Next, begin stamping using an acrylic block. Place stamp on block and determine orientation of stamp to circle prior to inking. Once you have decided on how you will place your stamp, go ahead to inking and stamping. Clean and dry stamp thoroughly between colors. Rotate card panel to help in maintaining correct orientation when stamping.
Finally, once ink has dried erase your lightly sketched pencil guide line.


Shaker!
If you do not want to make a shaker card, skip this section.
Select a circular die that fits inside your wreath and cut center out. Save the circle for another project. Trim a piece of clear film that is just larger than your die cut circle. Adhere the clear film to the back of your card panel using liquid glue.
Add adhesive foam tape along the card panel back by framing out the panel, then adding additional foam toward the center, creating a pocket where your sequins or confetti bits will reside. If you don’t have a filler, use a hole punch to punch circles from colored paper and use that!

Place your shaker bits in a pile on your card base, ensuring the window will be placed directly above. Remove adhesive backing and carefully adhere your card panel onto the card base.
For added dimension, adhere your window panel onto a colored panel of cardstock, then adhere to a card base. This pop of color can aid your sequins’ visibility.

Sentiment
Select a sentiment and stamp on a coordinating color of cardstock. Use black ink to ensure your sentiment pops and doesn’t get lost among all your rainbow colors.
Trim around sentiment for a simple square or rectangle panel. Or, use a die for added interest. My Favorite Things Stitched Fishtail Flag dies are great for larger sentiments, and the added stitched detailing is a great added element.

Adhere your sentiment using liquid glue and your card is complete!


These rainbow wreath shaker cards are perfect to brighten anyone’s day – something we could all use right now, and everyday!
For more rainbow inspiration, check out my post on Simple Rainbow Cards!


