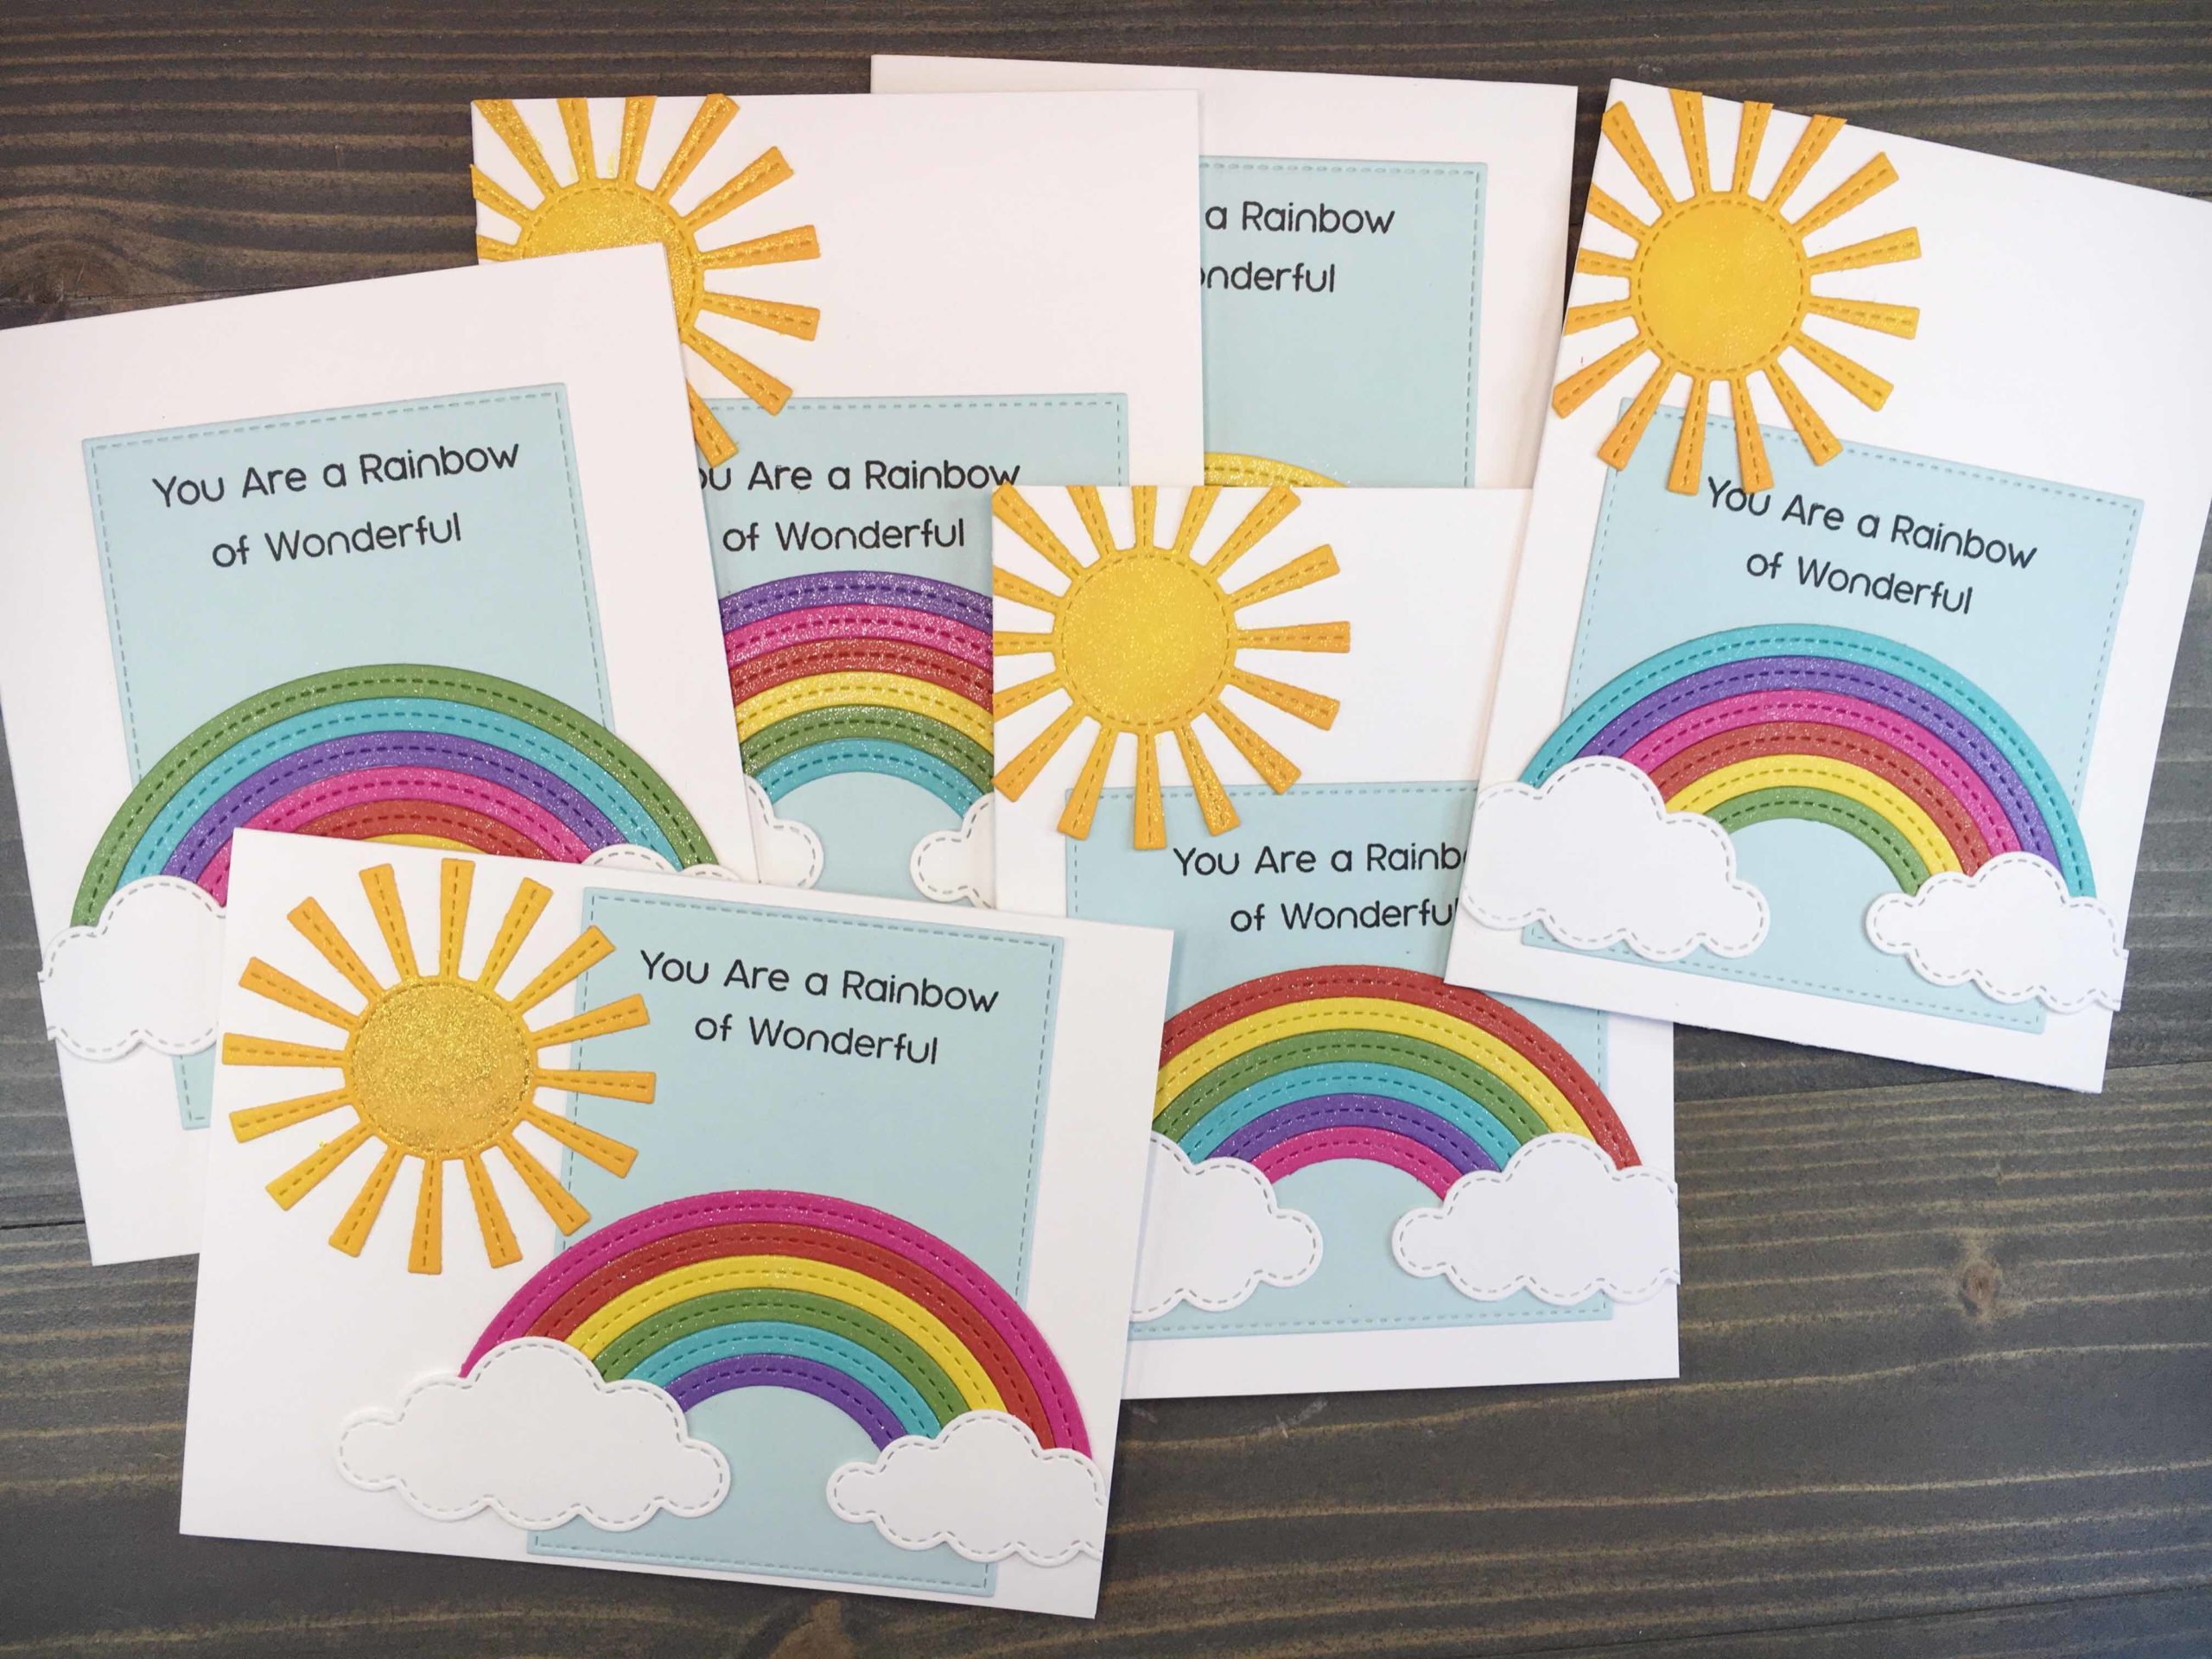
The rainbows continue! When I spend time in my craft room and am focusing on my creative process, I find my brain has a chance to decompress and refresh. I am more relaxed, I sleep better at night, and I generally just feel better. I’m hoping to inspire you to spend some time in your craft area, so you too can relax and unwind. Today’s cardstock rainbow cards are easy and fun to create.
Supplies
Neenah Classic Crest Solar White Cardstock: 110lb for card base, 80lb for die cutting
My Favorite Things Cardstock in Blu Raspberry, Grape Jelly, Gumdrop Green, Lemon Drop, Razzle Berry, Sno Cone, Tangy Orange
Distress Ink in Carved Pumpkin
Hero Arts INTENSE Black Ink
My Favorite Things Rainbow Greetings stamp set
My Favorite Things dies: Stitched Clouds, Stitched Rainbow, Sunny Skies, Stitched Squares, Stitched Rectangles
Tombow Mono Liquid Glue
Nuvo Aqua Shimmer Pen in Glitter Gloss, Midas Touch
Die Cutting
First, select six colors of cardstock for your rainbow. Next, cut a set of rainbow strips from each color. Note – you will end up with enough rainbows for six cards.

Then, cut four sets of clouds (two per rainbow).
For the six suns, a bit of ink blending can really add some depth. Taking the same yellow cardstock for the rainbow, I added some Distress Ink using a mini dauber. After ink blending, die cut. Note: I ended up only using four suns in my cards, but now I have two suns in my extra die cuts bin!

From a complimentary cardstock color (I selected a light blue, to represent the sky), cut accent rectangles and/or squares.
Card Assembly
First, play around with die cut placement. Decided how you want your cards to look before you begin gluing. Move things around, experiment with layering, etc. I generally end up with a few different layouts by the time I am done with a group of cards.
Next. determine where your sentiment will be. I elected for my sentiment to be stamped on my light blue cardstock accent die cuts. Don’t be afraid to cut a sentiment stamp to fit your needs. They will work just the same, and can always be aligned back together for future cards.

Your layering (and preference) will determine if you should stamp your sentiment before or after card assembly. For today’s card, I elected to stamp first.
Once all your decisions have been made, go ahead and assembly your card! To aid in correctly aligning your rainbow, utilize the Wendy Vecchi Make Art Station. First, line up your card panel using the printed grid marks and secure using the included magnets. Next, align the magnetic ruler where you want the bottom edge of the rainbow to be.
Beginning with the largest rainbow strip, adhere to card panel using grid marks to help in alignment. Next, apply liquid glue along inner edge and follow with next rainbow strip. Continue until rainbow is complete!
As my rainbow hangs over my blue cardstock, I elected to add a bit of stability by adding a scrap of cardstock behind the overhanging strips.

Finishing
To finish the card, trim any overhanging die cuts. Next, add a bit of shimmer to bring additional interest to your bright colors. Nuvo Aqua Shimmer pens are fantastic for specialized locations. Glitter Gloss gives a great silver shimmer, which is great for the rainbow. Midas Touch has a gold shimmer which is perfect for warmer toned colors, aka the sun.


The pop of color and shimmer on these cards is stunning! So much brightness and happiness! It’s amazing how simple cardstock rainbow cards can be so impactful!

I hope you join me again next week for another rainbow themed card tutorial. Until then, click here for more inspiration!


