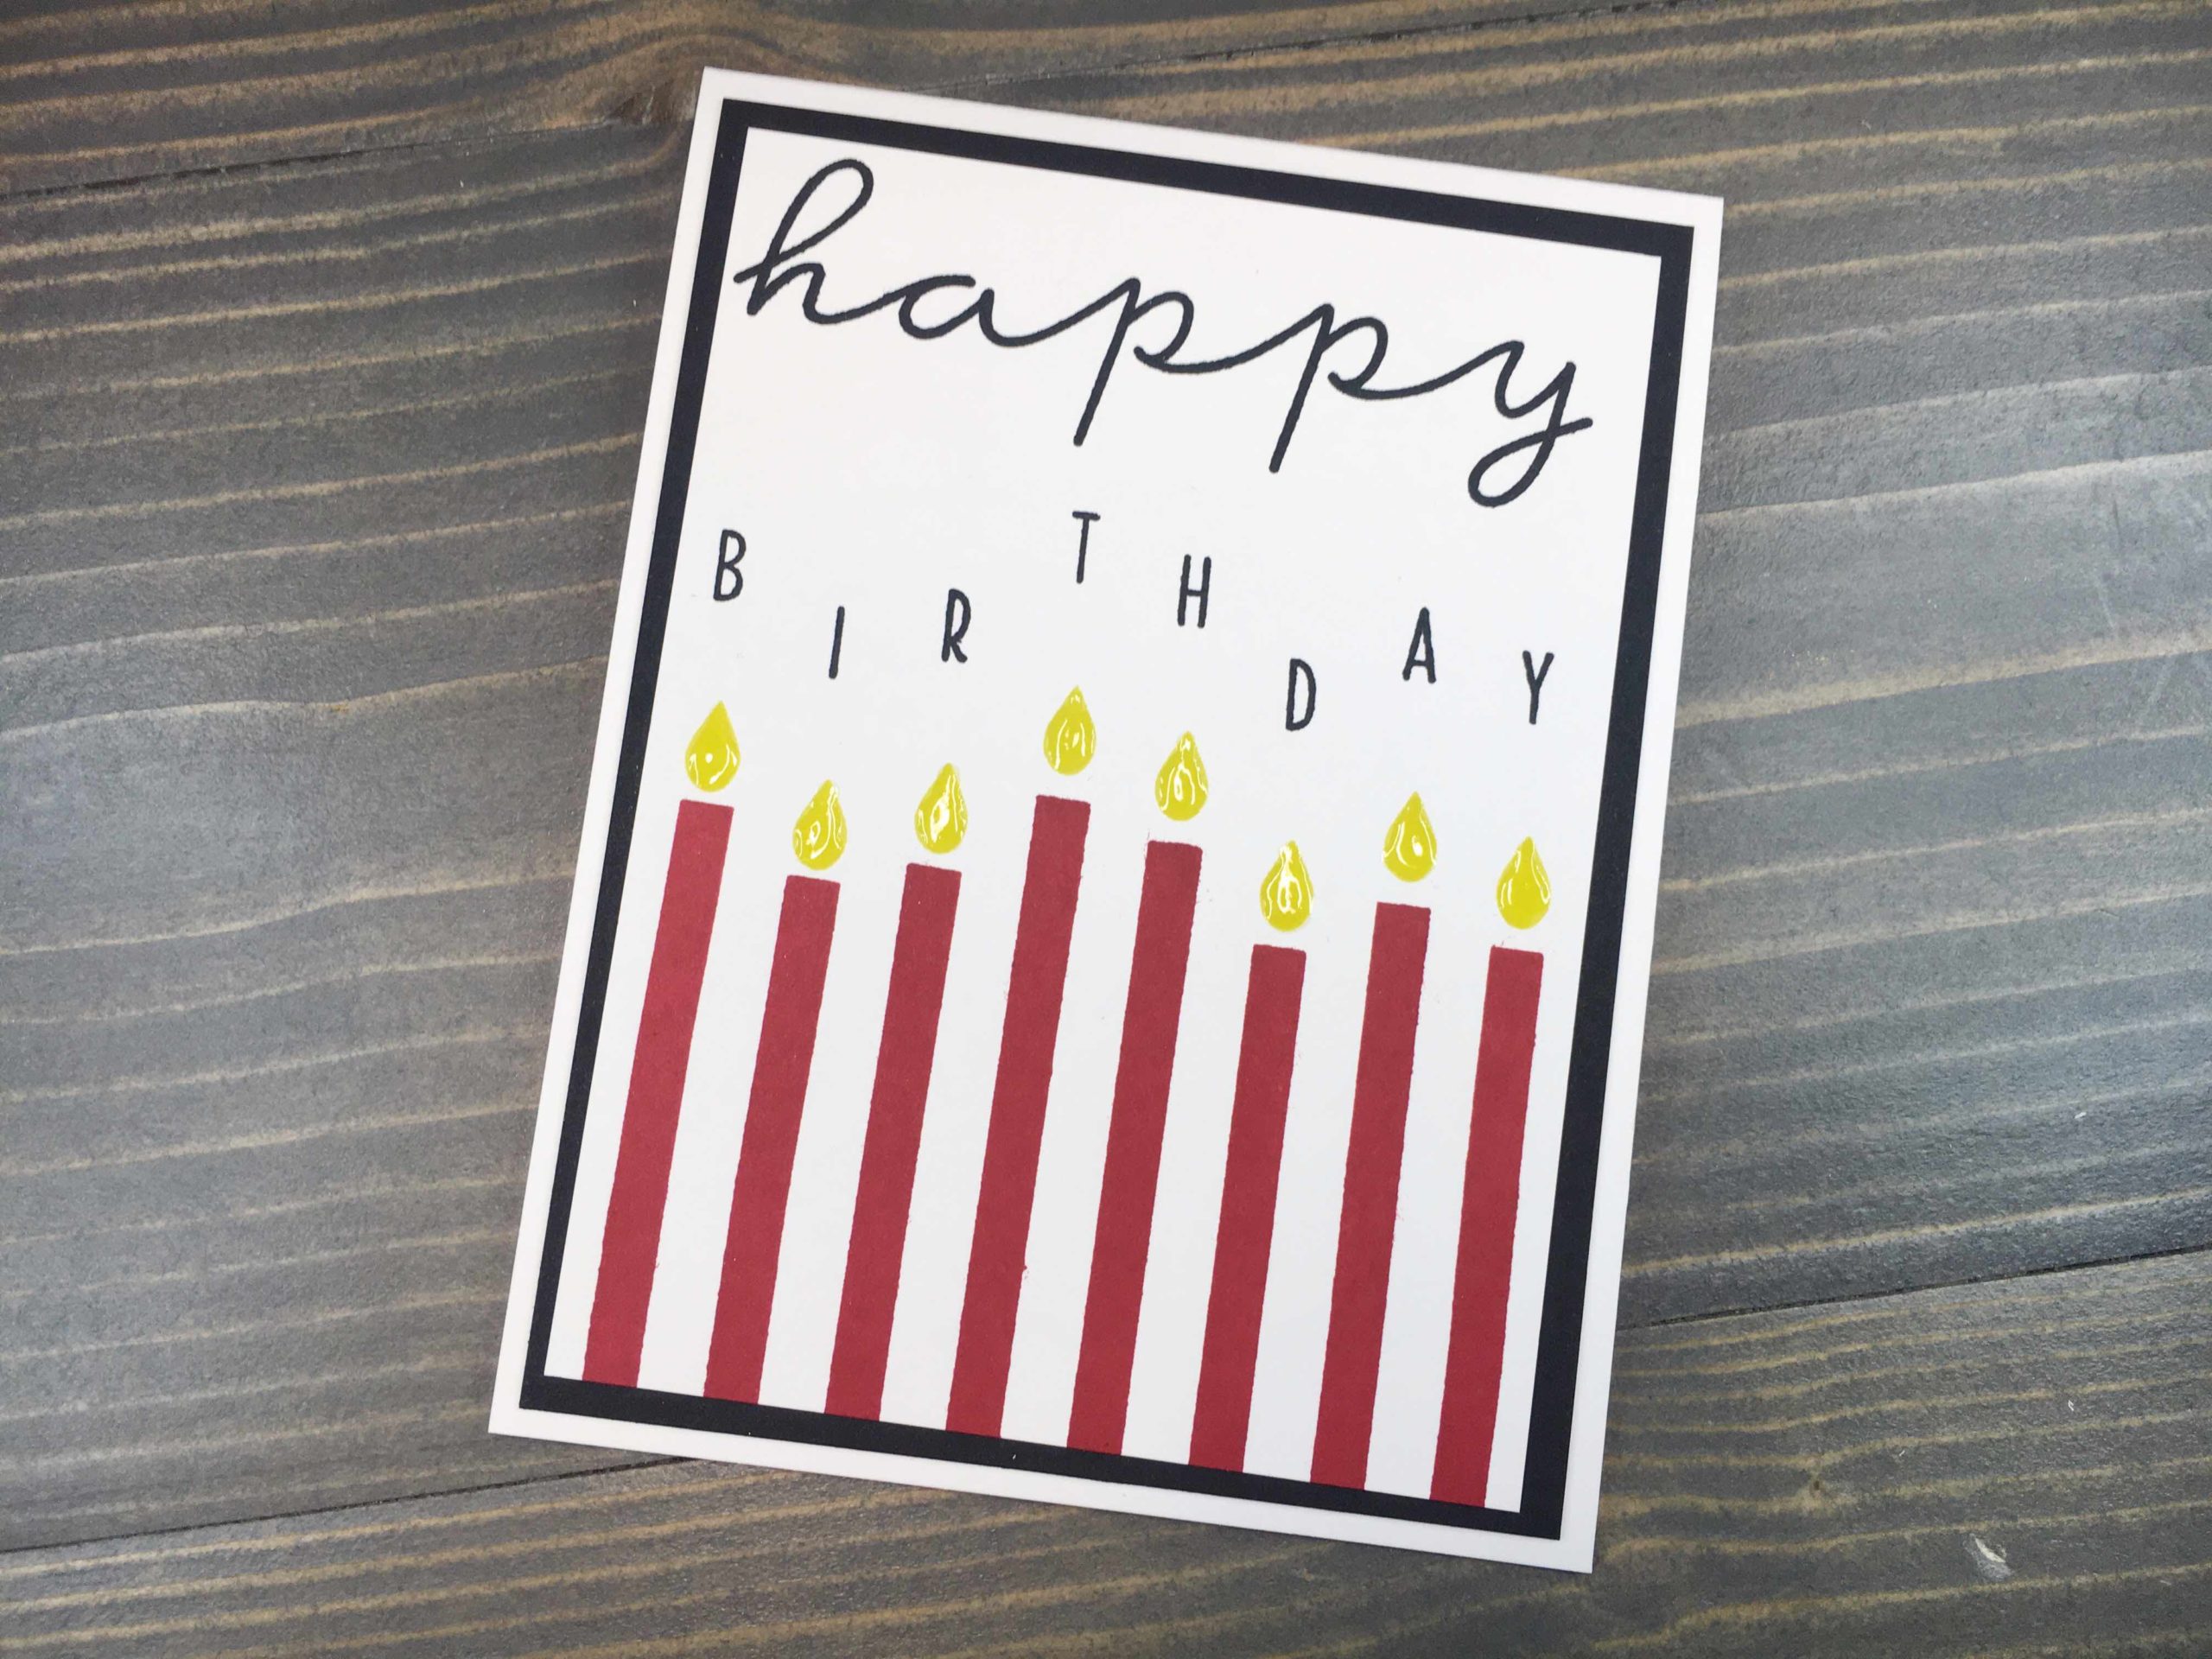
Making someone a handmade card does not need to be time consuming. Today, I have a tutorial for a simple, Happy Birthday card. This card uses minimal supplies, but definitely packs a punch on style!
Supplies
Neenah Classic Crest Solar White Cardstock: 110lb for card base, 80lb for card panel
Gina K Designs cardstock in Black Onyx for matting
My Favorite Things Happy Birthday Candles stamp set and Misti Stamping Tool
Catherine Pooler Ink in Lemongrass, Midnight, Rouge
Double sided adhesive
Ranger Glossy Accents
Stamping
Stamping one image at a time is recommended for this card. Starting with the candle sticks, arrange image using a stamping platform or positioner for best results. Stamp multiple times for a crisp image – lightly pressing in lieu of firm pressure will aid in your impression not being distorted.

Clean candle stamp and position candles stamp. Repeat above procedure for sentiment stamps as well.


Allow all ink to dry thoroughly.
Trim and Mat
Trim card panel and mat panel to desired sizes. For today’s card, I used the following mat sizes: top 5″ x 3 3/4″, bottom 5 1/4″ x 4″.
Using double-sided adhesive, adhere card panels together, then to an A2 card base.
Finishing
To add a bit of shine to the candlelight, apply Glossy Accents. This medium dries to a clear, gloss finish and it is easy to use. Air dry thoroughly.

This simple Happy Birthday card is great for those with minimal supplies and who are short on time! It’s a classic design that is perfect for men, or those who gravitate to clean and crisp lines.


