I love seeing how fellow makers and crafters organize their crafty selves…it always gives me inspiration on improvements I can make to my own processes and collection organization. Whether it’s a swatch book, ink pad and stamp storage, or others cleverness – I enjoy seeing what others do! Naturally, I thought someone might be interested in how I do things. So, in the upcoming weeks, you’ll be getting some insight into my crafty organization and hopefully it will inspire you as other’s have inspired me!
Today, I’m showing you how I utilize a swatch book for my paint collections. I’ve recently picked up the Altenew Artist Watercolor tin and a pack of Watercolor Markers, so thought it was the perfect time to show you how I can find and select the perfect colors I’m wanting for a project!
Check out my YouTube Channel if you are interested in watching the swatch process!
Swatch Book - Supplies
To start – I utilize a Canson Watercolor 9” x 12” ring bound pad. There are smaller sizes of this type of book available if you want something a bit less cumbersome. For me, I like being able to see as much of my collection as possible all at one time, so the larger book is perfect. Select a paper to swatch on that you utilize in your projects. Different paper will yield different results, so take this into account when selecting what you will swatch on.
Other supplies that prove useful include a T-Ruler (Artist Loft from Michaels is a great, affordable option), a pencil and eraser, a second basic ruler, and a pigment pen (Pigma Micron works great). A pigment pen is recommended as it will not bleed if paint and/or water comes into contact with it.

Swatch Book - Preparation
Before starting a swatch page, I determine how many swatches I will need. In the Canson 9”x12” book (all measurements given will reflect this book size), 1 1/2” squares will yield 45 swatch spots, allowing for a 1 1/2” header space. Smaller swatches of 1” x 1” will yield 96 swatches and a 1” header.
For the Altenew Artist Watercolors and Watercolor Markers, I elected to set up 1” x 1” swatches so as my collection grows I will have plenty of room.
Now, I have to stop you here for a moment. Many people like to swatch their watercolors in a manner that shows the variations that a single color can provide. Essentially, starting with concentrated watercolor, then washing the color out with water. This generally requires a more rectangular swatch pattern, so adjust your markings accordingly if you prefer this type of swatch. I prefer to just see the darkest color I can get, and know that it will washout with added water. That’s just me, you do you. It’s your swatch book and the sky’s the limit!
Back to the book. Using a pencil and rulers, I make marks every 1” going across the top and bottom, then draw in the actual lines using a pigment marker. Make sure you leave space for your header. I repeat the process from left to right to obtain my full grid.

Using a pencil, I write in my header before tracing over with pigment ink. I like to mimic the actual brand font, so the pencil markings allow me some trial and error before committing with the pigment ink.

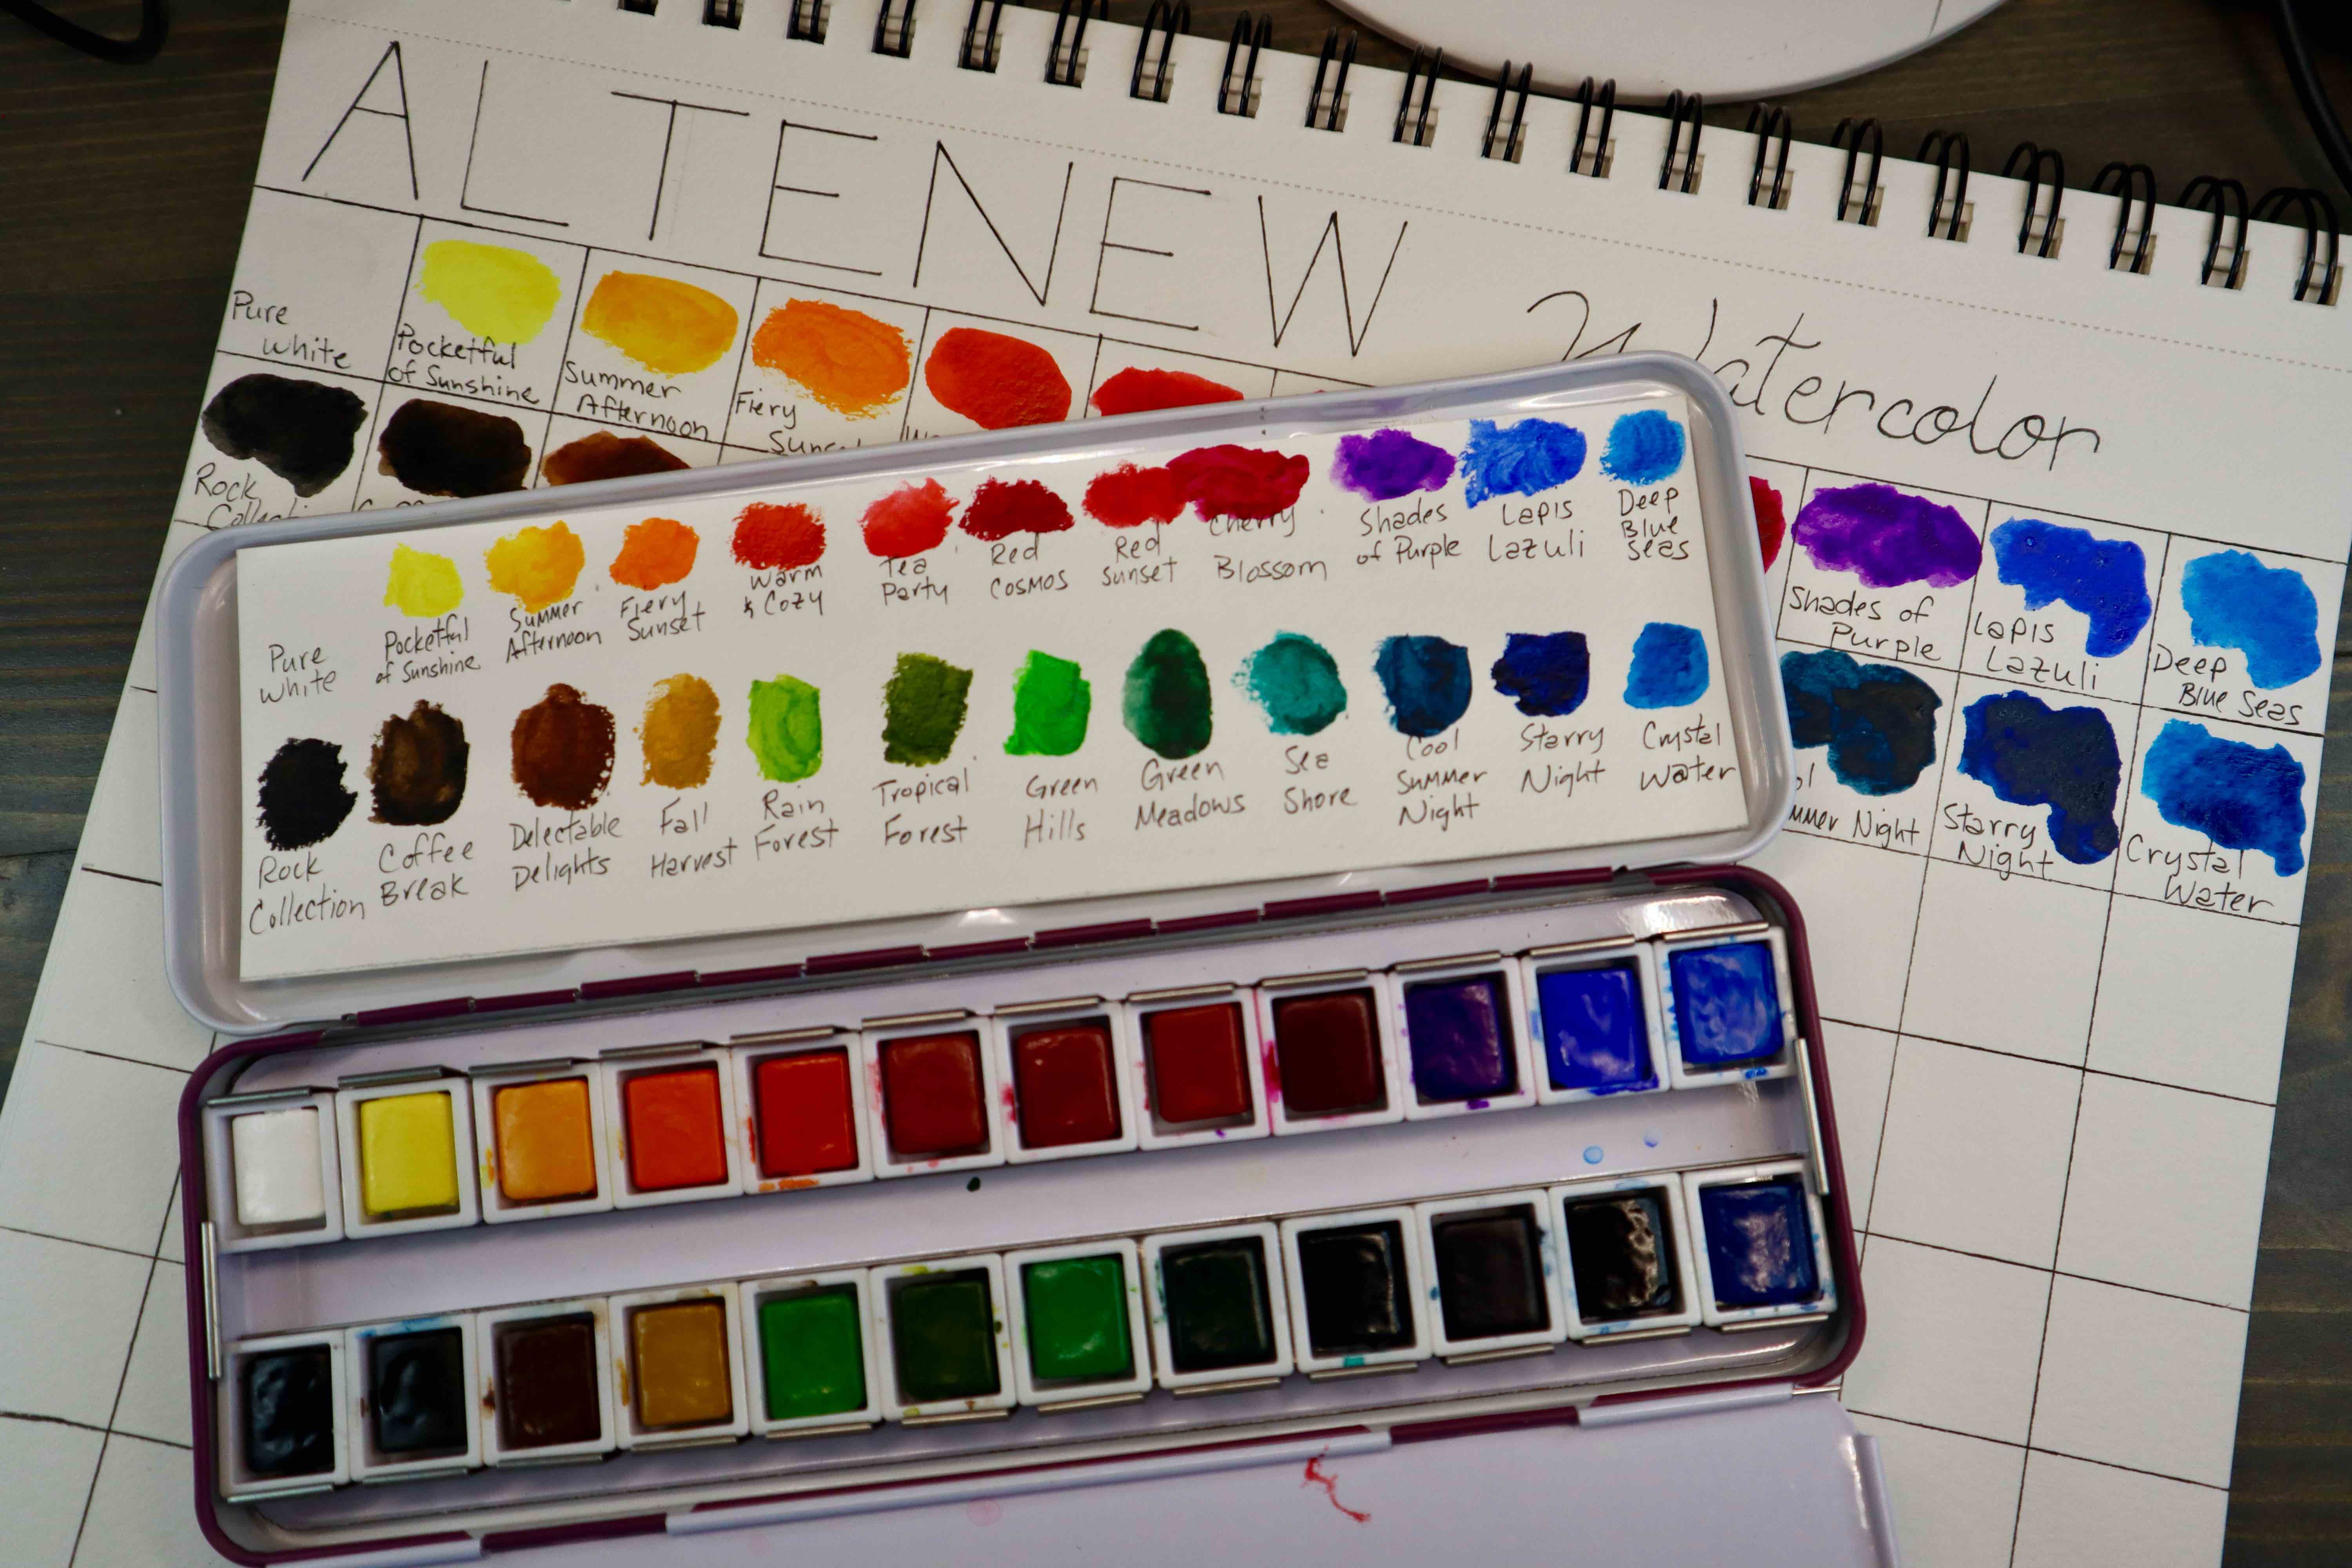
Final bit of prep work includes adding in watercolor names. I do this before swatching to make sure I leave enough room for the name. Now that my book is prepared, swatching can begin.
Swatch Book - Swatching
For my watercolor palette, I spritz over the entire palette with water, then simply use a paint brush to apply the color. As I mentioned earlier, I prefer my swatches to include the darker spectrum of each color achievable, so I load up my paint brush and swirl paint onto each swatch space. As watercolors are, I will get some color variation with this technique so it works perfect for me.

The watercolor brush markers work in the same way, but I don’t add any water when blending color onto swatch spaces.

Watercolor Brush Markers
If you have new watercolor brush markers, don’t forget to remove yellow washer before trying to use your markers. Essentially, you separate the marker halves by twisting, toss the yellow washer, then twist the markers back together. As the marker is put back together the ink cartridge is punctured and watercolor will then be able to flow. Gently press the center of the marker (a spot labeled ‘Push’ is on the marker) until watercolor appears at the top of the brushes, then you are good to go!

There you have it! This swatch book is simple to create, and it’s crisp and clean lines help me see my options quickly and easily. I enjoy creating swatches, it’s a great way to check out new colors, but to also compare and determine how colors will work together in a project. And, can I just say – these watercolors are gorgeous! Deep, vibrant colors – I’ve just started using them, but I already love them. So happy with this purchase, I can’t wait to add to my collection. As a note, I purchased the Altenew Artists’ Watercolor 24 Pan Set and Altenew Watercolor Brush Markers Winter Wonderland Set.


Do you utilize a swatch book, or another type of swatch system? I’d love to hear about it in the comments below. Don’t forget to check back in the near future to see other organizations tips and techniques I utilize in my small craft space. I’ll also be using the watercolors swatched today to create a couple cards that I’ll share with you next week. Until then, check out my post on Watercolor Sunflowers or Simple Watercolor Floral for some watercolor inspiration today!
