Don’t have a lot of time? Today’s simple hello card is the perfect project for you! With simple ink blending and a set of alpha die cuts, this contemporary card is quick to complete, but definitely doesn’t look like a rush job!
Supplies
Neenah Classic Crest Solar White Cardstock: 110lb for card base, 80lb for card panel
The Stamp Market Leaves Stencil
Catherine Pooler inks in Sangria, Sage
Blending Brush
Wendy Vecchi Make Art Stay-tion
The Stamp Market Skinny Upper Alpha dies
Mama Elephant Slim Window Dressing dies
Alpha Die Cuts
When I come across a fantastic die cut alphabet that I know I will be using on many projects, I like to create a library of letters for myself. Using trading card protector pages and book rings, I create a booklet where I can place die cut letters and keep them organized.
I then get to die cutting, and cutting, and cutting. As a general rule, I glue together 3 sets of letters and/or sentiments for a more dimensional sentiment on cards. Due to this, I have need of multiple sets of letters per project.

The Stamp Market’s Skinny Upper Alpha & Numbers die sets are so versatile I decided to create a letter library for it. For my initial set up of the library, I keep the dies all linked together. As I begin to use the letters, and eventually run out of some, I will snip the needed dies from the set and fill in with die cuts as needed.
For today’s card, die cut (or gather 3 of each letter from your letter library) and set aside.
Ink Blending
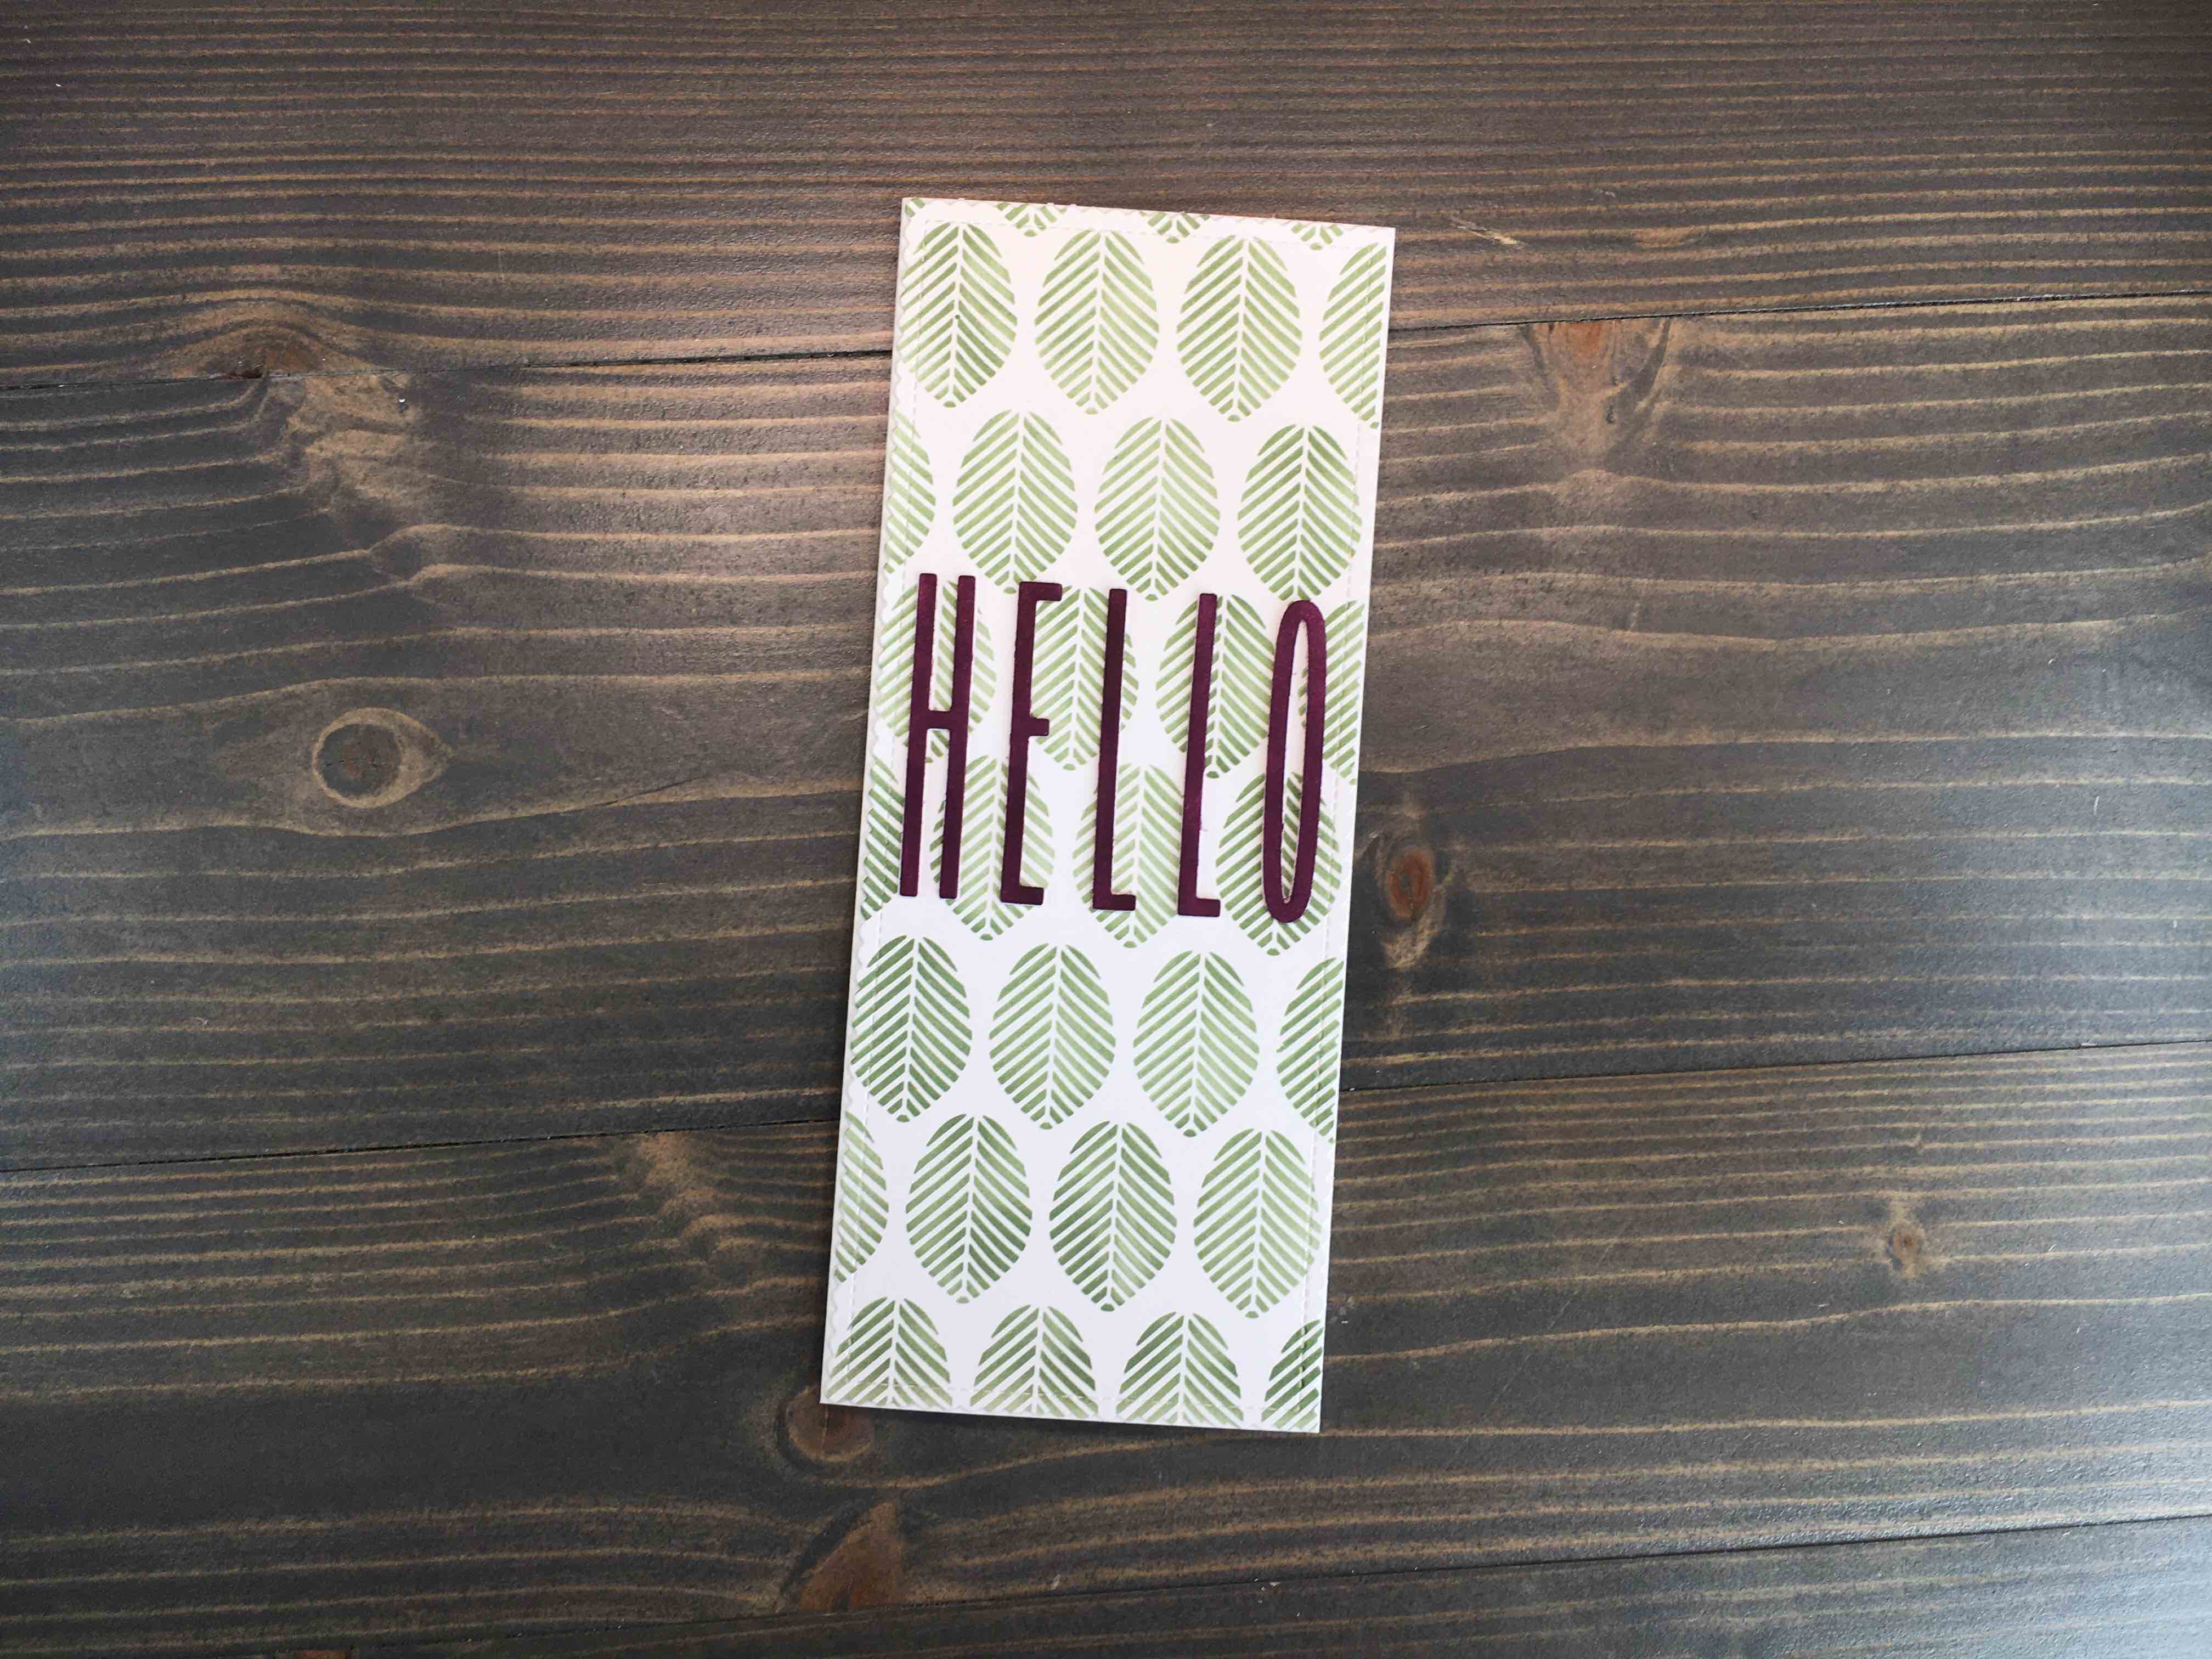
Using the Wendy Vecchi Make Art Stay-tion, secure card panel (slimline card panel is 3 1/2” x 8 1/2”) and Leaves stencil using stay-tion’s magnets.
Blend ink over stencil, trying to keep full leaves at bottom of stencil. Because the card panel is longer than stencil, you will need to move the stencil half way through. Stencils are generally not 100” symmetrical, so the pattern will not match up exactly. If you stop blending with a full shape, you can prevent the need to fill in that shape again after the stencil is moved. If this isn’t making sense, check out the video tutorial listed at bottom of post.

Taking one set of sentiment letters, ink blend over top. Keep things gentle so the letters are not damaged. After ink drys, go ahead and glue the three layers of each letter together, with the ink blended letter on top.

Finishing
Using the scalloped boarder die from Mama’s Elephant’s Slim Window Dressing die set, die cut the leaf panel. This scalloped edge brings a bit of interest to the card panel, helping dress up the simple panel.
Use a t-ruler to help align letters across card panel. Adhere using liquid glue. To help with spacing, start by glueing your first and last letters. Then, get your middle letter placed. Finish with remaining letters. This is my sure-fire way to get good placement on smaller words with consistent sized letters.

Adhere card panel to card base and this card is complete!

I love the contemporary look of this card. It just goes to show how a few complimentary elements can create a fantastic card. I hope you enjoyed this simple hello card. For a full video tutorial, check out my video below. For more inspiration on simple cards, see my post on a Simple Happy Birthday Card.


