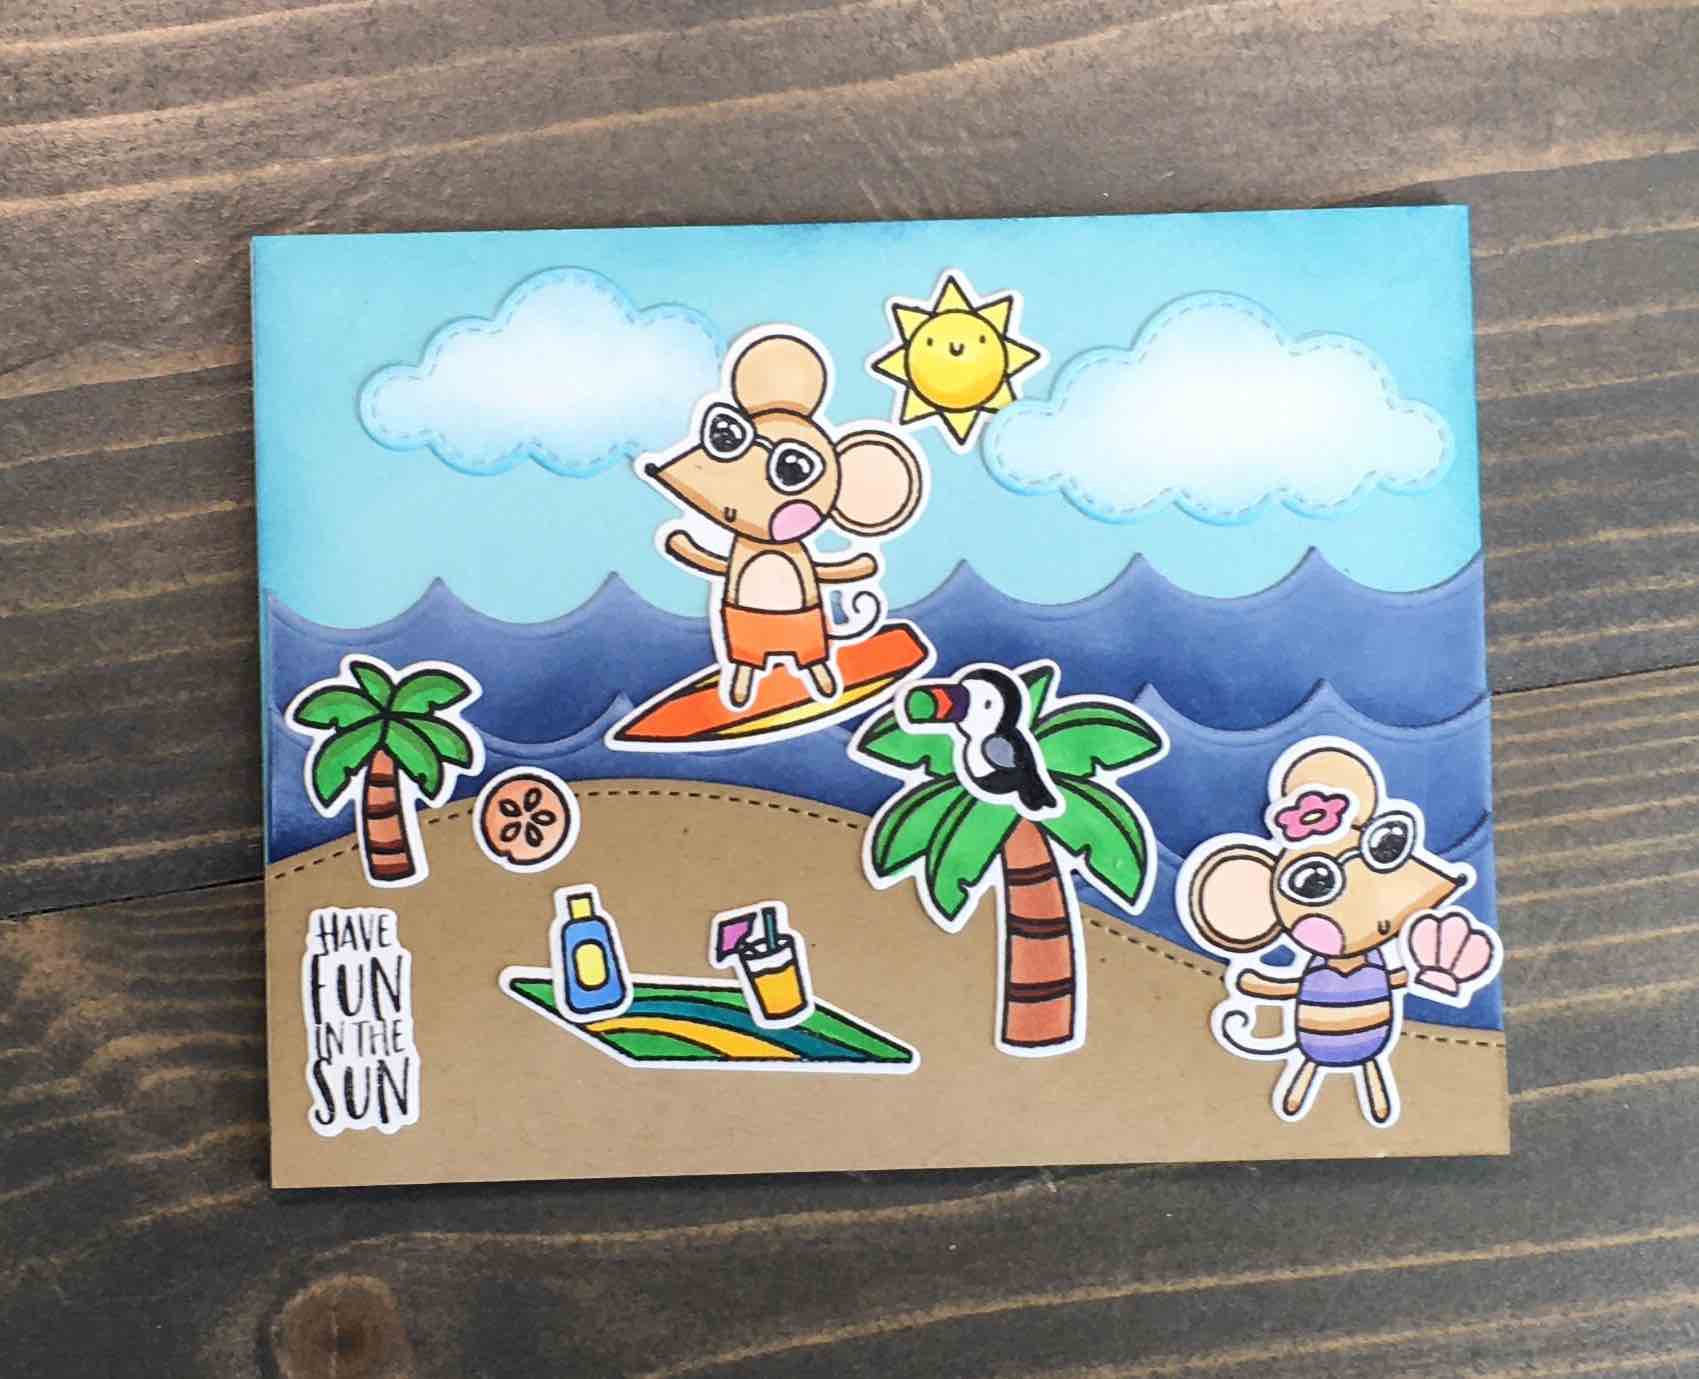
Centered around Waffle Flower’s adorable stamp and die set, today’s Fun In Sun Card is too cute. With multiple beach images that are perfect for coloring, coordinating dies for quick cutting, this Fun In Sun card is fun, and quick to create!
Supplies
Neenah Classic Crest Solar White Cardstock: 110lb for card base, 80lb for die cutting
Gina K Cardstock in Blue Denim, Kraft, Ocean Mist
Waffle Flower Fun In Sun Combo (stamps and dies)
Hero Arts ink in INTENSE Black ink and Unicorn Pigment Ink
Gina K ink in Kraft and Blue Denim
Copic Markers
The Stamp Market Scallop Border dies
Lawn Fawn Slimline Stitched Hillside Borders
My Favorite Things Stitched Clouds
Spellbinders Platinum 6 Die Cutting Machine
Scrapbook.com Sponge Dauber
Stamping & Die Cutting
Using a stamping tool, stamp images using an alcohol-friendly ink, such as Hero Arts INTENSE Black ink. Let panel(s) dry completely before coloring.
Die cut images using coordinating dies.

For background, create a beach scene using colored cardstock and various dies. Ocean Mist is the base panel, and subsequently the sky. To create waves, The Stamp Market’s Scallop Die is great. Cut three from Gina K cardstock in Blue Denim and layer. The beach is simple to create using a Lawn Fawn Slimline Stitched Hillside Borders die and Kraft cardstock.
Ink Blending
To add a bit of dimension to the background, a bit of ink blending (applied with a gentle hand) will go a long way. Using a mini ink blending tool and Hero Arts Unicorn pigment ink, create a bit of foam on the waves, by gently blending at the wave peaks and working the ink down into the body of the wave.

The clouds have a very gentle blend of Gina K Blue Denim ink. This ink is generally quite dark, so remove the majority of ink by blending over a scrap of paper before moving onto the cloud die cuts.

For the sandy beach, ink blending Kraft ink onto Kraft cardstock is a very subtle look, but the color variation does help prevent the die cut from looking overly flat and boring.

Let all landscape panels dry completely – especially the waves as pigment ink requires a bit longer dry time.
Finishing
For a full video tutorial, check out my video below.
This Fun In Sun card is so bright and colorful! Working on it was a bit reminiscent of playing with paper dolls when I was young. In addition, I have plenty of die cuts left over to create additional cards later.
Do you have any stamp sets that remind you of childhood? Let me know in the comments if you do, and what the set is. I’d love to hear about it! If you would like more inspiration on bright and colorful cards, see my post for a Graduation Card.


