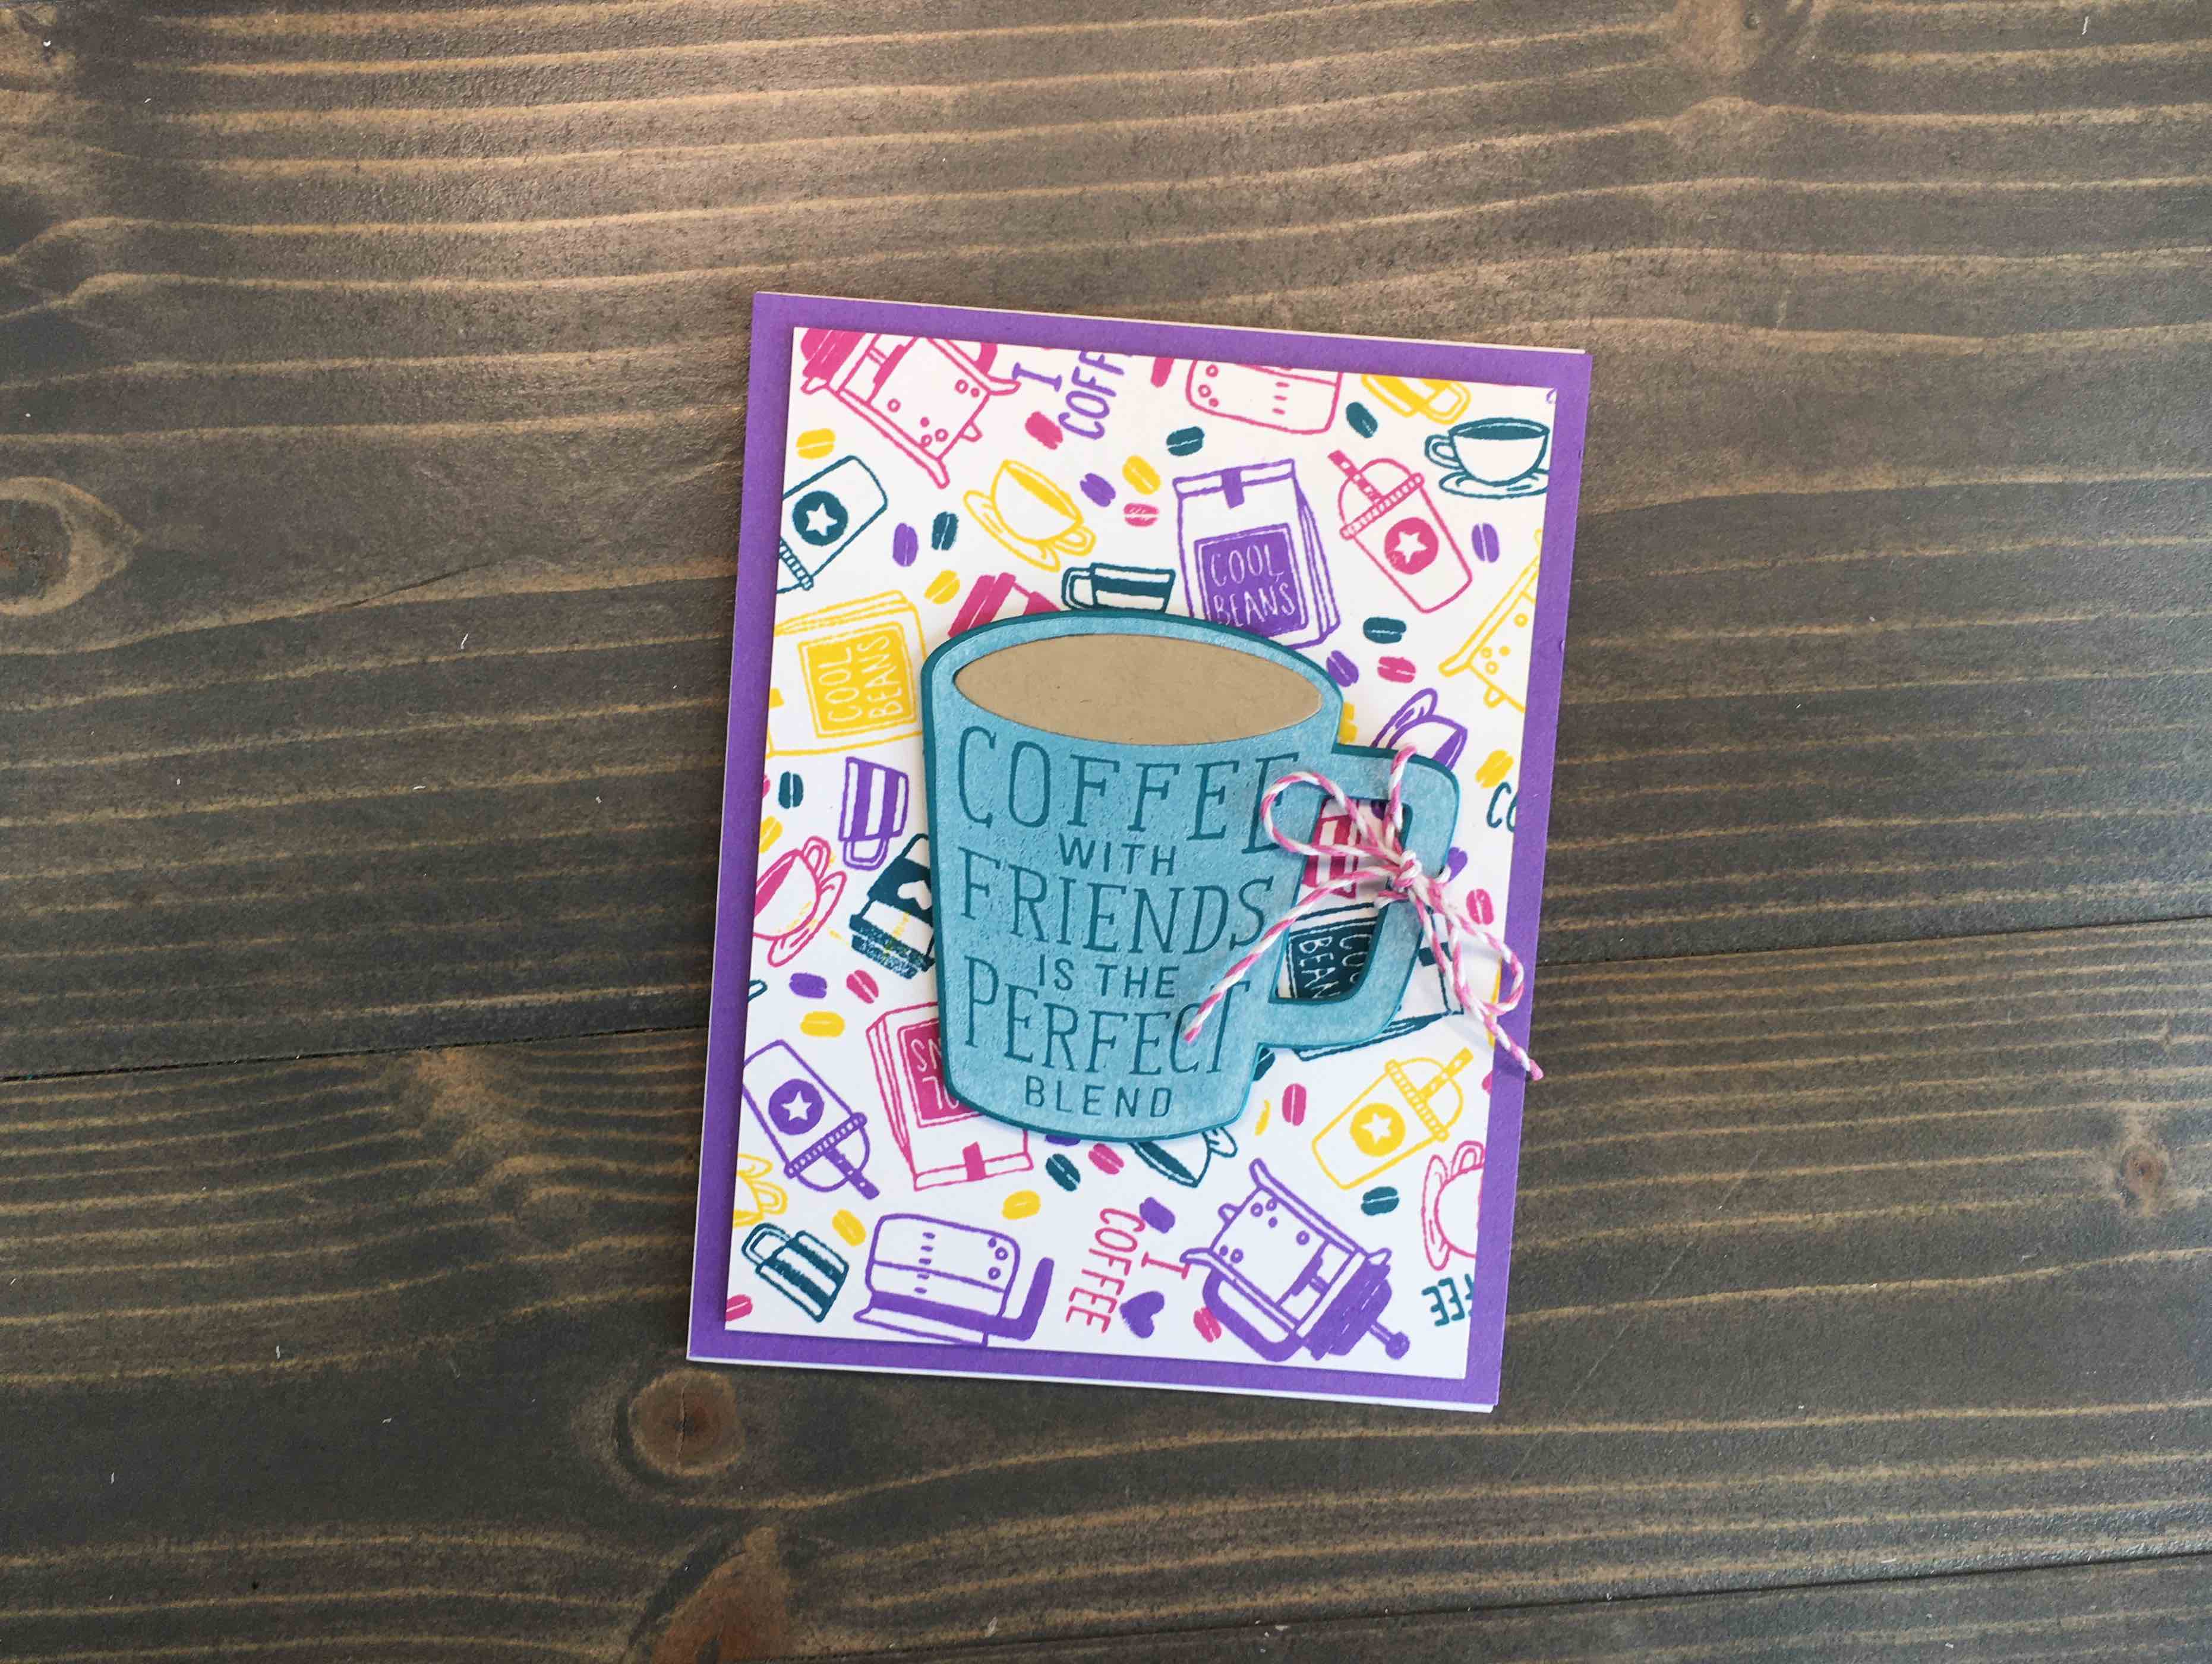
Today’s card uses a Turnabout stamp set from Concord & 9th – Coffee Blend! Turnabout stamps are a fun way to get a multi-colored image, and today’s colorful card is no exception! This Coffee Blend Turnabout card is perfect as a just because card for friends.
Supplies
Neenah Classic Crest Solar White Cardstock: 110lb for card base, 80lb for die cutting
Using a turnabout stamp is a simple way to get an intricate, multi-colored image, that will get your card recipient wondering just how you did that! All you need is a turnabout stamp, a turnabout jig, a Misti Stamping tool and your favorite inks!
Start by adhering an A2 sized card panel to the turnabout jig using repositionable adhesive (this step can be completed after stamp has been transferred to Misti lid if you have trouble aligning aid over jig). Next, align your turnabout stamp on the alignment tool included with the stamp. Position the alignment tool with stamp above jig and transfer stamp to Misti lid. Now, stamping can begin.
Make sure jig is aligned so the small “1” is in the upper right corner. Ink stamp with first color and stamp. Clean stamp, rotate jig clockwise so “2” is in upper right corner, then ink and stamp with second color. Repeat until all four colors have been stamped.
Remove card panel and use adhesive eraser to remove the repositionable adhesive. Your card panel is complete!
Sentiment
Stamp the coffee cup image included with the turnabout using Hero Arts Unicorn Pigment Ink. Allow the ink to dry thoroughly before die cutting using the coordinating die. Note: pigment ink takes longer to dry than traditional dye ink.
After dry, die cut mug, and coffee oval from a scrap of Kraft cardstock. Use liquid glue to adhere the oval over the die cut mug to give the effect of coffee.
Finishing
Cut a card panel (4 1/4” x 5 1/2”) in a complimentary color of cardstock to back the turnabout image. Adhere to an A2 card base using liquid glue. Trim turnabout image to 5 1/8” x 3 7/8”. This will create a nice border effect from card panel. Adhere to card panel using scotch foam tape for a dimensional effect.
Using adhesive foam shapes, pop up coffee mug above turnabout panel. Tie a piece of hemp twine around mug handle for a bit of added interest. Secure twine with a bit of liquid glue. This card is complete!
The bright colors are perfect for a summer card, and the sentiment is excellent for just adds to the whimsy of the card. This coffee blend turnabout card is a great introduction to turnabout stamps, or a fun addition if you have already started your collection.
For a full video tutorial, click below to link over to my YouTube channel. For more inspiration on other turnabout stamps, Click Here for a post on Concord & 9th’s Wreath Turnabout.