Hello! Thanks for stopping by. Today, I have two ways to add foil to your card projects – one which uses a laminator, the other only needs a die cutting machine. To watch the tutorial, click the video below. Otherwise, keep on reading to see foiling 2 ways!
Foiling 2 Ways - #1 with Transfer Gel
Therm O Web has created a great product for foiling using stencils. The Transfer Gel Duo is easy to use. First, simply spread over a stencil, then allow to dry for an hour or so. You will want to thoroughly clean stencil and tools directly after use.
After gel has dried, layer foil (shiny side up!), then either run through a laminator or a die cutting machine.
Now, I used the original Transfer Gel (not the Duo) today, which is applied and used in the same manner, but requires a heat laminator to adhere the foil.
This gel opens up a whole new realm of possibilities, especially if you have a variety of stencils to utilize!
Foiling 2 Ways - #2 with Adhesive Tape
Another great way to add foil to projects, is by using the wide range of adhesive tapes available. From thin strips, to larger 6” wide rolls, adhesive tapes are great for customizing projects with foil.
For a foiled die cut sentiment, begin by adhering adhesive tape to card stock. To minimize waste, work with card stock panels sized just larger than your sentiment die.
Next, place card stock with adhesive backing side up and position die above. Die cut sentiment. Note, as this stack is a littler thicker than card stock alone, you will probably need to run the stack through your machine multiple times. Adding a shim (card stock works great) can also assist in the cutting.
Remove backing from die cut, then layer foil directly on top. To aid in thorough adhesion, run die cuts through die cutting machine before removing foil.
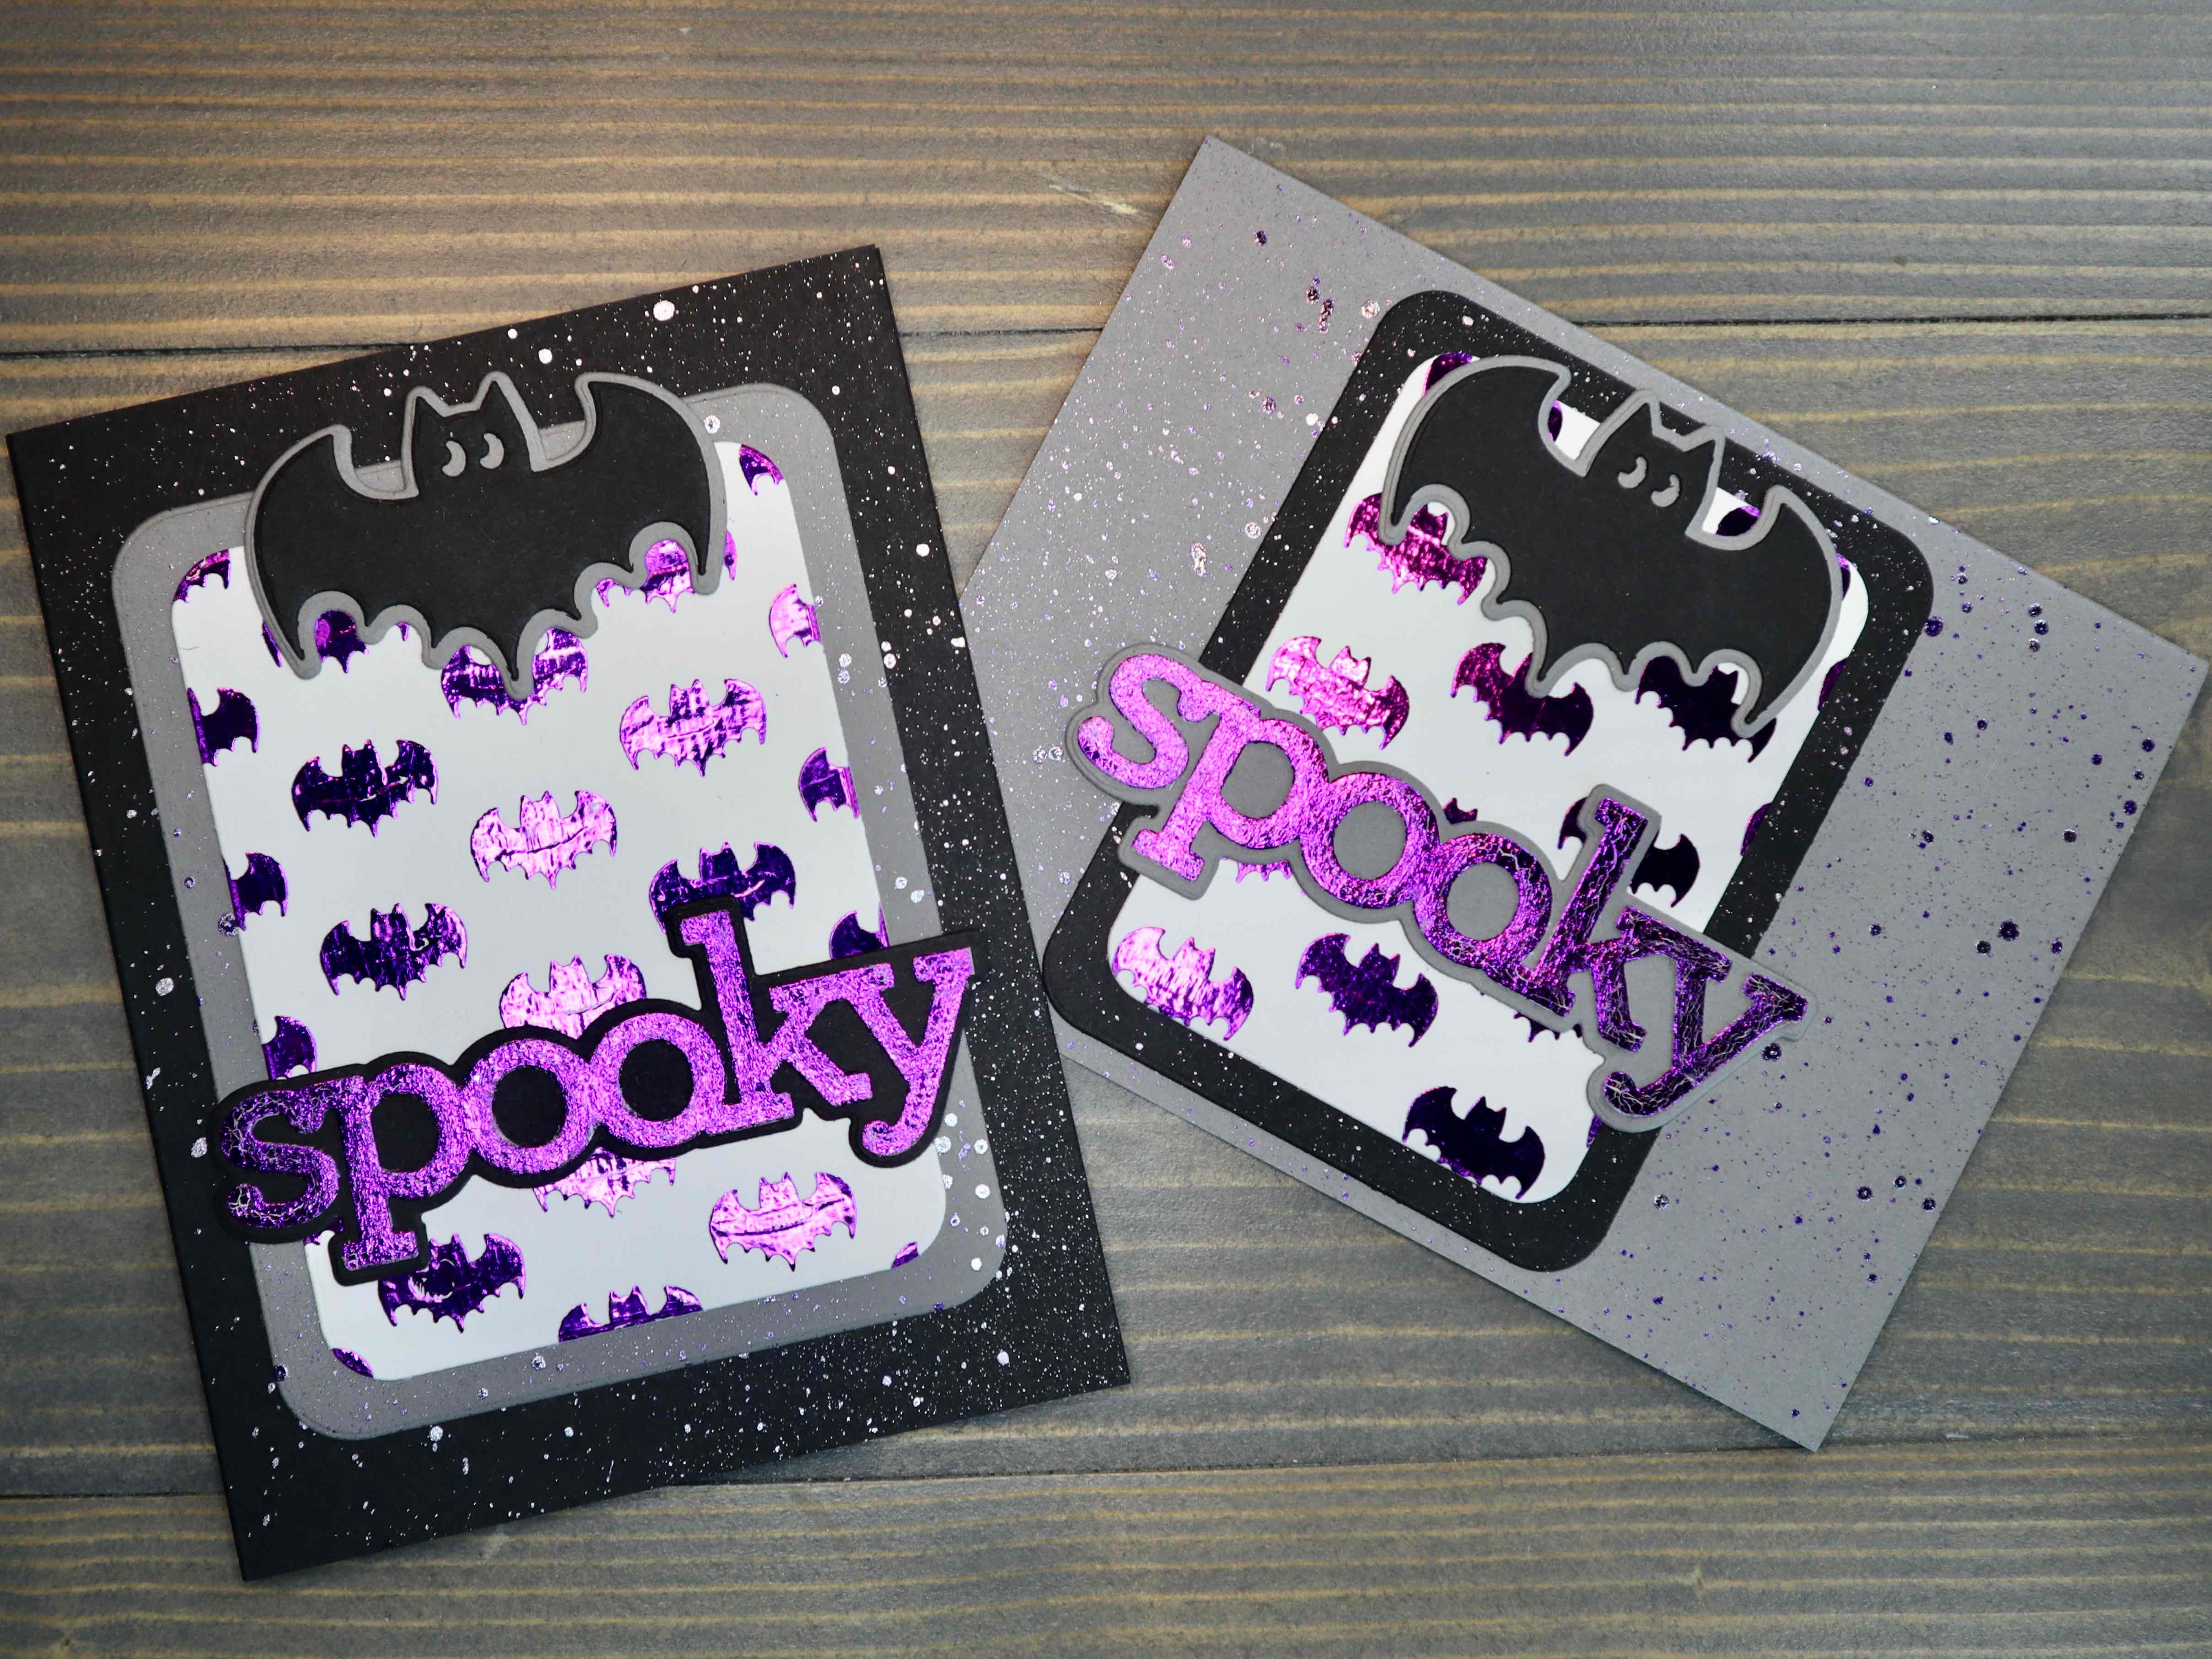
This process gives foiling a unique crackling effect. For today’s cards, this look is absolutely perfect!
Card Assembly
Using Rounded Corner Rectangle dies, I’ve trimmed my foiled bat backgrounds to fit on my two cards – one oriented portrait, the other landscape. I’ve selected dies small enough to allowed enough room to add a mat panel to each card, cut from a slightly larger die.
To add a bit of interest, I’ve splattered card bases and background mats with a metallic paint.
After the paint dried, I used liquid glue to adhere all pieces together and finish off the cards.
I love the shine which foiling 2 ways gives these cards, it’s definitely an interest point that gives the impression the cards are much more difficult to create than they really are. Have you tried either of these methods for foiling? If so, what were your results? If not, do you plan on giving it a try?