Using Turnabout stamps by Concord & 9th are great at obtaining cohesive, multi-inked card panels. Have you wondered at including heat embossing into the process? If so, today’s post is definitely for you! I’m combining a Turnabout and Heat Embossing and giving you all the tricks to do it successfully yourself!
To see the full video tutorial, head on over to my YouTube channel via the link below.
Heat Embossing
First, I set up the Lovely Blossoms Turnabout stamp in my Misti. Click Here for more detailed instructions on this.
Next, I ran an anti-static pouch over my card panel, then inked and stamped the first rotation using VersaMark ink.
Prior to heat embossing, remove the card panel from the turnabout jig. This is important as the turnabout jig cannot hold up to the heat required for heat embossing. If you leave your card panel on your jig and heat emboss you will warp your turnabout jig and it will no longer be usable.
After heat embossing, I checked the orientation of my card panel (made sure the same side was still up – use the alignment tool to verify), then reapplied it to the jig.
Next, I rotated the jig clockwise, so the ‘2’ was in the upper right corner, then inked and stamped the image. Make sure to use an anti-static tool prior to stamping again!
Again, I removed the panel prior to heat embossing.
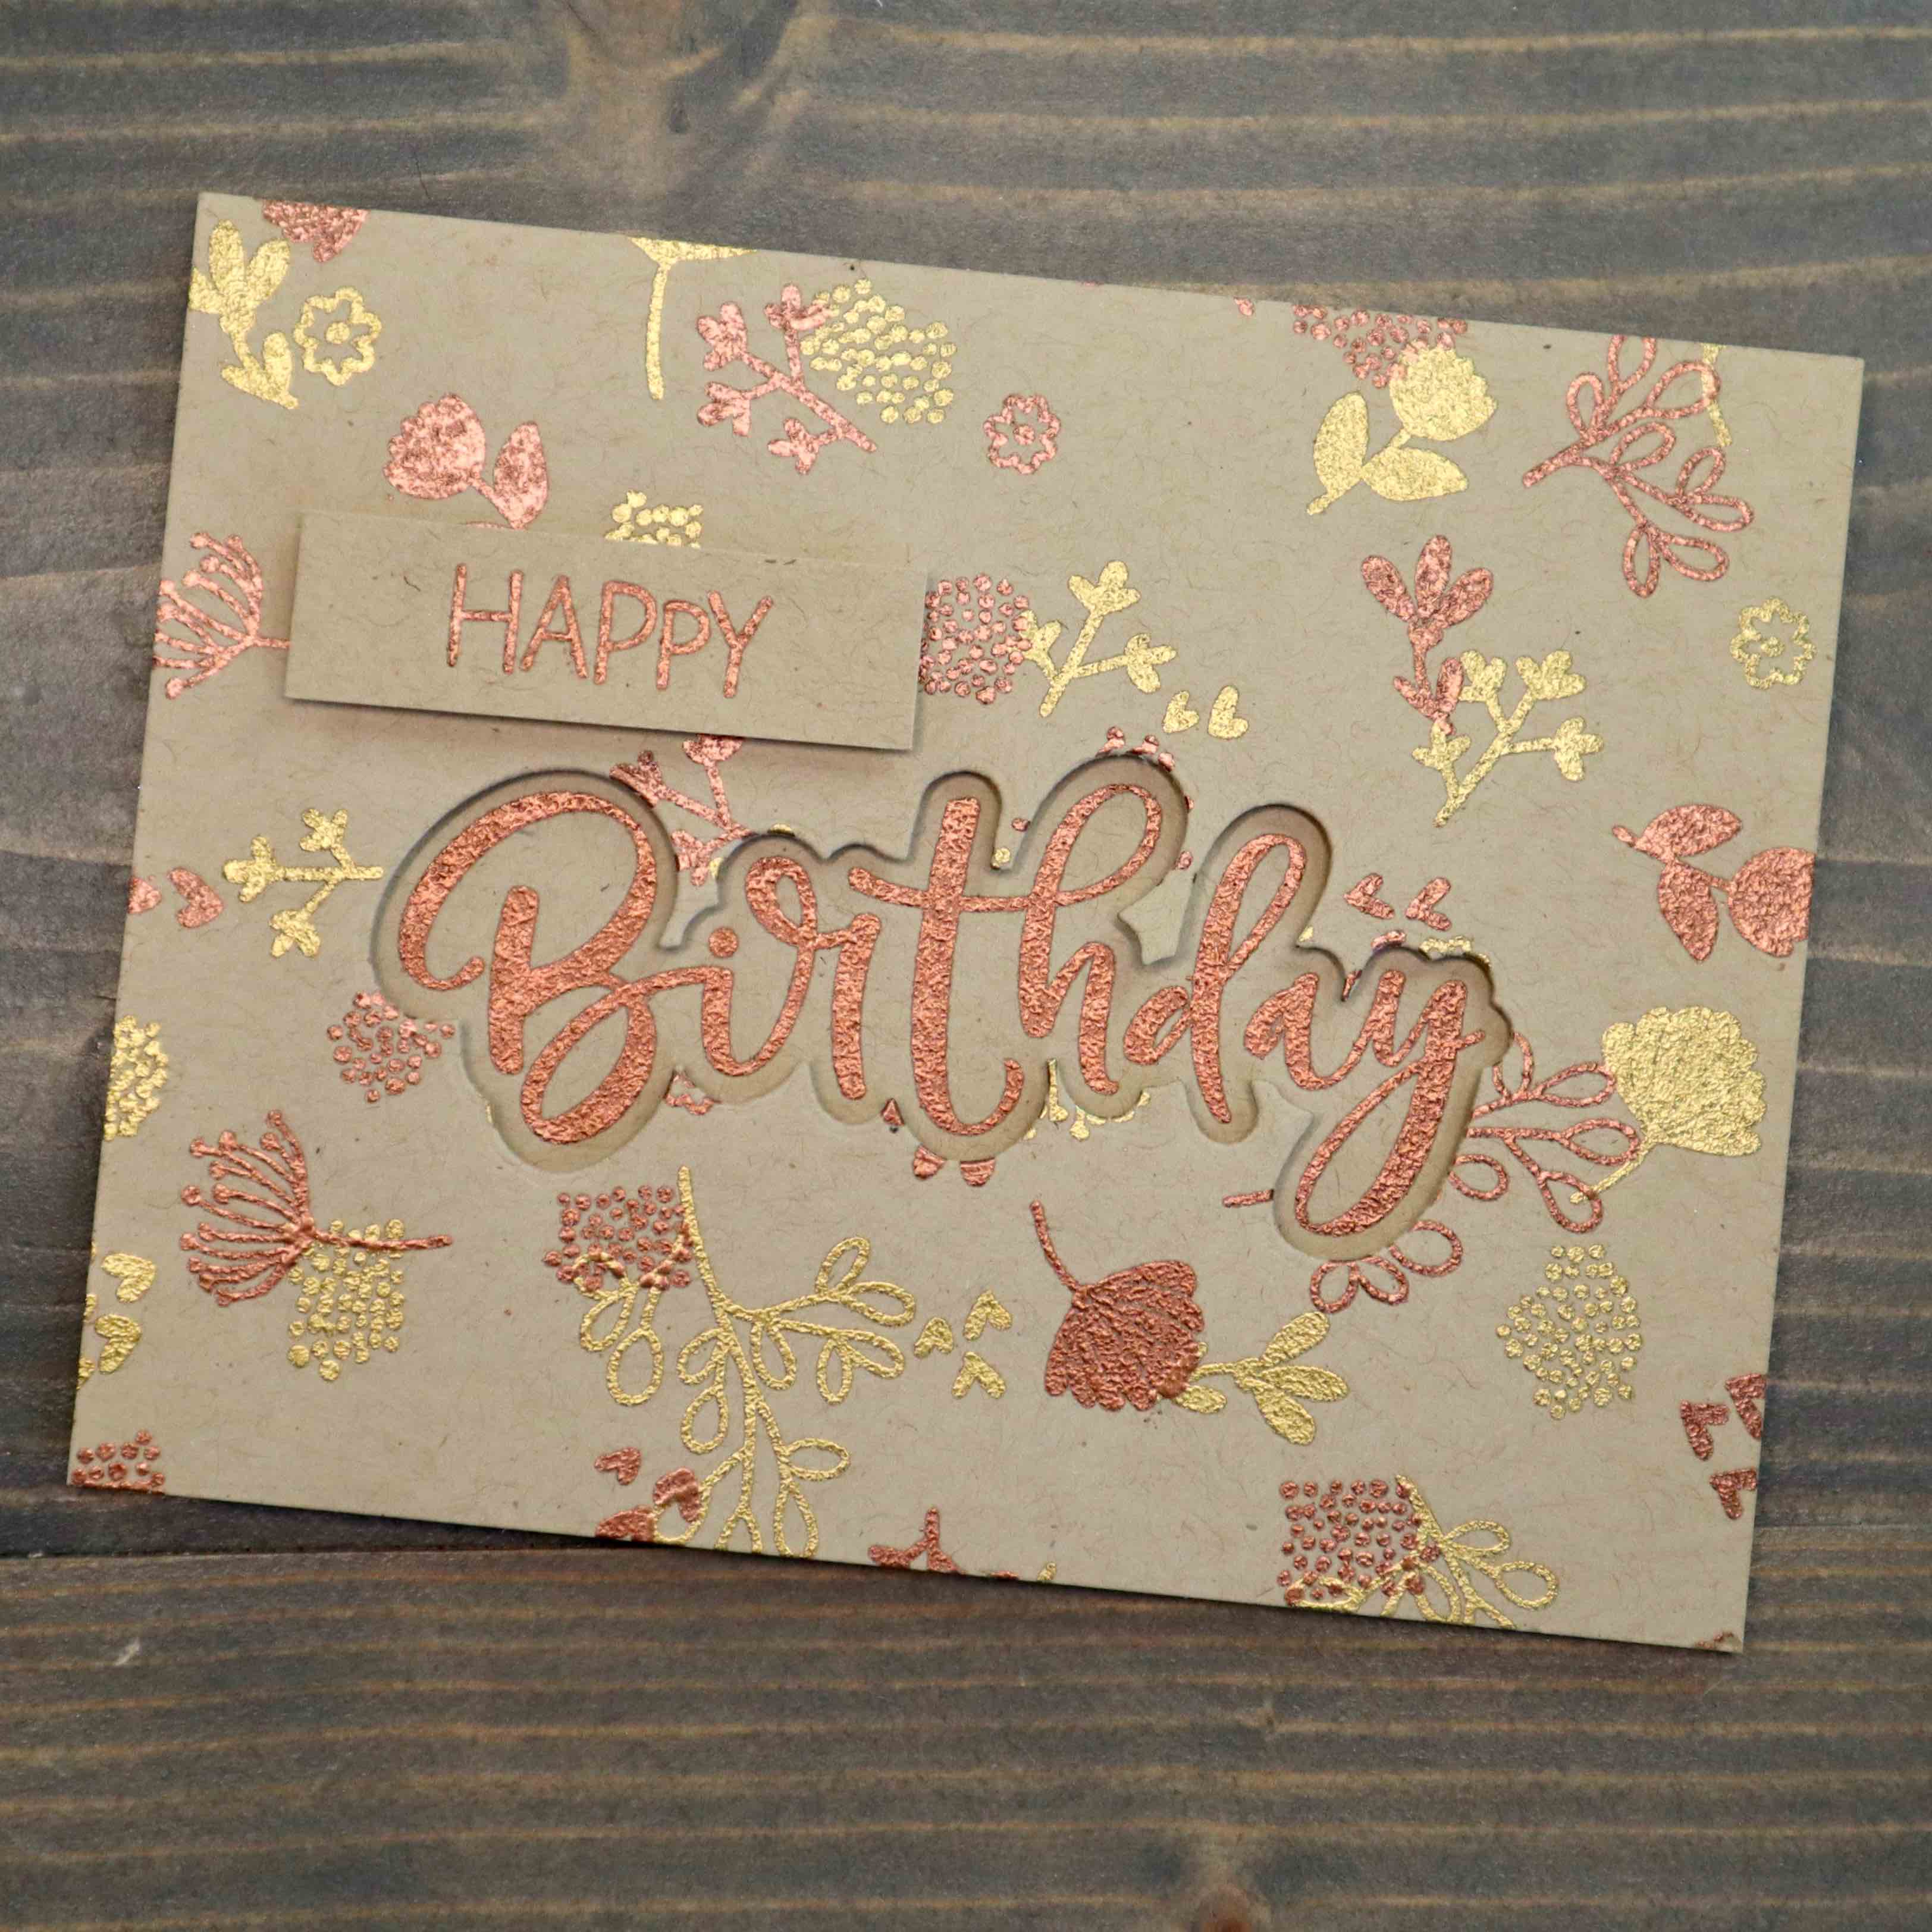
For me, two sets of embossed images on the card were perfect, so I did not complete any further turnabout stamping. I did, however, stamp and emboss a sentiment using Honey Bee’s Happy Birthday stamp set.
Card Assembly
Using the coordinating dies, I used one of the background dies to cut a panel from my embossed panel. For today’s card, I’m using the negative space in lieu of the actual die cut. I used a trimmer to cut down my embossed ‘Happy’ and ‘Birthday’.
Now, the layering began. I started with adding adhesive foam around the window cut in the embossed panel. After carefully aligning the ‘Birthday’ panel to show in the window I firmly adhered the layers together.
Next, I added the adhesive foam to the entire back of the card panel and adhered it to the card base. To finish, a strip of the adhesive foam under the ‘Happy’ panel then aligning it atop the card.
Creating a project with a Turnabout and heat embossing only requires a couple extra steps, and the results are definitely worth it.
For more inspiration on this same turnabout stamp and heat embossing, see my post on Embossing.