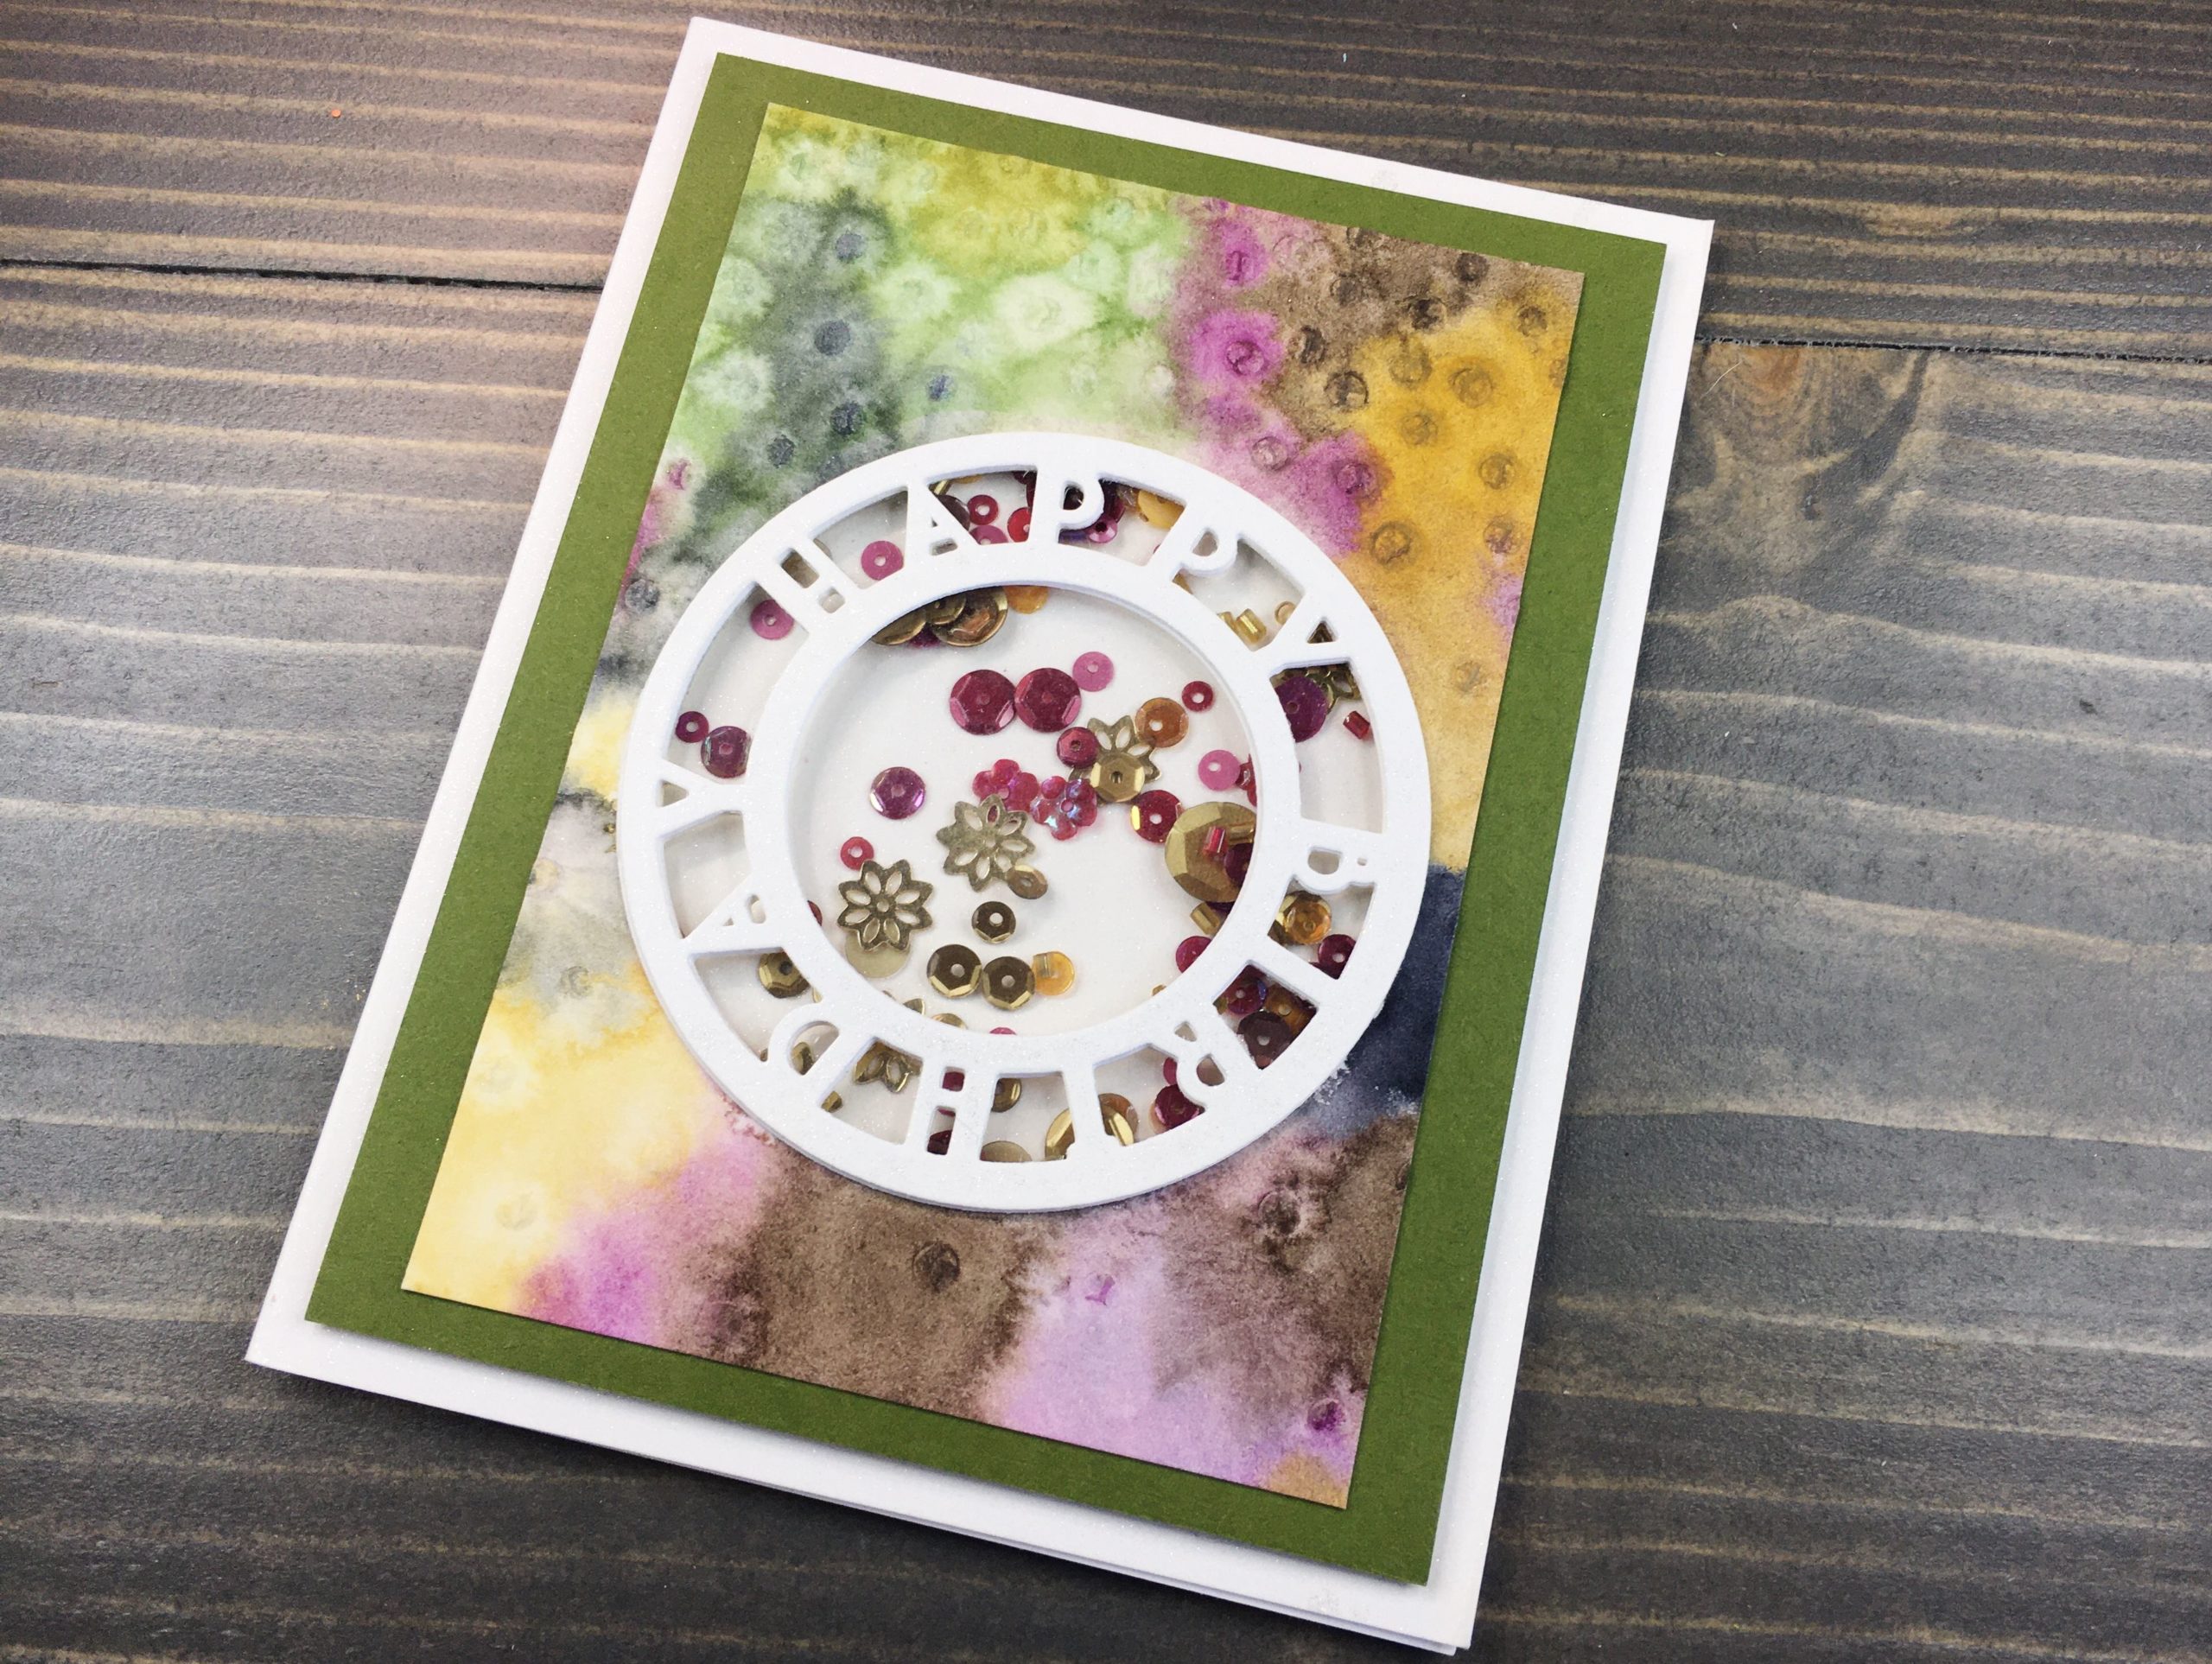
Today’s card incorporates fall colors and a great embossing and die cutting set from Sizzix (Happy Birthday). An addition of colorful sequins makes this shaker perfect for the intended recipient.
Embossing & Watercoloring
After brushing water onto a section of my watercolor panel, I added color using my Kuretake Gansai Tambi Watercolors. I added water to the panel as I moved to a new area, changing colors each time.
While painting, I move back and forth between a few techniques. I spritz the panel with additional water and dab excess with a paper towel. Whenever needed I will add additional watercolor. To help the watercolor move, a tilt of the panel will blend watercolors. I continue with these steps until I am happy with the result.
I left my project to dry completely before removing from the board.

Die Cutting
Taking the dies from the Sizzix set, I cut three additional happy birthday circles from Neenah Solar White 80lb cardstock. I also die cut the center circle from my watercolored panel, after trimming to fit my card base. To create a shaker panel, I trimmed a scrap of Dura-Lar clear film, sized large enough to fit behind the entire circle.
A scrap of Gina K Fresh Asparagus cardstock worked perfectly as a mat to the watercolor panel. I cut a large circle (from another set of circle dies) so the white background of my card base would show
Now, to add some sparkle! I spritzed one die cut and my A2 card base (cut from Neenah Classic Crest 110lb cardstock) with Sheer Shimmer Craft Spray. I utilize a small box and paper towel to catch the overspray.
Bring on the Glue and Foam Tape!
Using Gina K Connect Glue, I adhered the three Happy Birthday die cuts together (the sparkly die cut on top). Next, I glued the stack to the watercolor panel. I also used the Connect Glue to adhere the clear film behind the watercolor panel. Finally, I added the green cardstock behind the stack.

Next, I added Scotch Foam Tape behind the green cardstock, leaving the center circle open to create a pocket for sequins. After adding anti-static powder, I poured Honey Bee’s Enchanted Plum sequins in a pile on the card base.
I carefully adhered the panel over the card base, making sure the sequins were placed correctly and this card was complete!

I love the movement of the sequins behind the die cut sentiment. The natural flow of the watercolors adds to the fluidity of the design. The colors pop and the sparkles on the sentiment and background add to the air of whimsy. A fun project that I am sure will be appreciated!
What fall projects have you been working on this month? I can’t get enough of fall colors and know my time is almost up using them before I’ll be immersed in holiday and winter colors!


