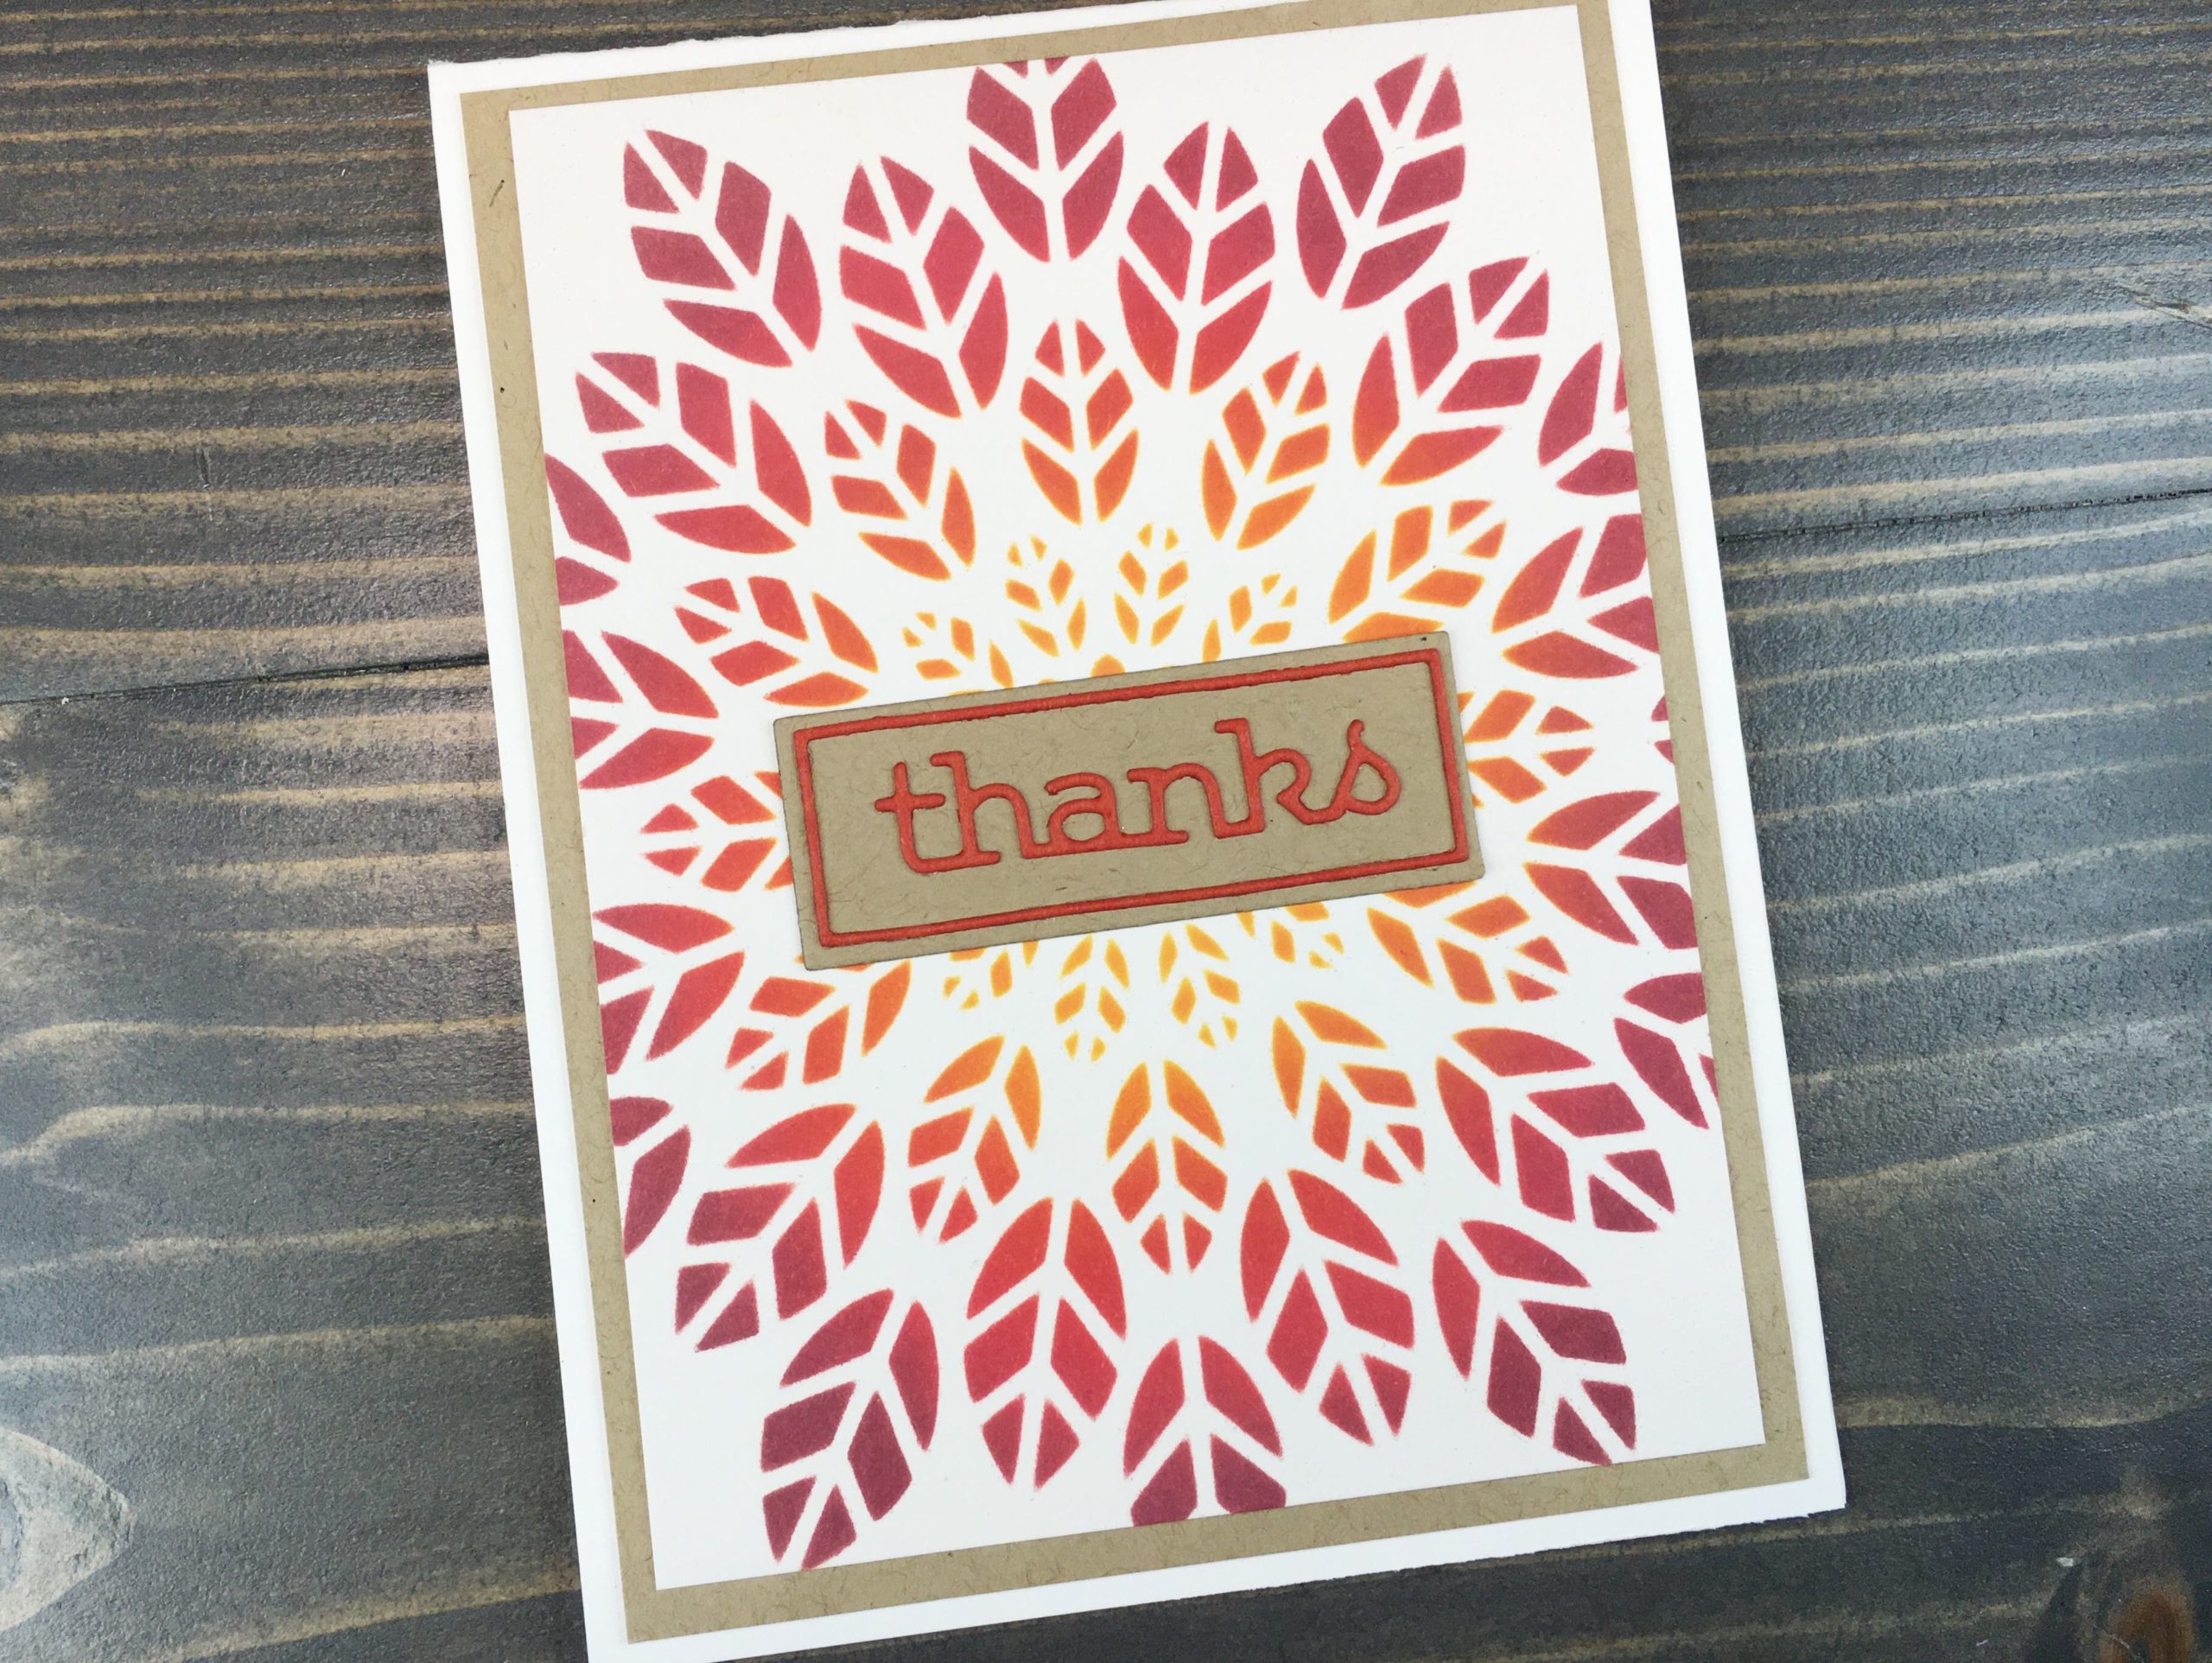
Distress Oxides make for beautiful ink blending, and paired with Altenew’s Leaf Burst stencil one can’t go wrong! A simple die cut greeting keeps this card a quick project.
Let's Get Started!
I started with a panel cut from Bristol paper, which is great for ink blending. Using repositionable glue, I adhered the paper to my Wendi Vecchi Make Art Stay-tion. A quick spray of Pixie Spray to the back of my stencil helps it stay in place on my paper.
Using Ranger Ink Blending tools I ink blended over the stencil. Starting from the center and moving out, I added ink in small circles. I transitioned between colors numerous times, until I was happy with the blending.
After removing the stencil, I trimmed my panel to 5” x 3 3/4”. I added a mat of Gina K Kraft cardstock cut to 5 1/4” x 4”.
Using Simon Says Stamp Thanks Frame die I cut two sets from Gina K cardstock. One from Kraft, the other from Tomato Soup. Using Gina K Connect glue, I adhered a frame and sentiment cut from Tomato Soup onto a background cut from Kraft.
Double-sided tape was perfect to adhere the sentiment to the card panel, and all panels to the card base (cut from Simon Says Stamp 120lb cardstock). With that, the card was complete!
Quick Tip!
When using double sided tape on card panels, pull only a portion of the backing off each strip. Fold down the ‘tail’ ensuring it hangs a bit past the edge of the card panel. This will allow you to properly align your card panel before pulling the remaining backing off.
I love the bright white of this card, paired with the gorgeous ink blending. The simple sentiment allows the colors to remain the focal point, without appearing too busy. A great combination of bright and neutral colors.