When I was a kid stamping, to achieve multi-colored stamped images I had to use specialized markers to color my stamps prior to making impressions. Now, there are so many options for multi-colored stamping, including layering sets and rotating sets. Today’s layered floral card is a simple introduction to layering. The design is easy to layer and with only three layers, is perfect for someone new to this technique.
Also, I’m going to show you two ways to use a background die – just an extra way to stretch your supplies a little farther!
If you prefer watching, take a look at my YouTube tutorial. If you want all the nitty gritty – well, keep on scrolling!
Supplies
Neenah Classic Crest Solar White Cardstock: 110lb for card base, 80lb for die cutting
To start, use background die to create background die cut using regular ‘sandwich’ for your die cutting machine. For the Spellbinders Platinum 6, this requires the platform and your die and paper placed between both cutting plates.
To use a die to create an embossed image instead of a die cut, utilize the ‘embossing sandwich’ your machine requires. For the Spellbinders Platinum 6, this requires the platform, your paper and die, an embossing mat and embossing plate. The embossing mat is probably your most important part as it prevents the die from cutting through your paper or cardstock. Once the proper sandwich has been created, just run it through your machine as usual.
Use preferred adhesive to glue background onto A2 card base.
Stamping
When stamping layered images, using a stamp positioning tool is preferred. You can successfully stamp without one; however, using a stamp positioner will allow for improved results.
Using a Misti, place your cardstock panel into one of the corners. Place the first stamp image and transfer to hinged lid. Ink your stamp and make your impression. If your stamp set is new, I recommend rubbing over the image with a towel first – this will help your ink lay better on the stamp. Repeat stamp as needed (I tend to stamp twice).
If making multiple cards, replace cardstock with a new piece. I generally always make multiple cards, so I tend to always place my panels in the corners. Clean stamp thoroughly if changing colors (as I did).
When you are ready for your next image, carefully align the stamp over your previously stamped image. Stamp sets generally come with an alignment key to aid you in this. Taking extra time in this alignment will create higher quality images.
Once you are happy with the alignment, ink and stamp away! Repeat steps until all layers are complete.
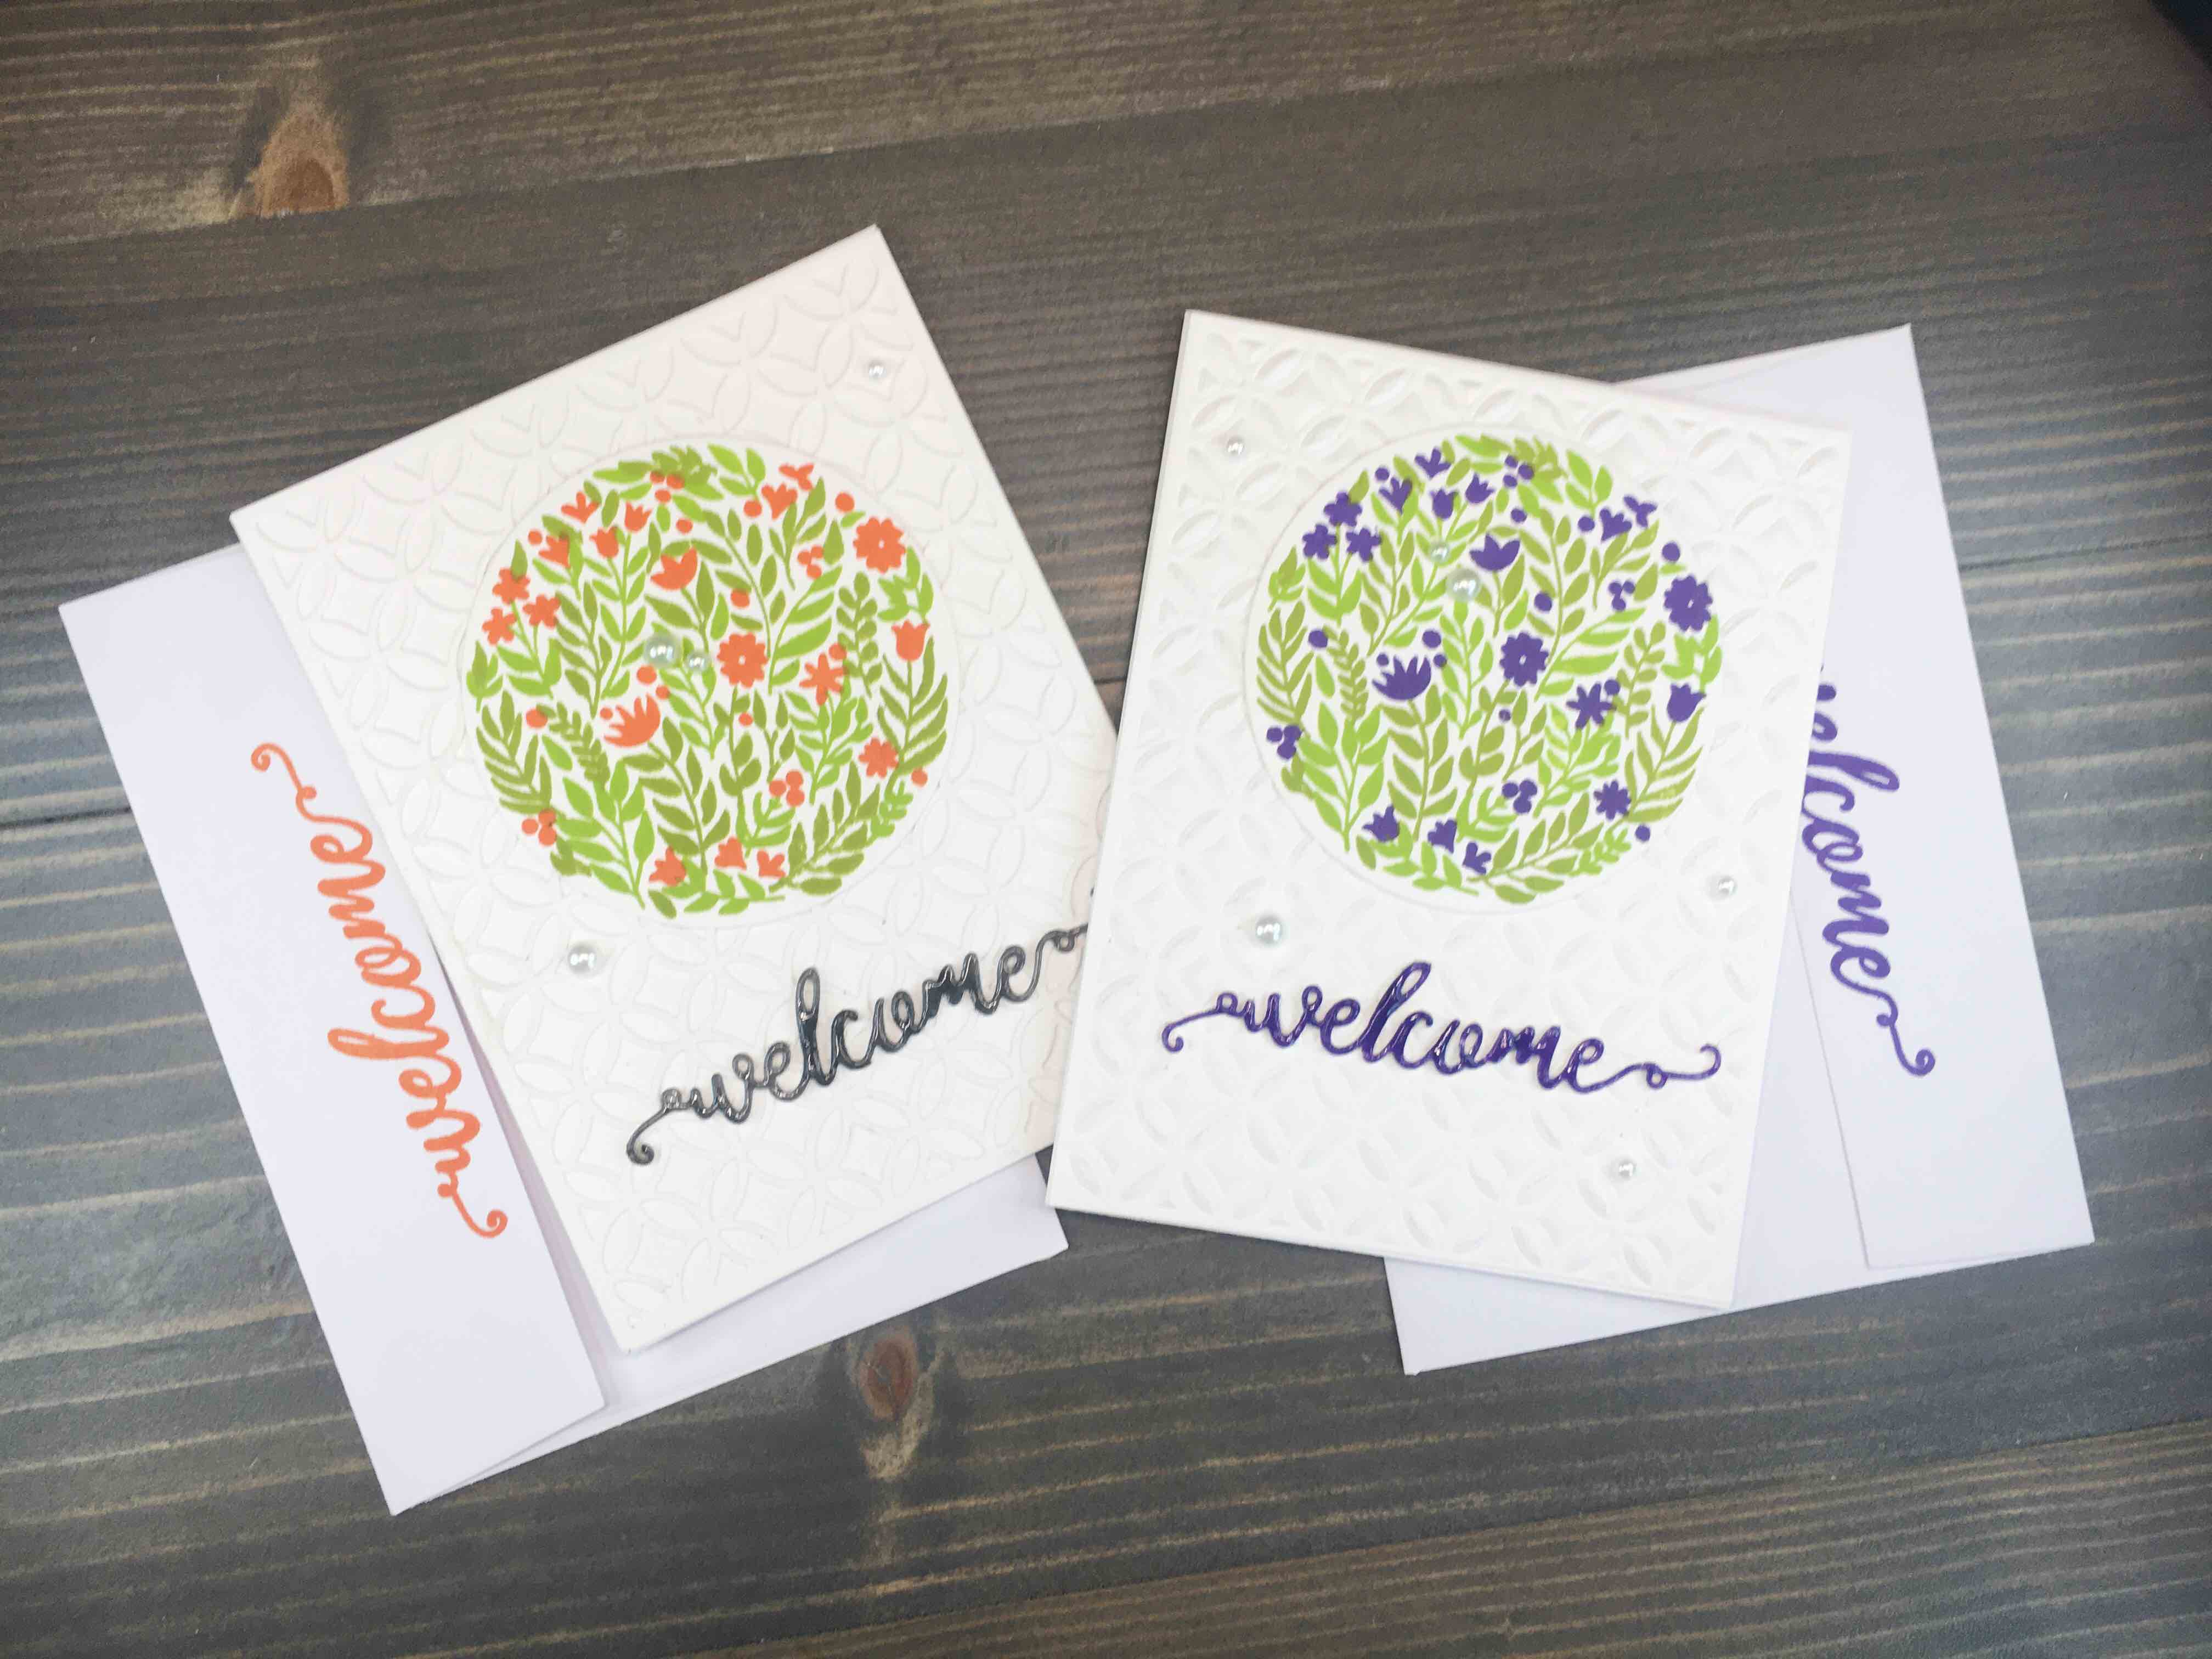
For a nice finishing touch, stamp the sentiment on the envelope flap. This ties the envelope in with the card, and adds a nice continuity.
More Die Cutting
Using the coordinating dies, cut your flower panels using your die cut machine. In addition, die cut the ‘Welcome’ sentiment three times per card you are creating.
Sentiment
Using liquid glue, layer your three sentiment dies. Once the glue has dried, use an adhesive eraser to remove excess glue from the surface of your die cut. If you glue anything like me, you will always have glue on the surface. *sigh*. To help hold your sentiment, set sentiment face down on your work surface. Place tape onto back of sentiment stack and now you have added a bit of stabilization.
Once your sentiment is clean of glue, tap an ink pad over the sentiment to dye the top layer. I find it much easier to tap the ink over the sentiment, rather than tap the sentiment over the ink, but that’s just how I roll.
Allow ink the dry then use liquid glue to adhere sentiment to card.
Finishing Touches
It’s the little things that can elevate a card from nice to outstanding. For today, the name of the game is Glossy Accents and some pearls.
Glossy Accents is so easy to use. All you need to do it trace over the sentiment and let the gel do its work. Take your time to completely layer the gel over the die cut. Let it dry, and voila! Instant 3D effect.
A few pearls glued across the card adds a sophisticated air as well. Quick, simple and it adds a bit of dimension.
With that, this card is finished!
I love the pops of color on the subdued white background. The quilted background (whether die cut or embossed) is a perfect match with the floral panel. The shine of the sentiment paired with the pearls really finish the effect – a perfect result for this layered floral card!