Embossing is a great way to add interest to handmade cards and other craft projects. In addition, it’s not a very difficult technique to get good at. In this weeks Card Making Basics installment, we will cover all things embossing to get you well adversed in this great technique.
Tools Needed
Not many tools are required for heat embossing. Essentially, embossing powder, an embossingink, and a heat tool are all you need. A couple additional tools which aid immensely are an anti-static tool, a coffee filter and a paint brush.
Embossing Powder
Embossing powder is a type of fine plastic, that when heated sets raised. There are multitudes of colors and variations including glitters, speckles, etc.
Embossing ink is a unique ink that is a bit sticky. It holds the application of embossing powder, and allows time to heat the powder to a solid finish. My favorite brand is VersaMark.
Heat Tool
A heat tool adds heat, without a forceful blow of air. In regards to a hair dryer, a heat tool gets hotter and does not blow near as much air.
Use of a hair dryer will not work for heat embossing as the heat is not sufficient to properly melt the embossing powder, assuming the dryer didn’t blow all the powder away by its excessive air flow.
Anti-Static Tool
This tool is great for applying a small bit of fine powder (talc/corn startch/talcum/etc) to your paper prior to application of your embossing ink and embossing powder. It’s use prevents stray bits of embossing powder sticking to your project from incidental static, or oils transferred from fingertips.
Coffee Filter
When pouring embossing powder onto your project, a coffee filter can be used to catch excess powder. This excess powder can then be poured back into your powder container. A spare piece of paper is often used for this purpose as well.
Paint Brush
A fine paint brush is great at brushing away any excessive embossing powder on your project prior to heat setting.
Step by Step Instructions
First, prepare your paper by wiping it down with an anti-static tool.
Second, ink your image with an embossing ink and stamp your image multiple times onto your paper. I recommend three stamps, re-inking each time.
Third, liberally pour embossing powder onto your paper. Gently shake the paper to distribute powder over entire inked area. Then, tip paper, allowing powder to fall off, gently tapping to aid in ridding paper of excess powder. Note – tapping too hard, or too long can remove too much powder.
Fourth, turn on heat tool and allow it to heat. This only takes a few seconds. Once hot, move the heat over your embossed image, continually moving the heat as it begins to warm the powder. You can also heat the paper from behind to help prevent paper from curling due to heat. You will see the embossing powder liquify and set to a shiny finish. Do not over heat the powder as it will start to loose its edges.
Fifth, let paper cool – which only takes a few seconds.
Sample Card
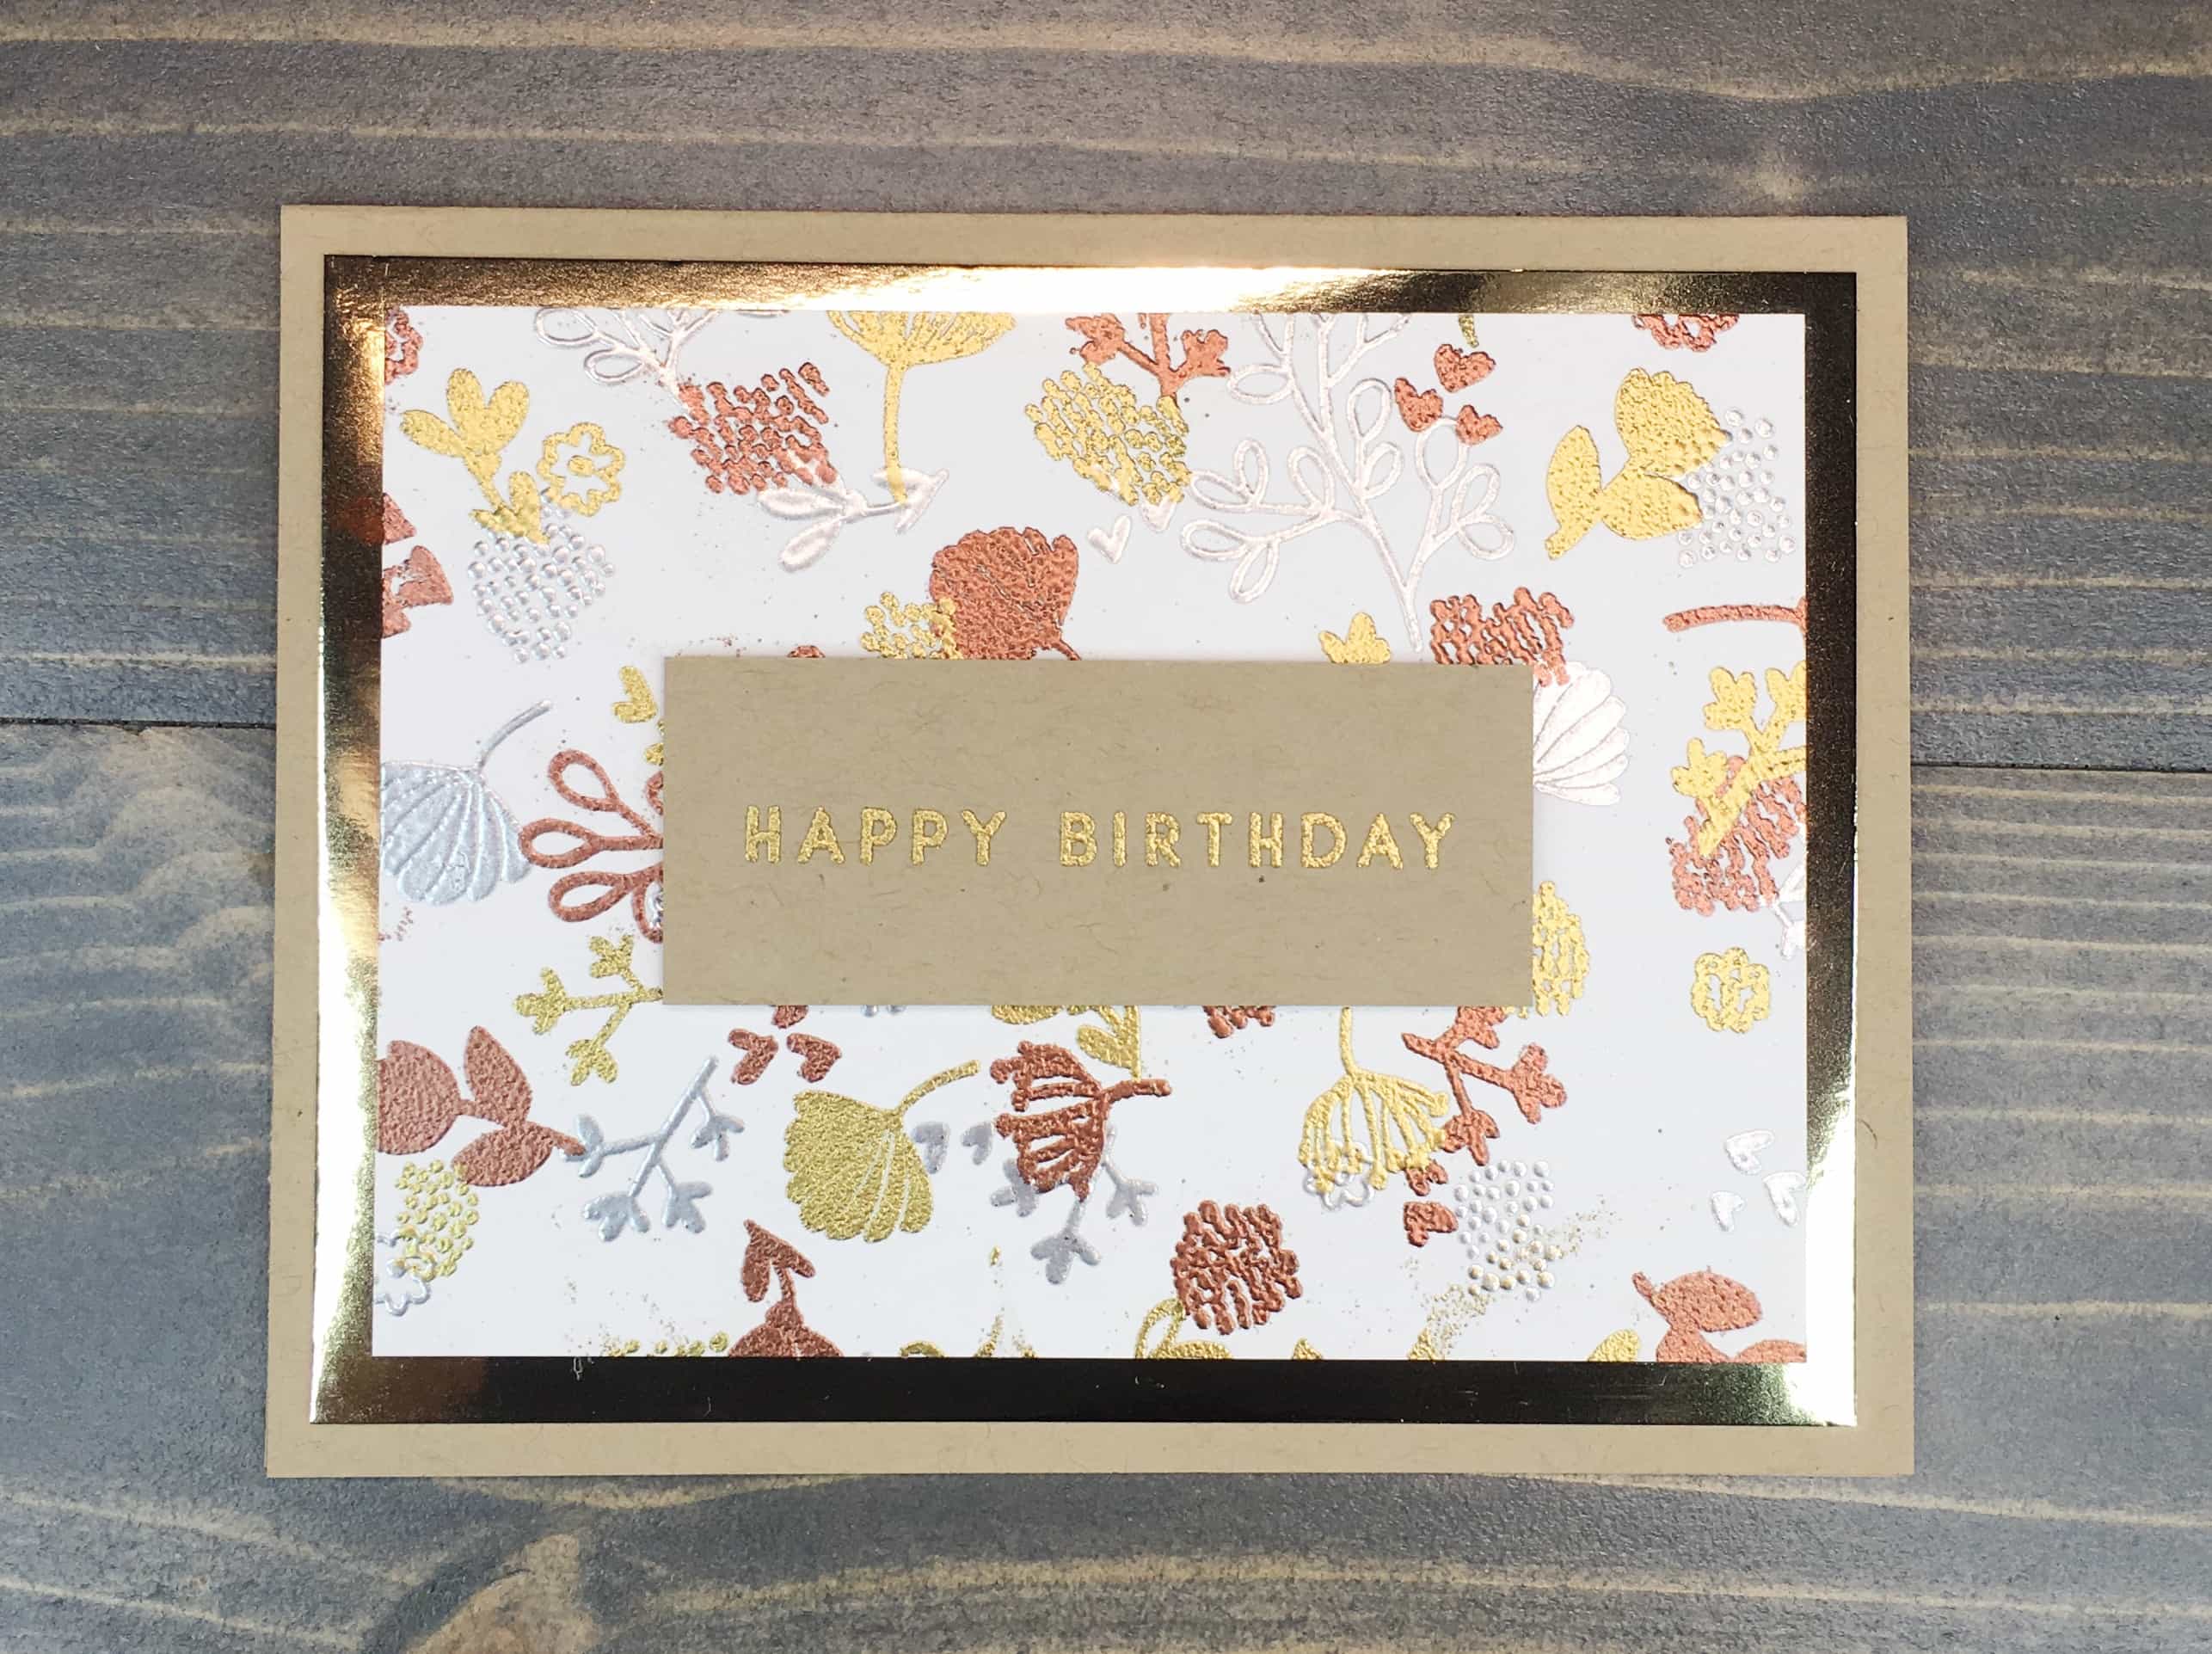
For my card today, I utilized Concord & 9th’s Lovely Blossoms Turnabout stamp. For instructions on how to use Concord & 9th’s turnabout stamps, click here.
I stamped three of the four rotations, each embossed in a different color – Ranger’s Silver, Copper and Gold.
I trimmed the card panel down to 4 3/4” x 3 1/2”. Taking a sheet of Tonic Studios Craft Perfect Mirror Card in Harvest Gold, I cut a panel to 5 1/8” x 3 7/8”. This I used to back the embossed card panel. I then adhered the pair to an A2 card base cut from Gina K Kraft cardstock.
Taking a scrap of Kraft cardstock, I embossed a sentiment from Concord & 9th’s Enjoy It All set using Ranger Gold embossing powder. I popped the sentiment panel up using foam tape, and the card was complete.
The neutral color palette is perfect for upcoming fall, and the embossing brings interest. This card was completed without perfection in mind. I didn’t worry overmuch about overlapping my turnabout rotations, nor was I concerned with excess embossing powder marring the card.
Sometimes, I’m a stickler and strive for near perfection. Other times, like with today’s card, I embraced the flaws and am happy to have them be a permanent part of the card.
Here’s hoping you take something from today’s post. I had a fun time in my craft room today, and if you take something from me today, I hope it is to embrace the journey. Perfection is not the goal, enjoying the process is.