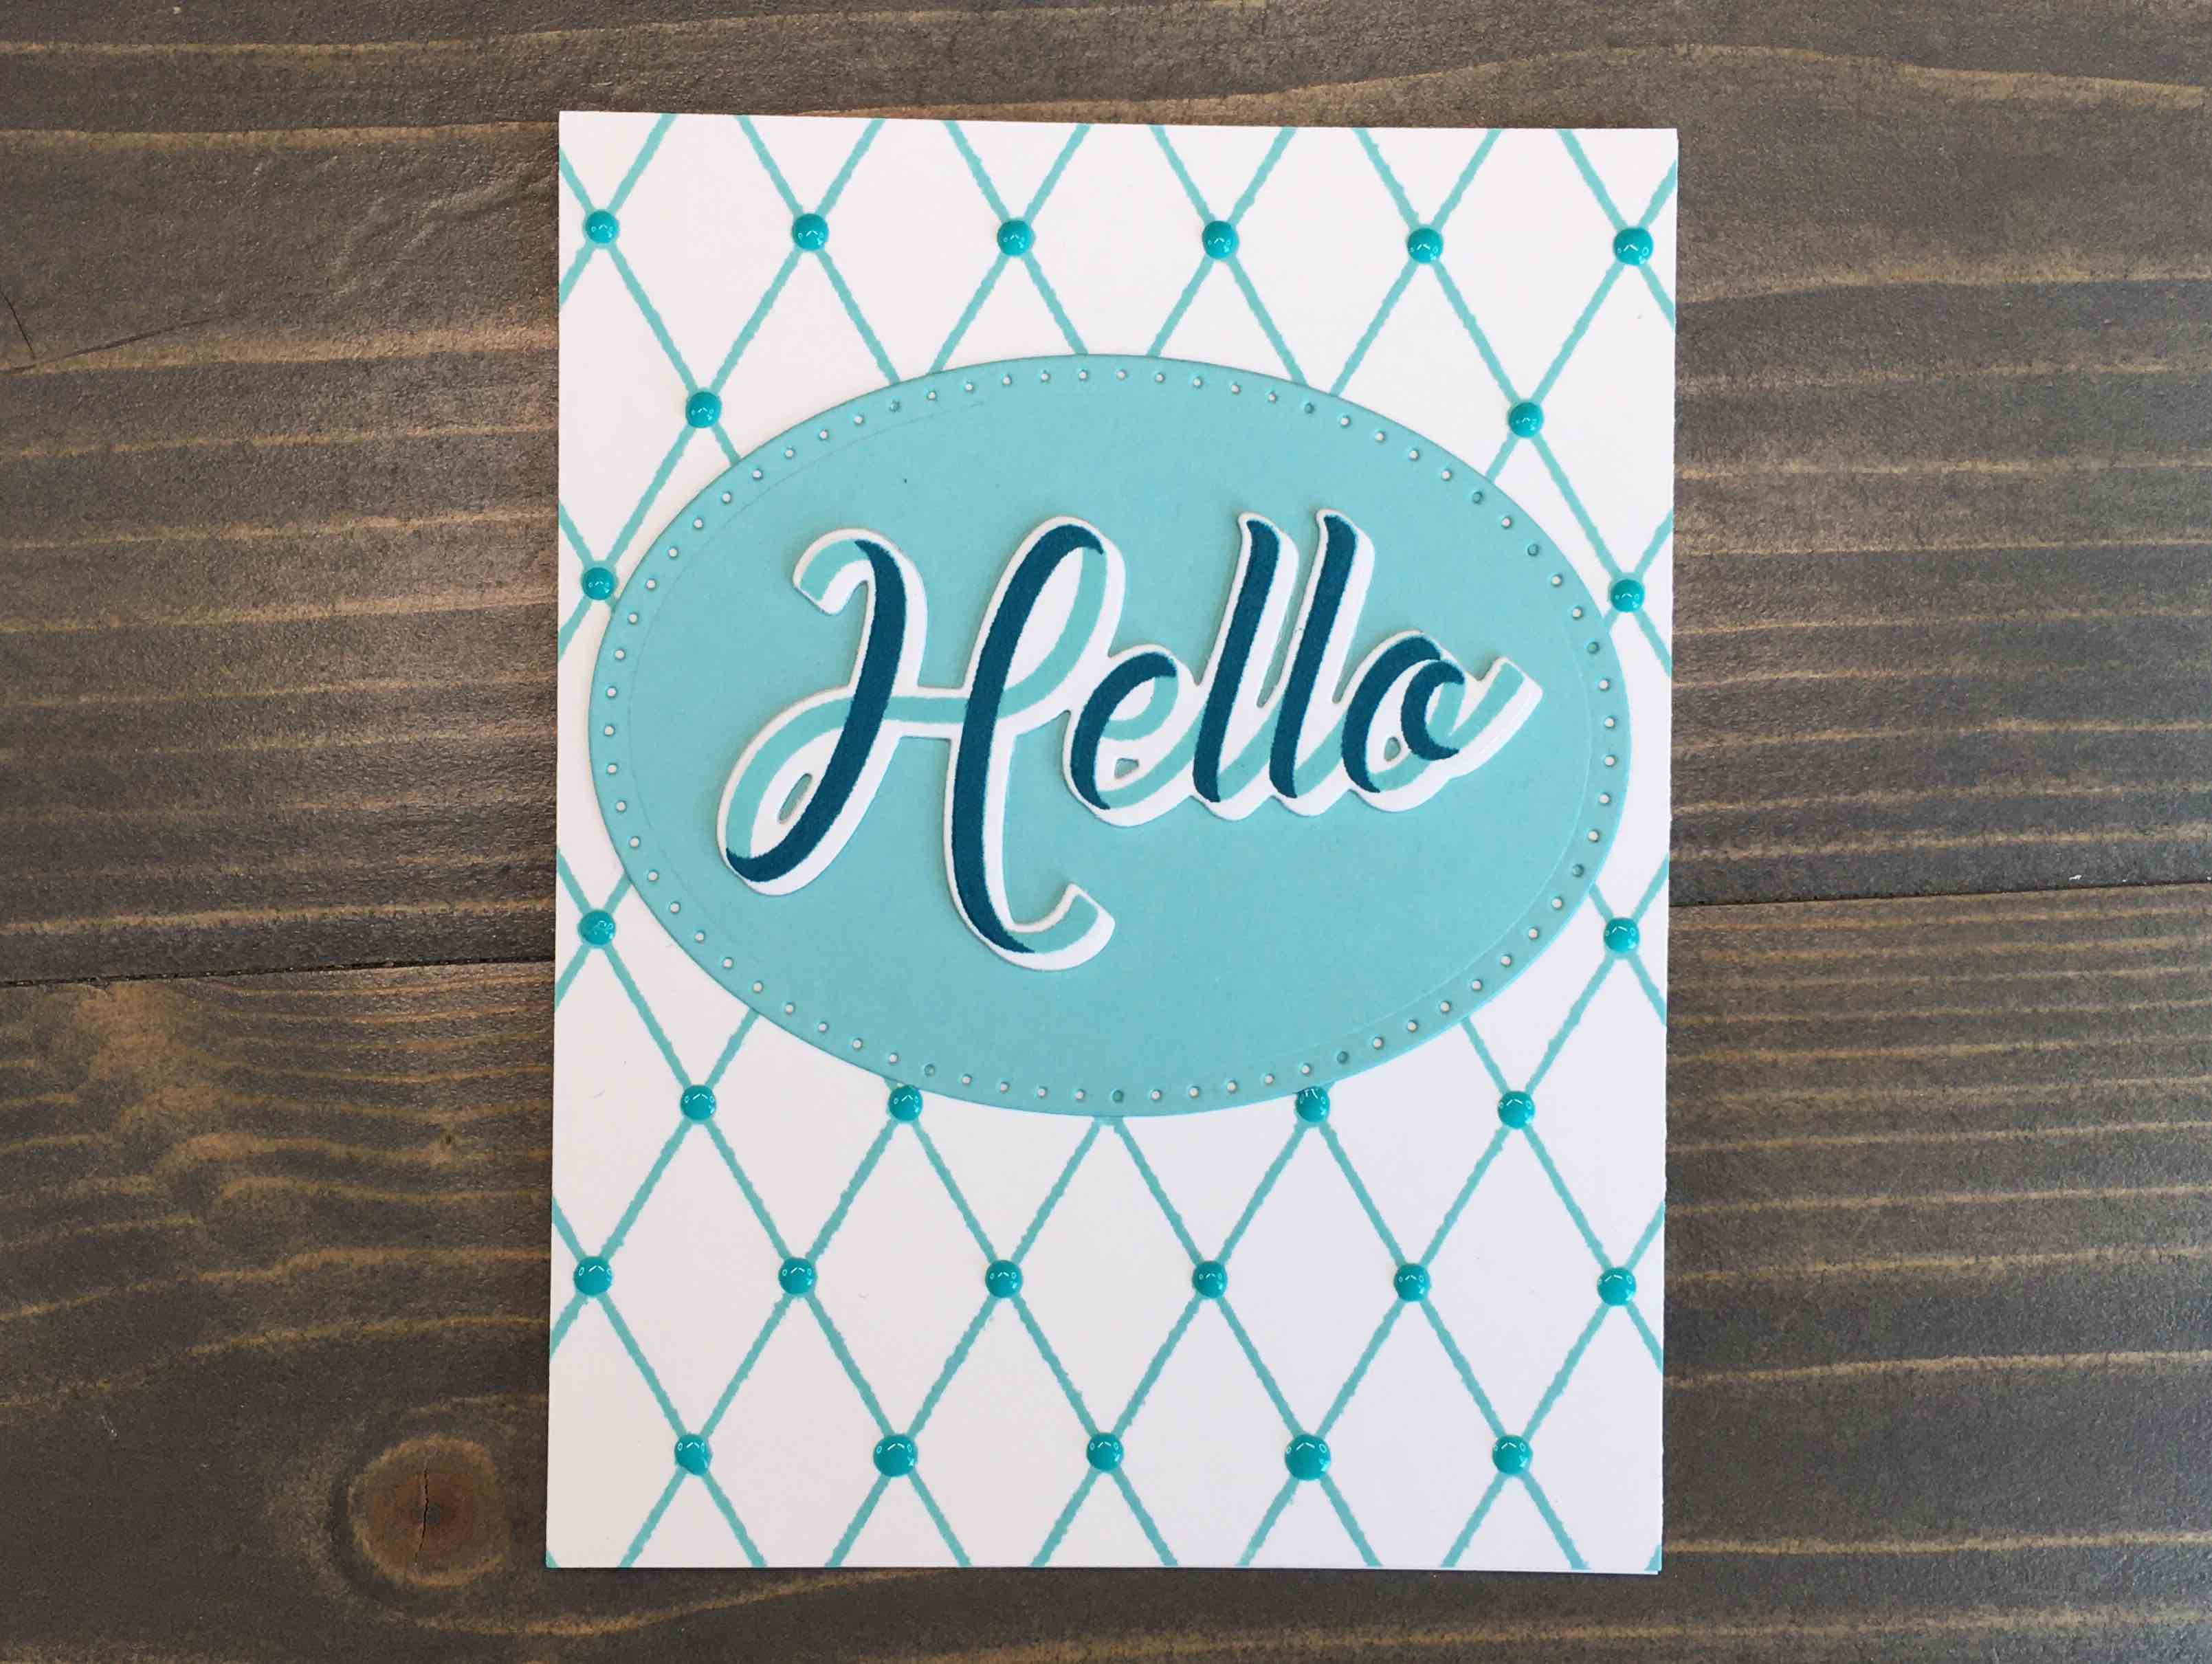
I love hand lettering, but don’t feel my skill is up to par for my cards yet. No problem for me as there are numerous stamp sets out there that have fabulous script sentiments. Today’s script hello card uses a lovely sentiment set from The Greetery that utilizes two layers which adds a more authentic hand lettered appearance to stamping. As a bonus, this layering stamp set is super easy to use, allows for a multitude of color pairings.
Let’s get to it!
Supplies
Neenah Classic Crest Solar White Cardstock: 110lb for card base, 80lb for card panel & die cutting
Gina K Cardstock in Sea Glass
The Greetery Written in Ribbons stamp set & dies
Altenew Pattern Play Diamonds background stamp
Gina K dye ink: Sea Glass & Tranquil Teal
Misti Stamping Tool
Spellbinders Platinum 6 die cutting machine
Sizzix Framelits Dotted Ovals
Stamping
The Written in Ribbons stamps work by layering two stamps to create a dimensional sentiment. Start by selecting the solid word and stamping in your lighter ink (Sea Glass).

Next, position the partial word stamp directly above the inked solid word and stamp using your darker ink (Tranquil Teal).

Finally, stamp the background image on a separate card panel.

Die Cutting
Position coordinating sentiment die and secure with a light tack tape prior to die cutting. Note, the dies for this set are designed to be slightly off set which will give a shadow effect to your die cut. To add dimension, cut additional sets and glue together. Generally, die cuts stacked three high will look great on cards.
Select a panel die for your sentiment to sit atop. Die cut this from a coordinating color of cardstock.

Completing Card
Begin by adhering the stamped card panel to your A2 sized card base. Next, adhere your die cut panel, followed by your die cut. For a simple card design, go ahead and stop there. If you want to add a bit more dimension to your card, add sequins, jewels, or Nuvo drops to add a bit more interest.

To see how the card came together, check out my video below. This is such a fun card design, and easy to customize simply by changing the color scheme. Keep reading to see a few more options that I came up with.
Card Options
I was having to much fun with this set, I put together a few different color options. First is a similar card, just trading out the Sea Glass oval die cut for one cut from Tranquil Teal cardstock. Also, I left the Nuvo drops off. Second, is the same design using black, white and grey (Hero Arts Intense Black and Soft Granite). I really like the monochromatic scheme for this sentiment and card design.

Third, I played around with a bit of color and the Happy sentiment. Using Gina K Dye Ink and coordinating cardstock, I created the first of two cards using Tangerine Twist and Plum Punch. I also added Nuvo Crystal Drops (Violet Galaxy) to the circles joining the diamonds on the background.

The second Happy card has a subtle gradient with the orange by adding in Coral Reef. This gradient was used both for the diamond background and sentiment. Ranger White Embossing powder completed the sentiment.

This script hello card is a simple card to put together, but hardly looks it! The layering is a cinch to follow, and the possibilities are endless with color options. If you haven’t taken a look at The Greetery, I recommend you do so. Such adorable stamps and dies! For more inspiration on simple card designs, see my post on Simple Happy Birthday Card.


