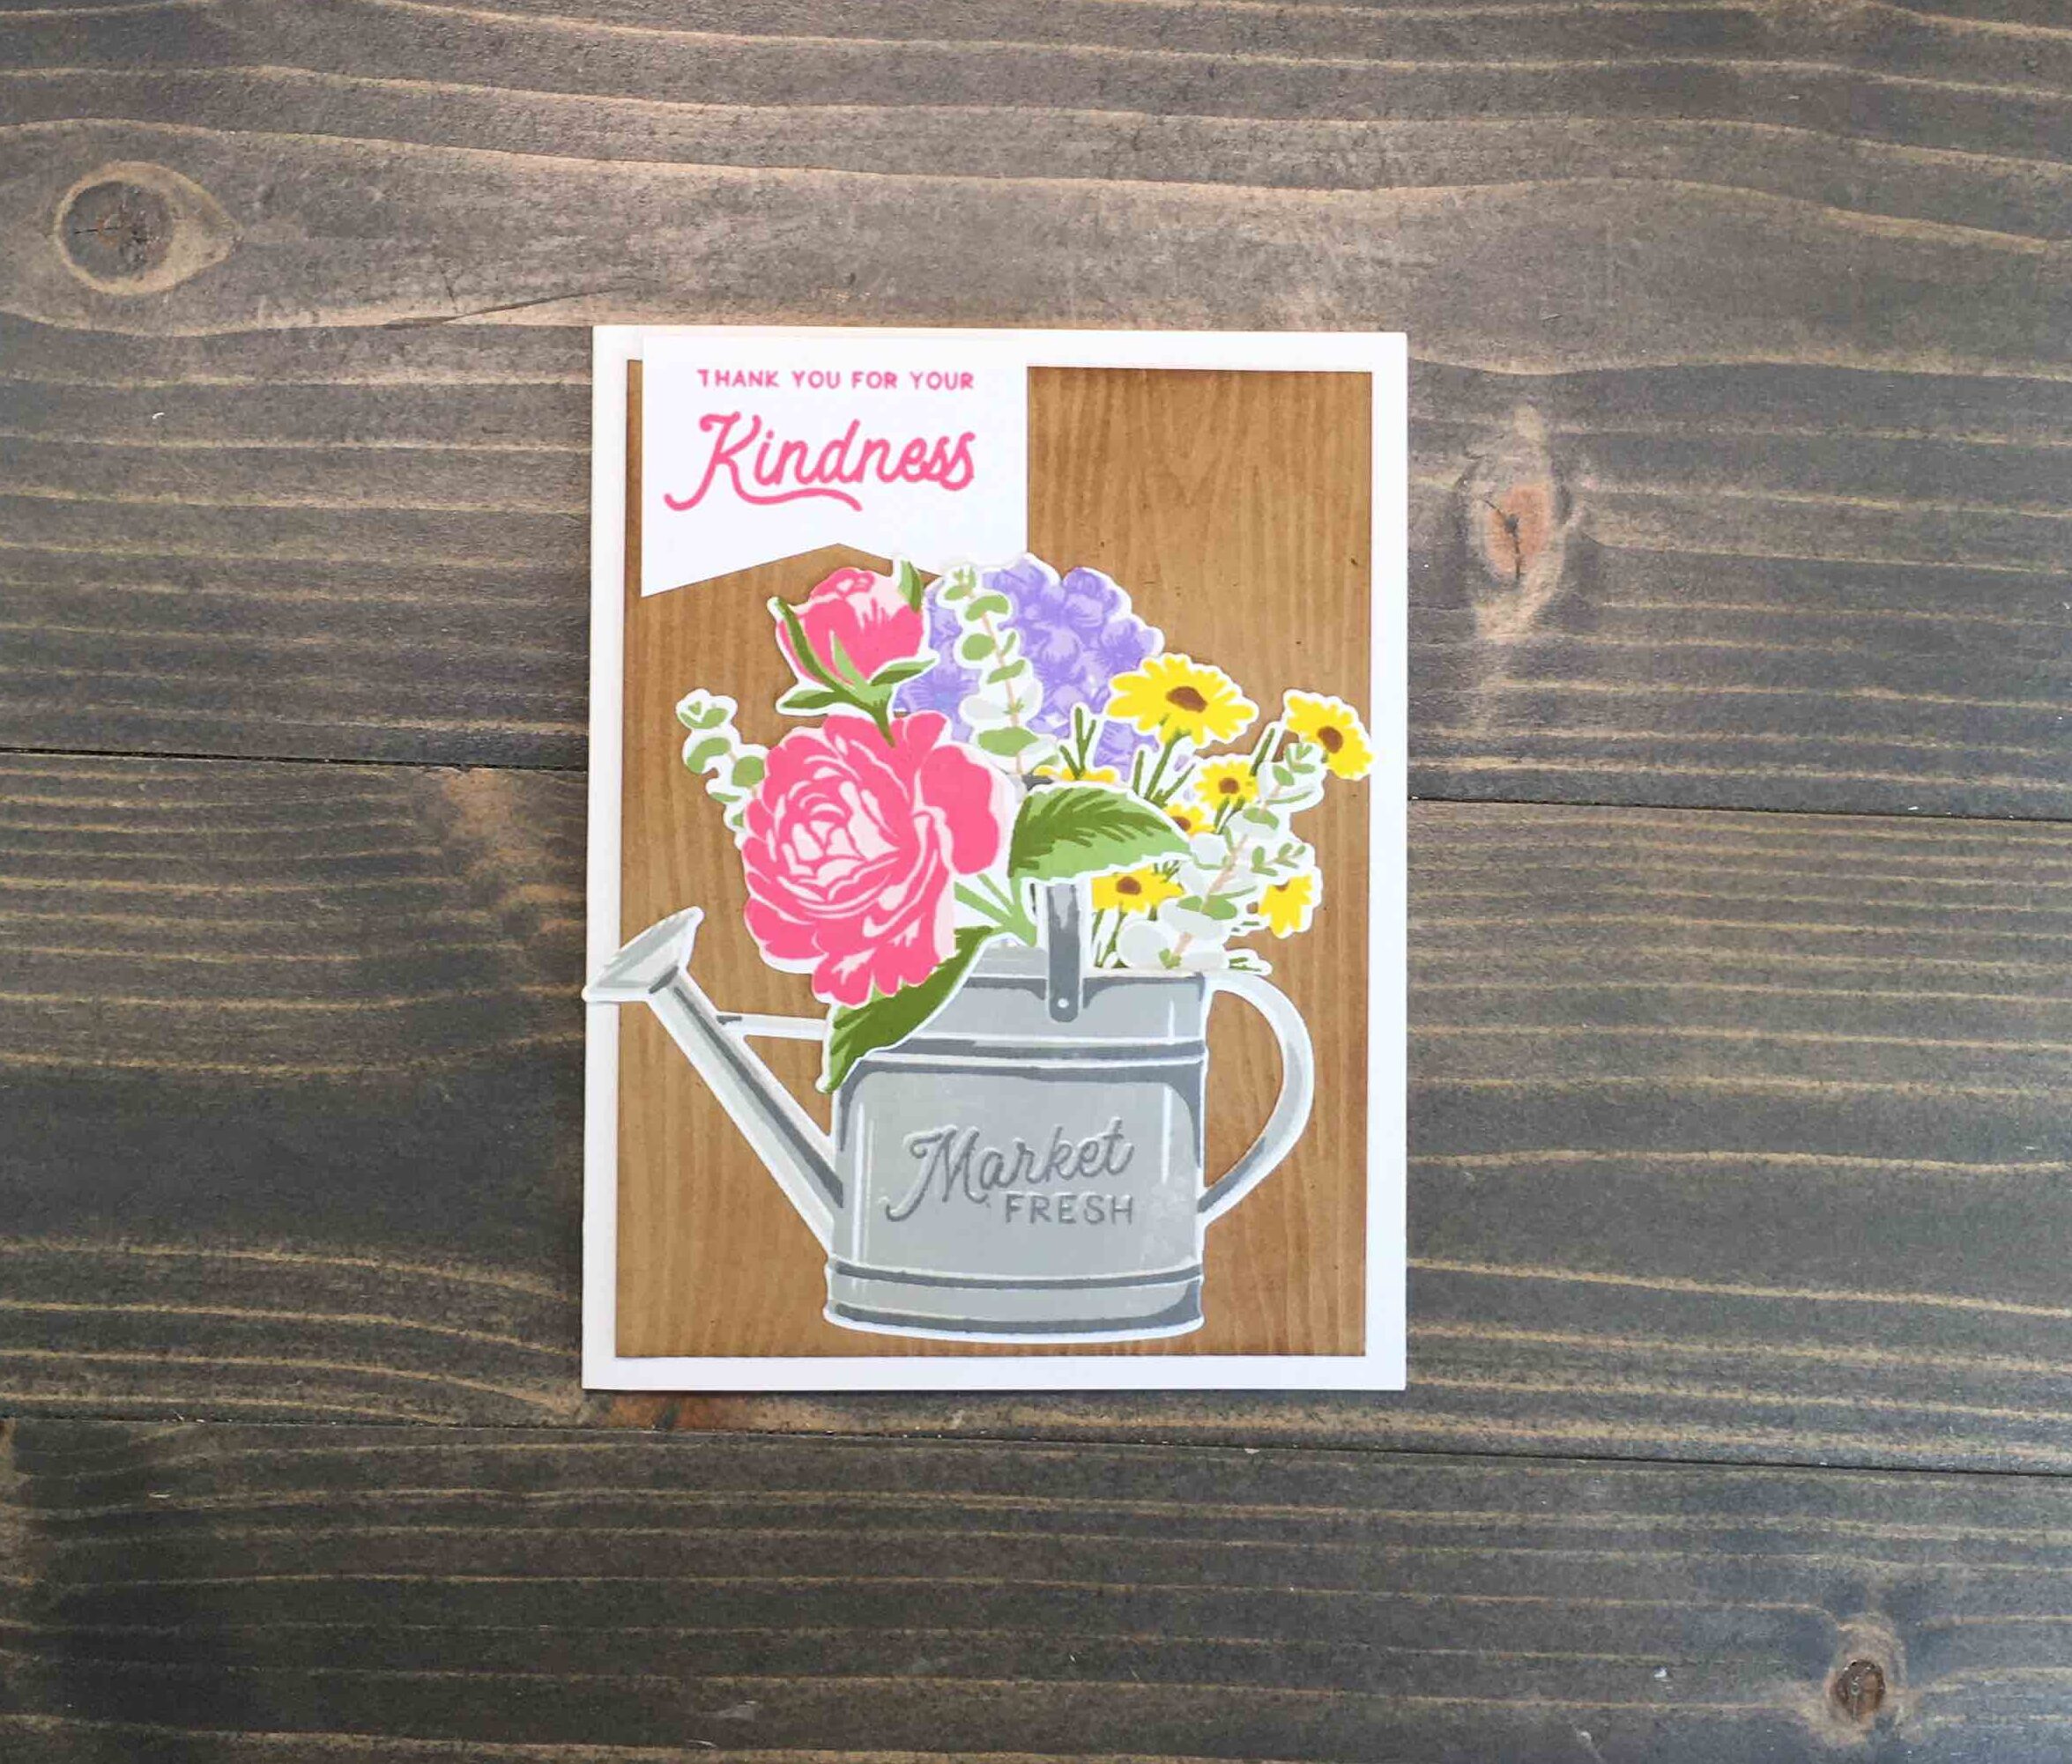
Today’s cards use more sets from The Greetery. It’s great how well these sets work together, and the layering is easy to follow and provides stunning results. A floral thank you card is always great to have on hand, and today’s card is no exception!
Supplies
Neenah Classic Crest Solar White Cardstock: 110lb for card base, 80lb for die cutting
Which came first? The stamping or the die cutting? Well…the answer depends on the project for me. When I plan on bulk stamping (which I generally do when working with layering stamps) I generally die cut first, and create a template to use when stamping.
To create a template, all you need to do is save the negative space from around your die cut and use that in your stamping platform. This way, you align your stamp once and stamp any number of die cuts by just popping them in and out of the template.
Stamping
The Greetery stamp sets come with a fantastic stamping guide for their layered sets. Each step is labeled (on both the instructions and the acetate the stamps are mounted on), and pictures are included for clarification. I found the stamps easy to orient and stamped well.
Whenever I am working on layering stamps, I tend to work in bulk a bit. I figure, if I’m going to the trouble to stamp multiple layers, I might as well get at least a few cards out of it. I will often switch the color scheme along the way, but for today’s card I kept the colors consistent.
The stamping process is repetitive and calming for me. I just listen to an audio book, or turn on my YouTube Watch List and stamp away!
Don’t forget to stamp some sentiments while your supplies are out. I wasn’t sure what sentiment I would want on my cards, so I stamped a few options to choose from. As you determine sentiment placement later, you can trim or die cut as needed.
Background Panel
While all the ink is setting from stamping, prepare the background card panel. Starting with Kraft cardstock, trim it to 3 7/8” x 5 1/8”. Place the card panel inside an embossing folder and run it through a die cutting machine, following the instructions for your machine.
Using a blending tool or brush, lightly ink blend a light to medium brown ink over the card. This will increase the contrast of your textured panel and add some interest to the background.
Once the card panel is dry, adhere it to an A2 card base.
Card Assembly
Position your die cuts on a flat surface, moving them around until you come to a layout you like. At this point, I employ a technique learned from Jennifer McGuire Ink which comes in handy when layering multiple die cuts together. Place a sheet of Glad Press n’ Seal over the die cut. The Press n’ Seal is tacky enough to hold onto the die cuts, but not too sticky as to damage them when you peel it off.
After you place the Press n’ Seal over your stack, gently press over all the die cuts, then simply flip over the stack and apply glue from the back. Use the Press n’ Seal as a handle for your stack, and adhere it to your card panel and card base.
All you have left to do is adhere a sentiment (or not, in the case of one of my cards) and the project is complete!
I did put together some other options for use with these same sets. Of course, the floral focal point is great as a no sentiment card.
Another option is a full spray of each flower type. Below, I have a can of Hydrangea’s, a can of Peony’s and a can of Daisies – which are my favorite!
I also put a twist on the original bouquet by adding an extra Peony to the watering can. I also switched up the sentiment for a change.
These floral thank you cards are absolutely gorgeous! I played around with multiple layouts, and I’m happy with how they all turned out. Such fantastic stamp sets, I’ve been really impressed with sets from The Greetery, I definitely recommend you check them out!
For more inspiration on stamps from The Greetery, check out my post on a Script Hello Card. For a full video tutorial, check out my video below.