I enjoy watercoloring, though I have no trained aptitude for it. What I like from watercoloring is the color variations and the organic nature that water brings to the overall effect. Today’s simple watercolor flower card is a result of one of my favorite techniques using watercolors made even easier with the use of Jane Davenport’s Mermaid Markers.
Pop on over to YouTube if you would like to see my video on this technique. Try it yourself, and let me know in the comments how you like the process.
Supplies
Neenah Classic Crest Solar White Cardstock: 110lb for card base, 80lb for die cutting
Using VersaMark ink stamp images, then heat emboss using Ranger embossing powder.
Using Mermaid Markers, apply watercolor to panel, keeping application loose. Don’t be overly concerned with staying within the lines. The images will be die cut, which generally leaves a bit of an outline. When watercoloring, I prefer the color to flow to the edge of the die cut, which requires a bit of a bleed over from the outer edge.
Spritz panel with water (the Tim Holtz Distress Sprayer is perfect for this) to activate the watercolor and start the color movement. Tilt paper to help the water and watercolor move, and/or use a waterbrush (or just wet paintbrush) to assist movement. Dab excess water with a paper towel, but understand that color will be removed as well.
I repeat all steps above numerous times until I have a result I like. Over mixing color will turn your project to mud, so keep mixing to a minimum unless you are drying panel between layers. Note, watercolors will activate again when rewet.
Let panels dry completely before using coordinating dies to die cut.
Background Panels
Using a cover die or embossing folders, prepare background panels using die cut machine. Adding a simple texture behind floral images helps bring interest to your card, without competing with your flower, or overpowering the card itself.
Die plates can be expensive, as the dies are the size of a card front. Embossing folders, on the other hand, are generally quite affordable and provide the same visual impact.
Adhere background panel to card base, and arrange flower(s) and leaves to your liking. Once you have determined placement, use liquid glue to adhere. Trim any overhanging die cuts as needed.
Sentiment
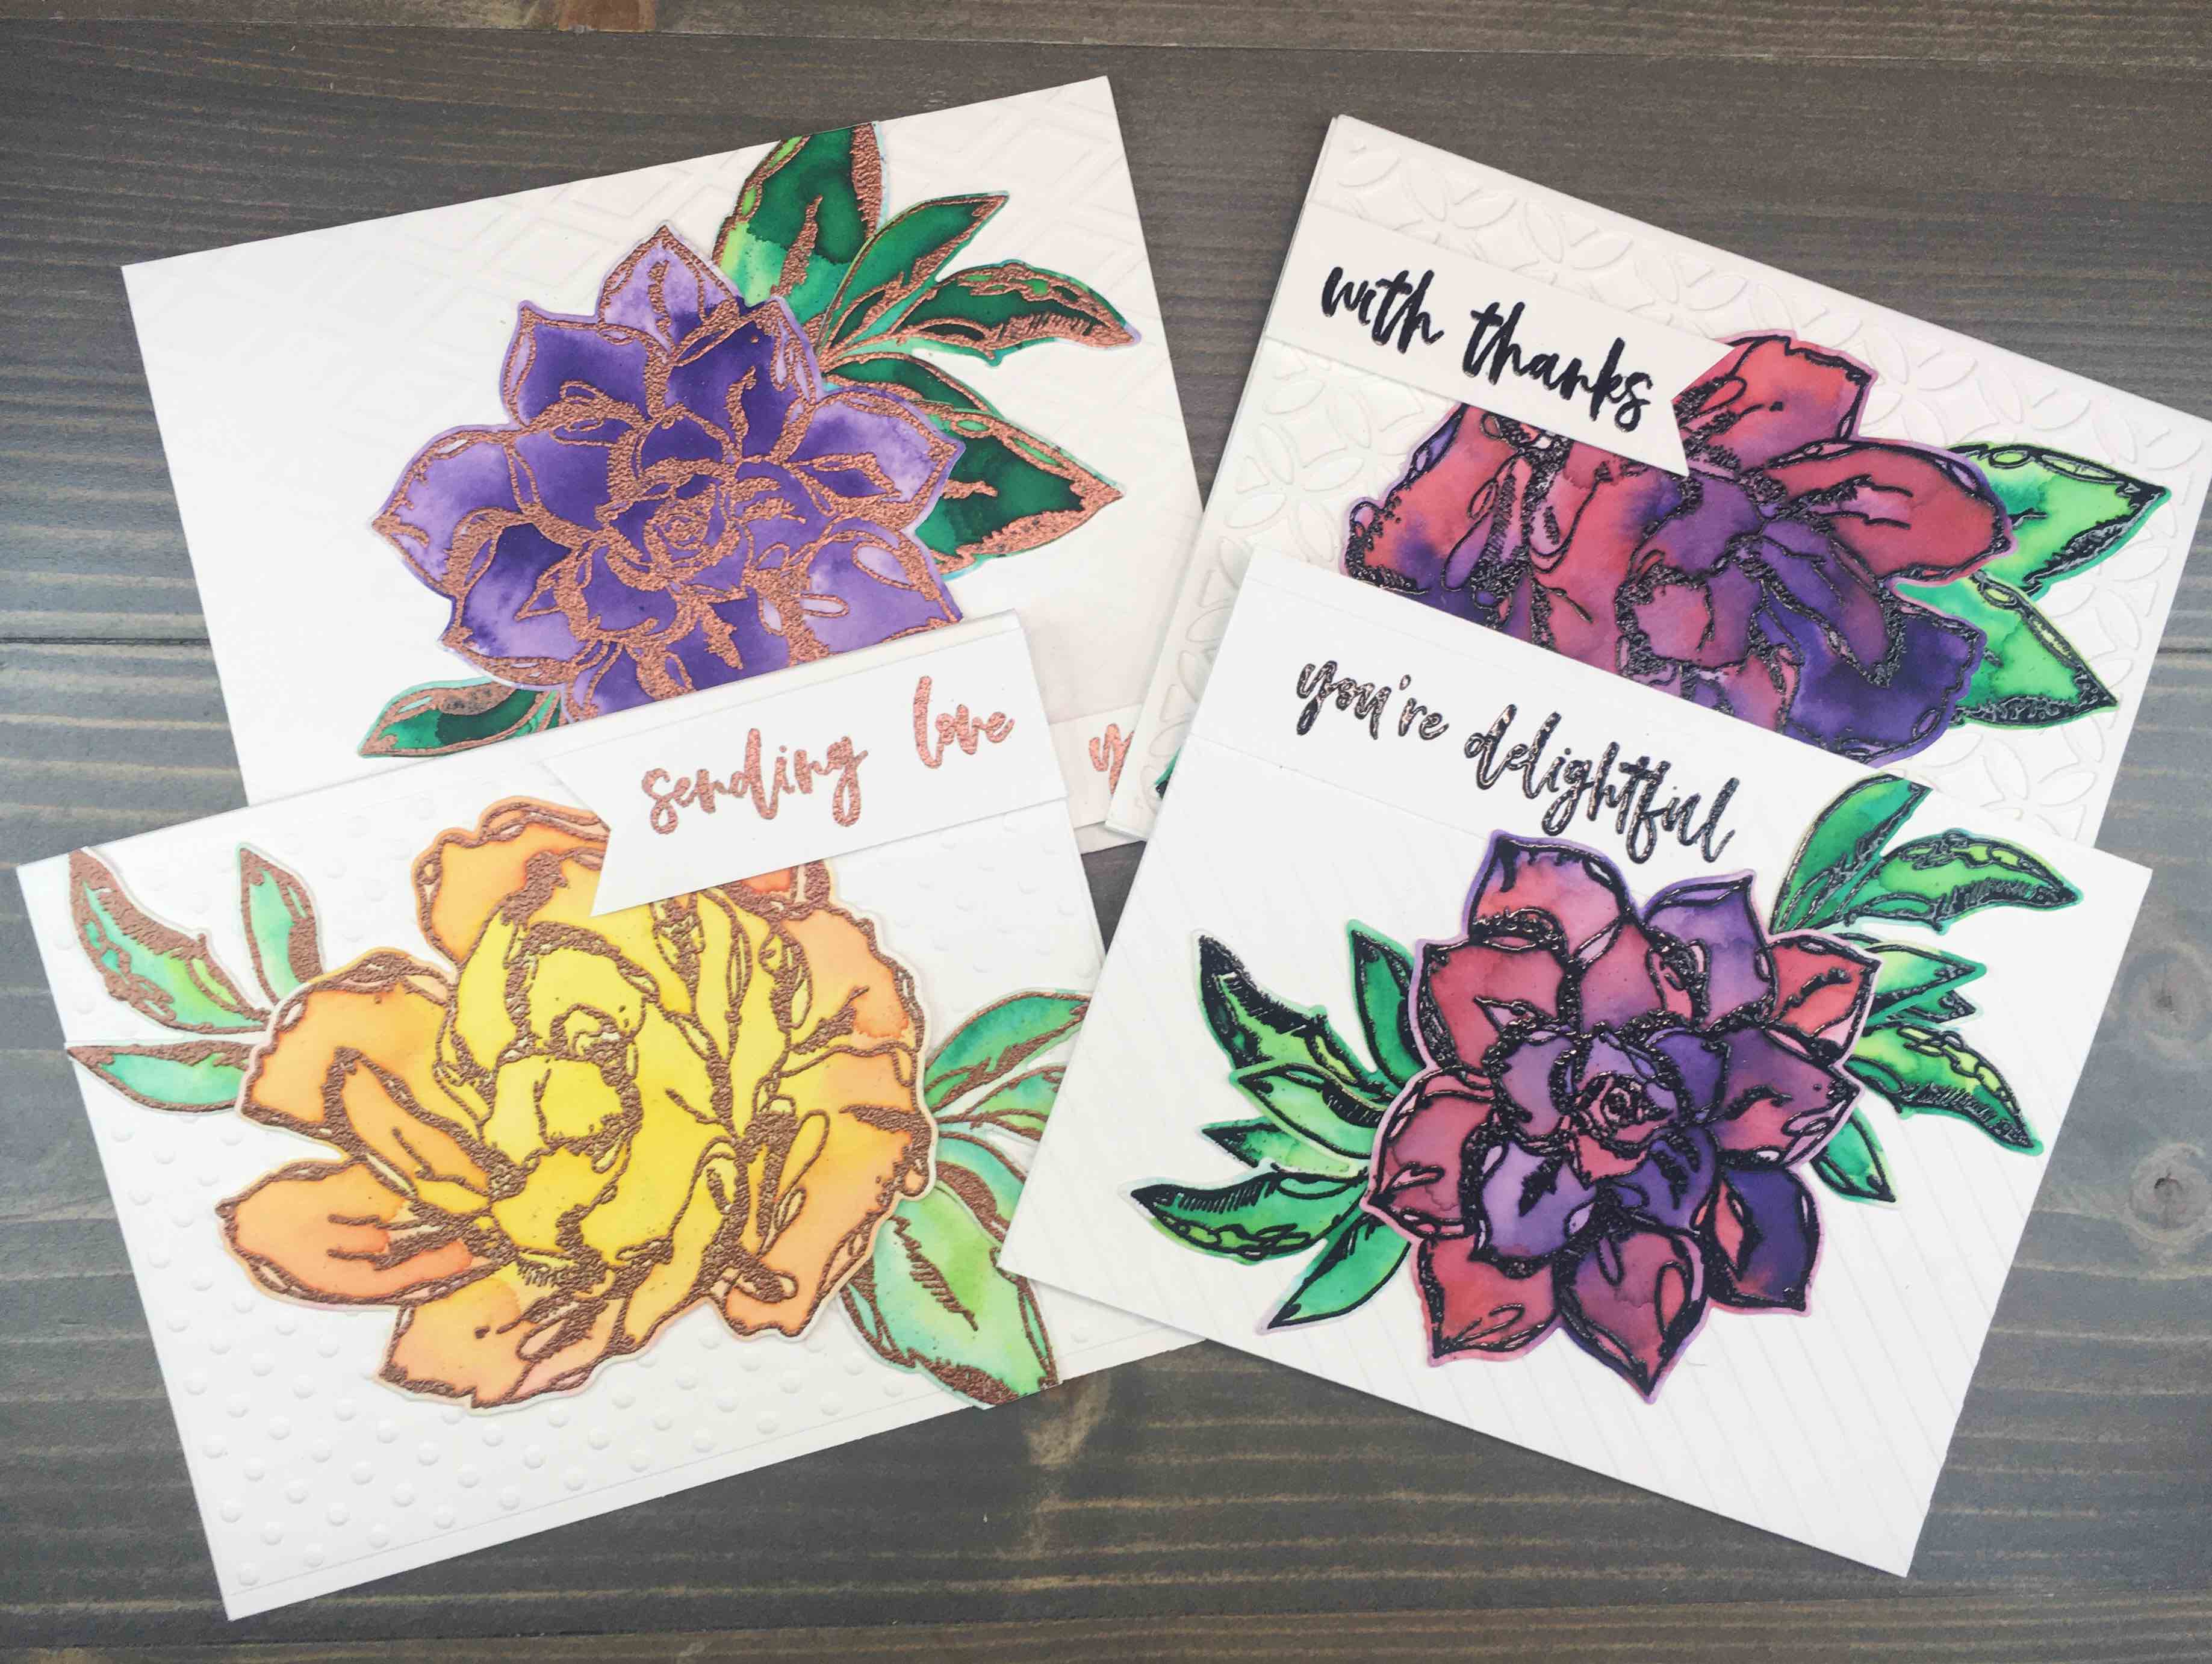
Heat emboss sentiment using same color as embossed flower. Trim sentiment and adhere to card. There are so many options for a sentiment banner, try different options and discover which is your favorite.
Rectangular, flagged edge, diagonal edges, popped up via foam tape, etc. There is no specific banner required – just go with what you feel looks best! With that, the card is complete!
The vibrant color from the Mermaid Markers is just incredible, especially when backed with the white textured background. It’s amazing how easy it is to achieve the watercolored effects. This simple watercolor floral card is a project any beginner (or experienced) card maker can accomplish!
I urge you to give it a try – what worked for you, and what tips or tricks do you have? Let me know in the comments, I’d love to learn from you as well!
For more inspiration similar to this simpler watercolor flower card and using Jane Davenport’s Mermaid Markers, see my post onHappy Birthday Watercolor Card.