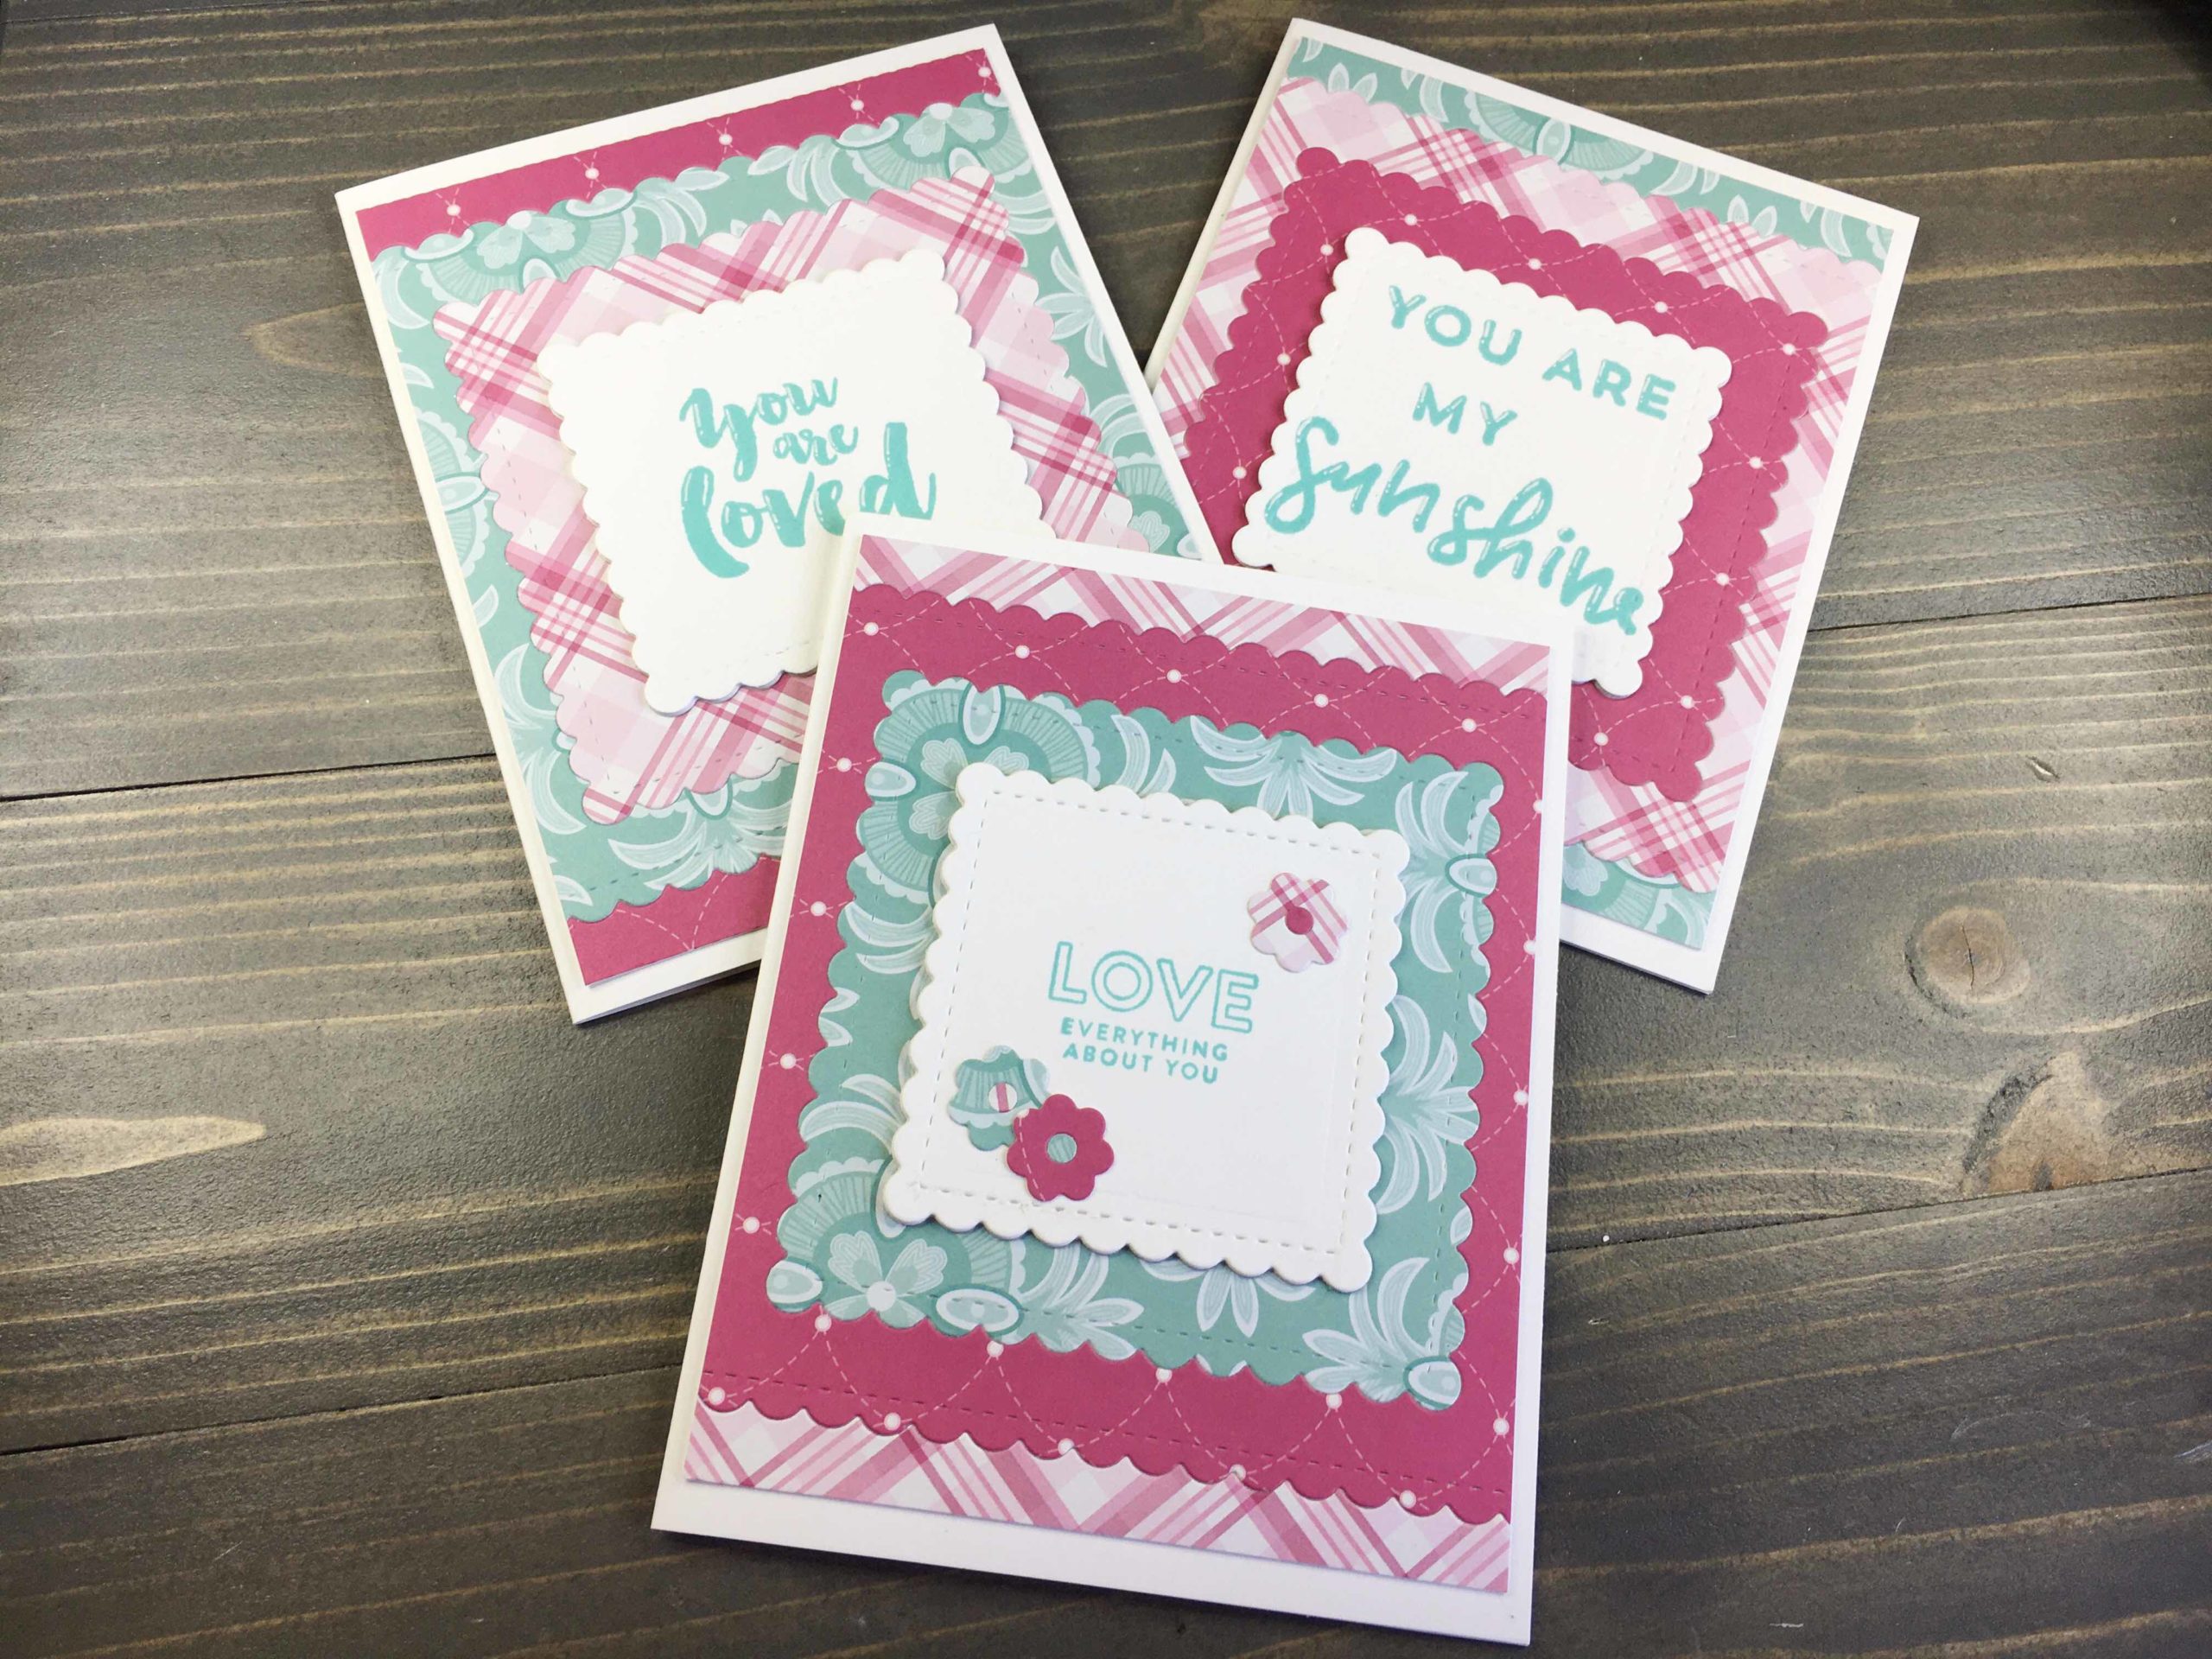
I have a lot of patterned paper in my stash. Left over from my scrapbooking days are numerous paper pads just waiting for me to create something with them. If you have the same lurking in your craft room, today’s patterned paper cards is for you!
For additional inspiration using a similar die as today, check out my post on batch creating cards.
Supplies
Neenah Classic Crest Solar White 110lb Cardstock for card base, 80lb for die cuts
DCWV The Blossom Song stack of 12” x 12” printed cardstock
Honey Bee Stamps Scalloped Squared dies
Honey Bee Stamps Beautiful Life stamp set – ‘You are loved’
Concord & 9th Dahlia Turnabout stamp set – ‘You Are My Sunshine’
Simon Says Stamp Delicate Flowers stamp set – ‘Love Everything About You’
Gina K Sea Glass ink
Tombow Mono Liquid Glue
Gelly Roll pen in White
Die Cutting
After selecting desired cardstock for your cards, run them through your die cutting machine with Honey Bee Stamps Scalloped Squared dies. Selecting cardstock from within a set will ensure your color schemes and patterns match.
The quantity of cardstock designs will correlate to the number of cards you can create. For example, to make three cards as I did, select three different designs of cardstock. This is assuming you cut 1 set of die cuts from each paper.

Using white cardstock, cut 4 sets of the fourth largest square for each card you intend to make. These will be stacked together for increased dimension of your sentiment.
Sentiment
Select a sentiment and ink that matches your patterned paper. If you do not have an ink that matches, a simple black generally looks good. Stamp your sentiments on the white cardstock then adhere an additional three squares to the back. This will allow your sentiment square to sit above the patterned background.
Take a white Gelly Roll pen and accent stamped sentiment if desired.

Card Panel
To create the card panel, start with a panel of white cardstock, cut to 4 1/4” x 5 1/2”. Use this as a backer for the scalloped squares. Adhere the largest square to the panel using liquid glue. Center the square over the card panel. Note – the sides of the square will overhang, only the center bits of the frame will need adhering.
Next, adhere the second largest frame from a different patterned cardstock. Follow this by adhering the third largest frame from another patterned cardstock.
Allow to completely dry before trimming excess from your card panel. For the samples today, the patterned panel was trimmed to 4” x 5 1/8”, which allowed a small white border.
Using liquid glue, adhere sentiment square to center of card. Embellish as desired.

Patterned paper cards are a great way to use some excess paper hiding in our craft rooms. If you don’t already have a stash, there are nearly always great deals on paper pads as local craft stores. Paper packs are always filled with beautiful papers that match wonderfully together, which is perfect for patterned paper cards.


