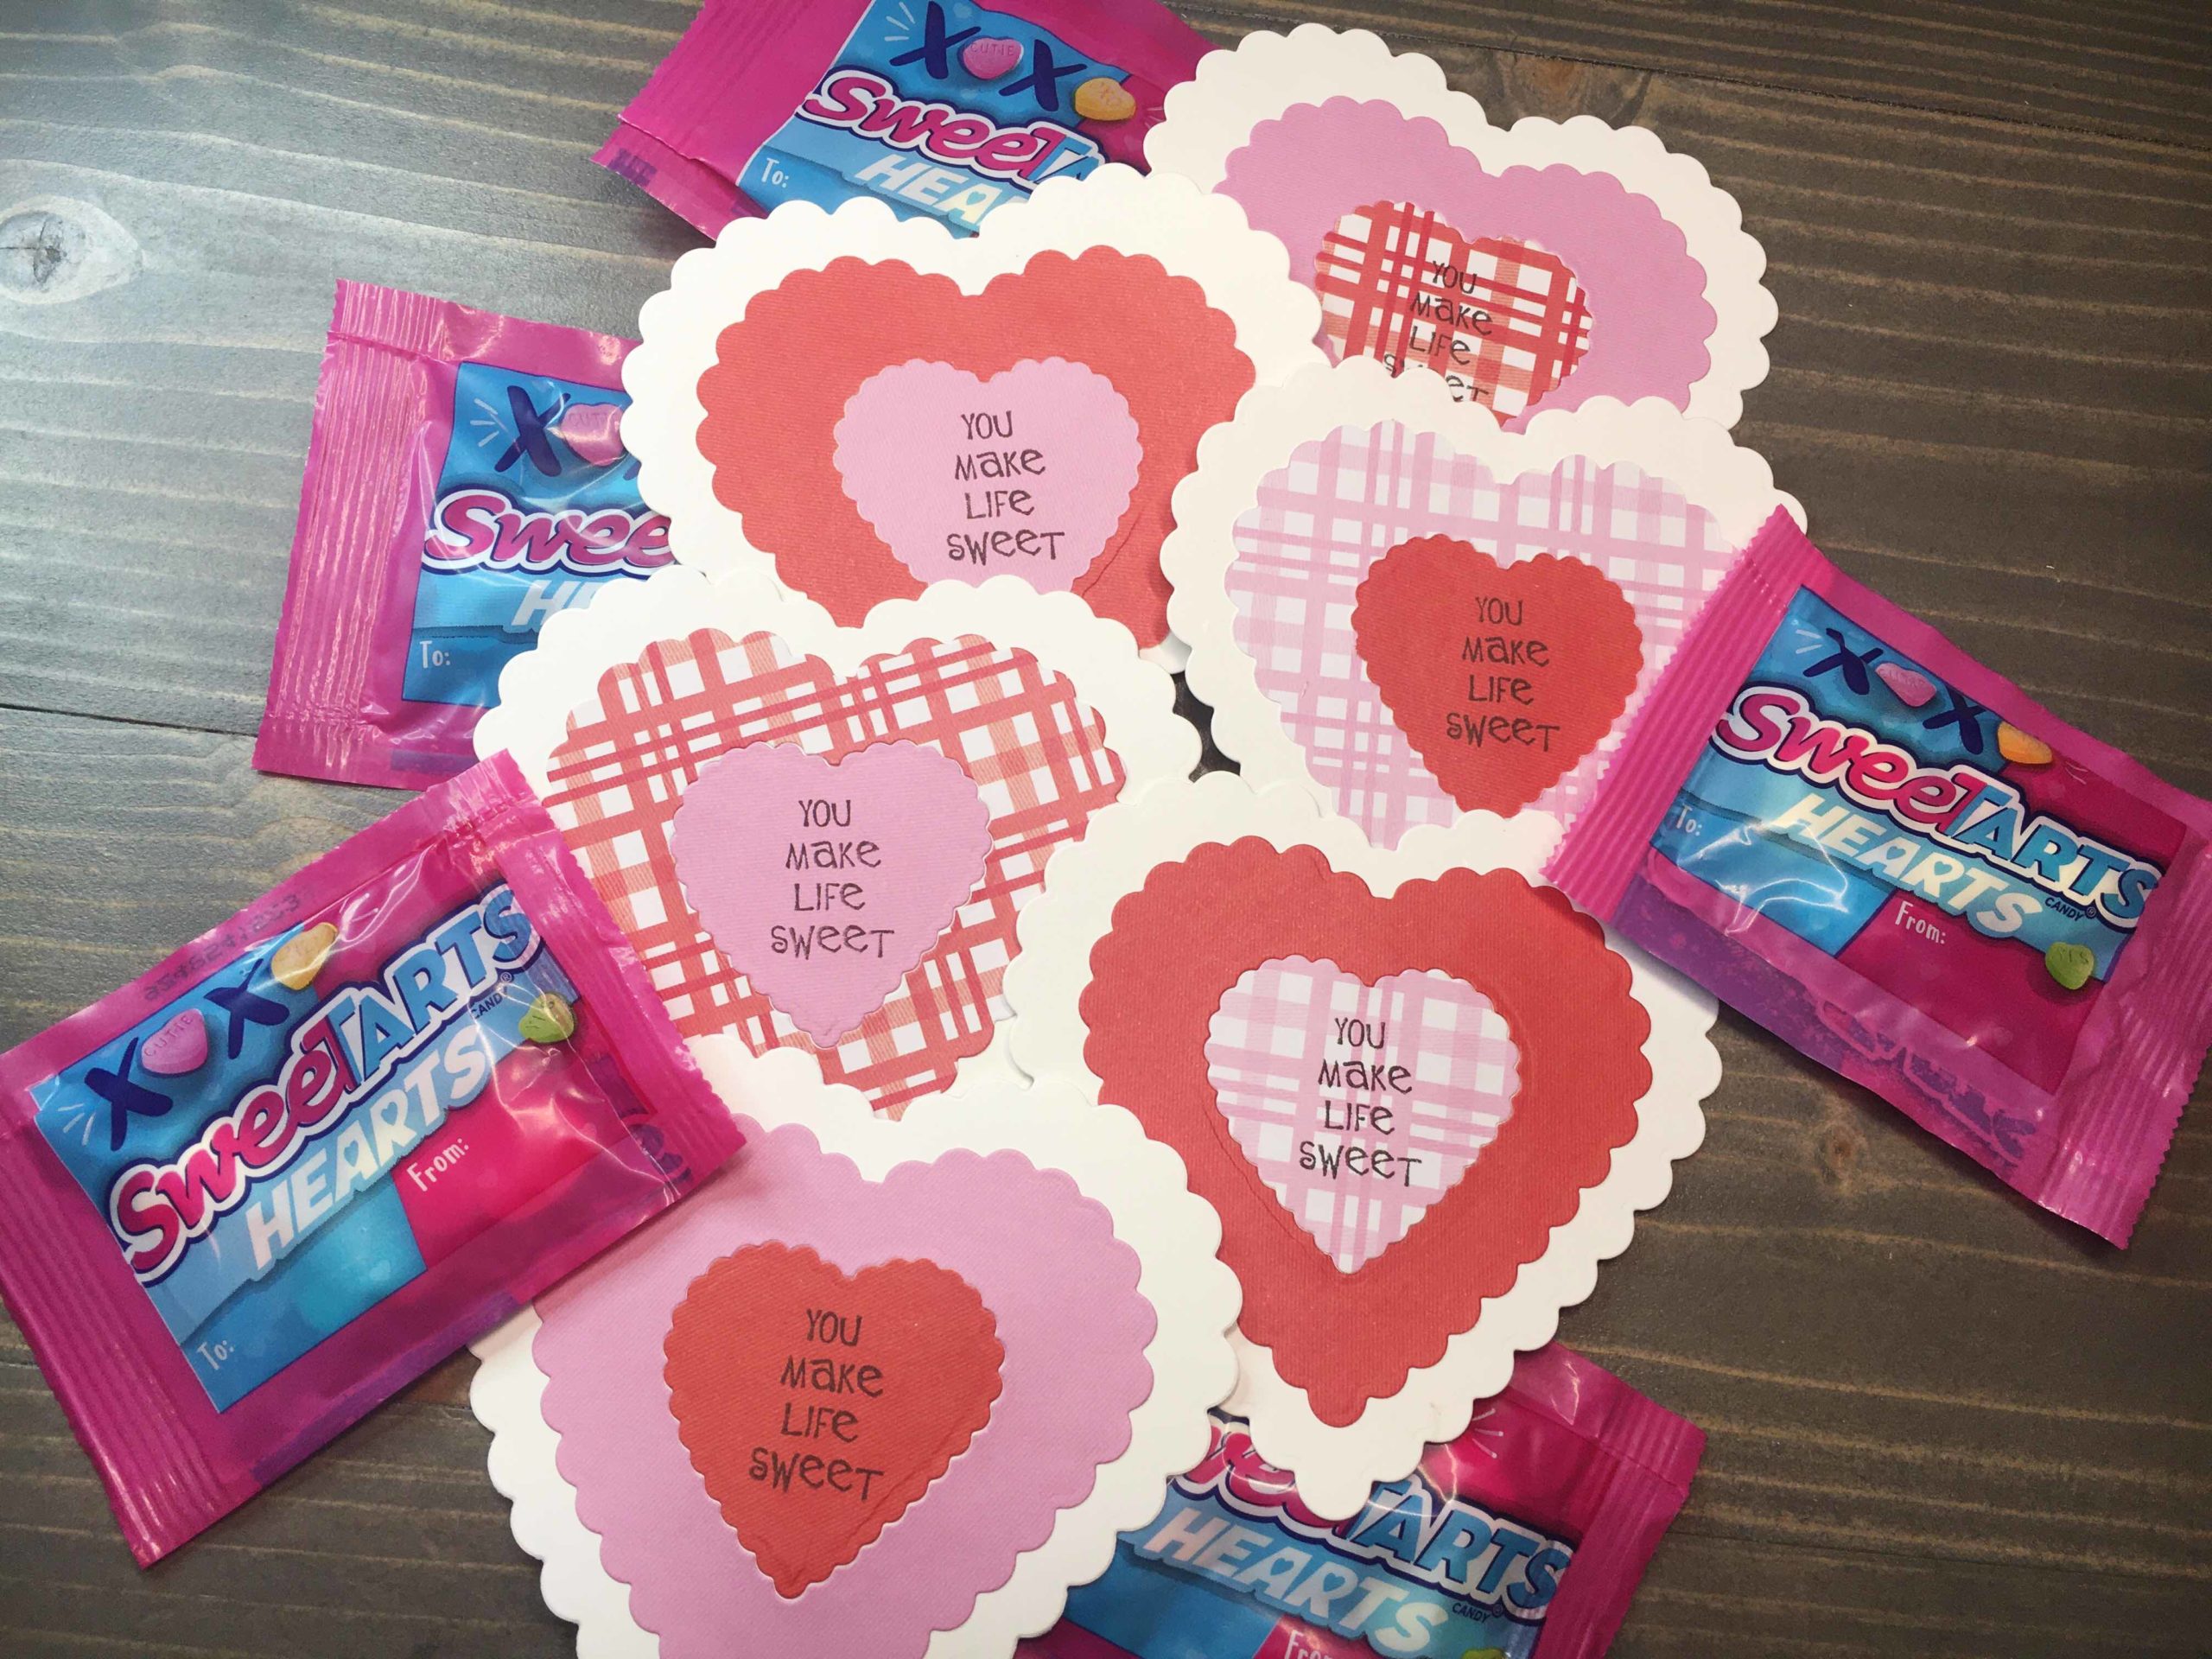
My children are in elementary school and exchange Valentine’s cards at school. Instead of purchasing cards at the store, I enjoy helping them to create their own cards to exchange. Valentine’s Cards with kids is a great way to spend quality time with your children, while also getting something done! Today’s card design is easy for little hands to help with, and great for batch cardmaking!
In addition, I utilized supplies from my that aren’t the high quality I generally use for cardmaking. For example, lightweight cardstocks and patterned paper pads. Still good supplies, just not what I prefer when creating cards.
Supplies
Lightweight and patterned papers from 12 x 12 paper pads
Scrapbook.com Scalloped Hearts dies and Spellbinders Platinum 6 Die cutting machine
Close to My Heart Love of My Life stamps (many years old) and Misti Stamping Tool
iCraft Ultra Bond Adhesive
Die Cutting
Using a nesting die cut set is a great way to maximize your supplies and minimize your production time. Select three dies from a nesting set (Scrapbook.com’s Scallped Hearts die set is great for Valentine’s Day).
The first is your largest die, which will be cut into white cardstock. The second and third dies should be spaced apart so when cut together, they provide a frame and interior shape. Taping the dies will help keep consistency in your cuts.
Helpful Hint: select your sentiment stamp prior to die selection so you can ensure your die cut will fit the chosen sentiment.
If you are creating die cuts from paper, you can try stacking your paper to cut two die cuts at a time. My paper was 12 x 12, so simply folding the paper in half before die cutting worked great.
Encourage your helper to select a mix paper patterns and colors when cutting to obtain a variety of die cuts. My son (who is seven) wanted traditional colors of red and pink, but I encouraged him to add in some patterns along with solid colored paper.
My son likes to assist in die cutting. I hold down the machine while he turns the handle. This is a great job for him, and really helps him feel that he is participating in the process. Other ways to include helpers in die cutting is to have them pull out the sandwich after die cutting is complete, and possibly even separate the die cuts into their correct piles.

Stamping
Creating a frame for your die cut is the best way to ensure good placement for your sentiment. First, take a scrap from your die cutting and adhere it to a stamp platform using repositional tape. Second, place the smallest die cut into the slot, then position your stamp. As you stamp, place each die cut in the slot and your sentiment will be stamped in the same place for all die cuts!

Assembly Line
This is where your helper can really feel like they are creating their cards. I glued the frame die cut onto the background cardstock, then passed the set to my son who selected a center die cut for each card.
Now, my die was not symmetrical, so half my dies were cut reverse. This wasn’t a problem as all die cuts were done the same way (meaning I always folded the paper, instead of folding some and stacking others). My son’s job was a little harder because he needed to determine which center die cuts fit, but it was similar to a puzzle and he didn’t have trouble with it.
Depending on your helper’s skill with glue (and your patience…) either glue the final die cut in place yourself or have them glue after to verify things look good.

Finalizing
Your helper can then customize their Valentine’s by addressing them on the back. We decided to add a small piece of candy which finished them off! Not only is my son proud of a job well done, I was able to spend some quality time with him! Not to mention, I used some of my stash, and had minimal expenditures on Valentine’s!
Valentine’s cards with kids can be fun and easy! Have you created cards en masse with little helpers? How did things go? What tips and tricks do have you discovered?


