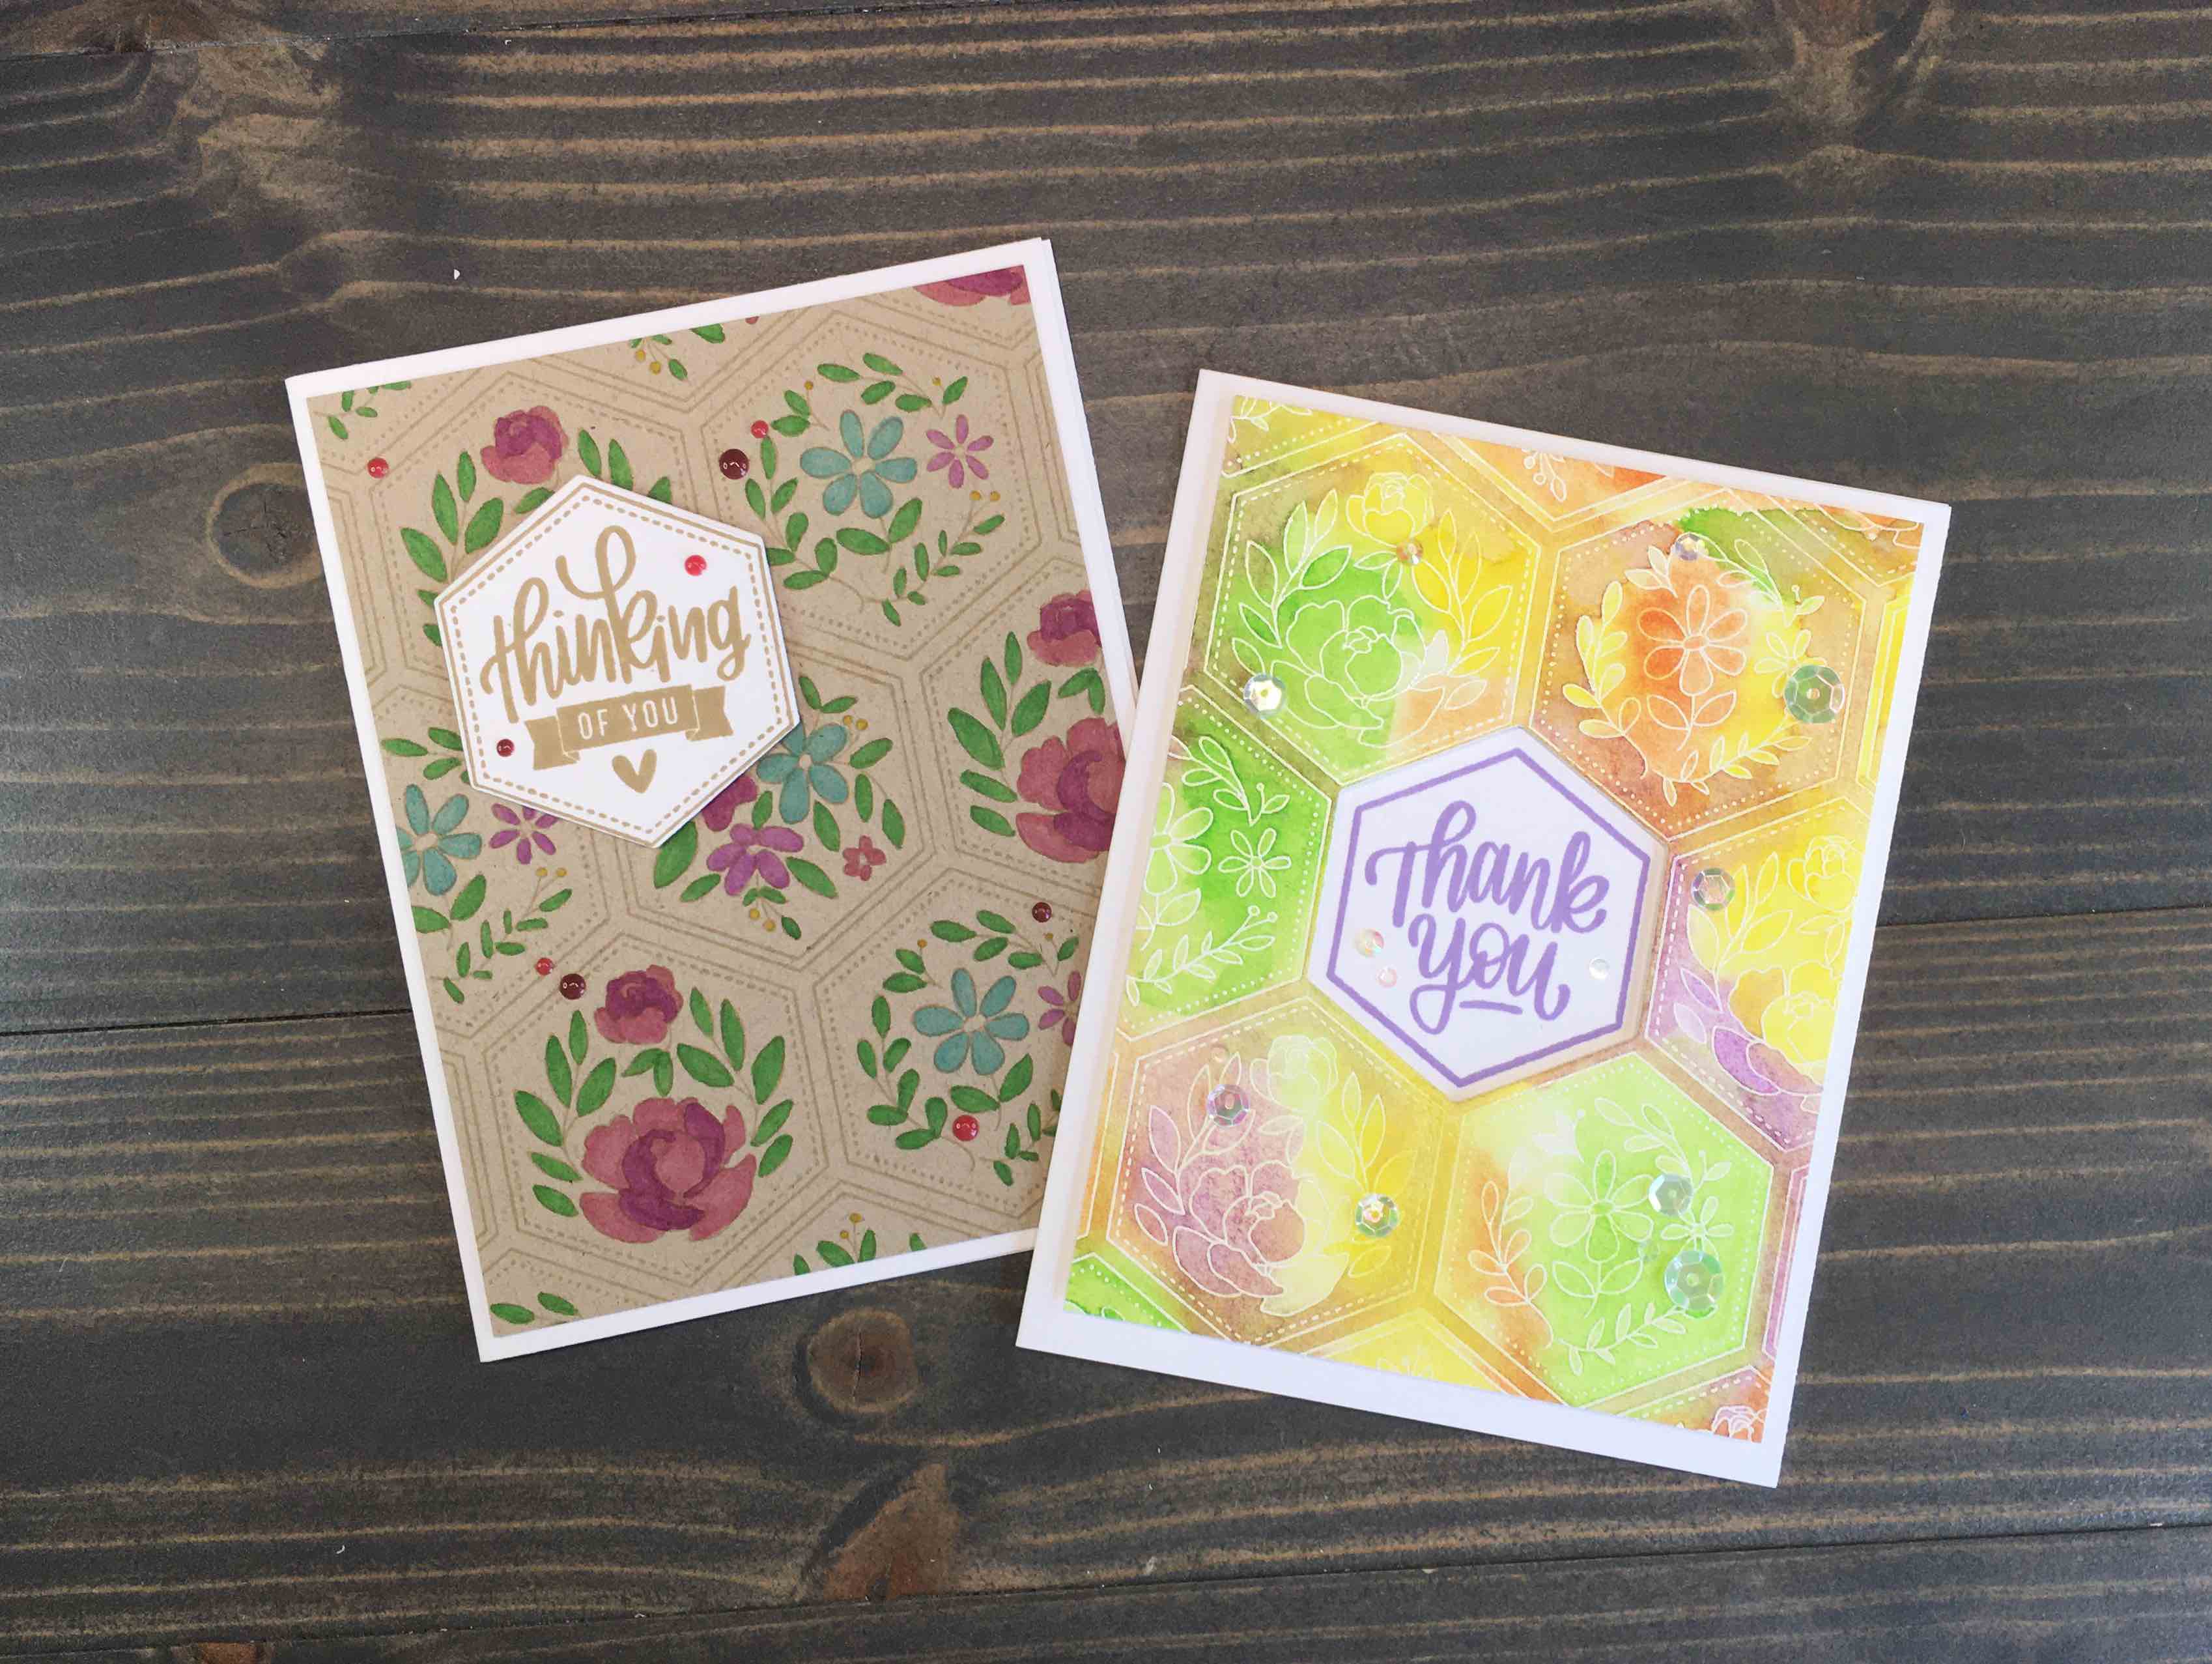
Hello! Thank’s for stopping by! Today, I’m using one stamp in two different cards – hoping to give you inspiration on ways you can stretch your stamps farther and get more out of your supplies! Now, I’m cheating a little bit here, as I’m technically using two sets, but they are coordinating sets, so I’m counting them as one. I’m also using the die which works with both sets.
I hope you enjoy this 2 Cards 1 Stamp – SSS Hexagons installment. I have plans for more cards using 1 set in the future, so let me know if you have any requests!
Supplies
Neenah Classic Crest Solar White Cardstock: 110lb for card base, 80lb for die cutting
Neenah Desert Storm Cardstock: 80lb for card panel
Canson XL Watercolor Paper
Simon Says Stamp: Center Cut Hexagon Floral background stamp, Hexagon Greetings, Hexagon die
Repositionable Adhesive & Adhesive Eraser
Gina K ink in Kraft
Altenew ink in Lavender Fields
Ranger Embossing Powder in White
Copic Markers: BG45, R85, RV66, YG09, V04, Y18
Jane Davenport Watercolors Bright Palette
Nuvo Crystal Drops in Party Pink and Moroccan Red
Little Things Swan Lake sequin pack
Card 1 - Stamping
The Center Cut Hexagon Floral background stamp from Simon Says Stamp is a versatile stamp because it has a center hexagon that can be removed when stamping. The center hexagon does fit back into place with any orientation, but I found it fits best with it’s original placement, so I made a mark on my stamp with a sharpie to help be quickly replace the center.
For this card, I have elected to keep the center stamp in place, but I found it does aid in aligning the stamp prior to stamping. Start by using a repositionable adhesive to keep your card panel in place on your stamping platform.
To easily center the background, use the pop out stamp to align above your card panel then place the rest of the stamp around it.
Stamp using Gina K die ink in Kraft, then stamp sentiment from Hexagon Greetings over white cardstock.


Card 1 - Coloring
The tone on tone background looks great, and you could stop here for a great looking card. I wanted to add a bit of color, so I elected to add a bit using Copic markers. The images are small and I wanted to keep things simple, so I used only single colors on petals and leaves. See the supply list for colors used.

Card 1 - Finishing
Die cut the sentiment using the coordinating hexagon die. For a bit of added dimension, add foam tape to the back.

Trim card panel to 3 7/8” x 5 1/8” then adhere to A2 sized card base using Distress Collage Medium. Adhere sentiment on top.
Nuvo Crystal Drops in Party Pink and Moroccan Red really finish the card off.
I love the subtle pops of color, and how the white sentiment ties in with the white border around the card panel. The Nuvo drops match perfectly with the copic coloring, and really tie everything together.


Card 2 - Stamping & Embossing
The second card will also use the Center Cut Hexagon Floral background stamp, but this time without the center hexagon in place. Using the same method above (except using a card panel cut from watercolor paper), position center hexagon stamp above panel, then place the rest of the stamp around it. Then, as we do not want to stamp the center hexagon, remove it from the center, while leaving the rest of the stamp in place.
Run an anti-static pouch over your card panel before stamping background using VersaMark Watermark ink then heat emboss using Ranger Embossing Powder in White. Set aside panel to cool.

Card 2 - Watercolor
If preferred, tape panel to a board to help prevent warping. Using watercolors, a water brush, and a Distress Sprayer filled with water, watercolor background using random placement of colors. Tilt panel as desired to aid in color movement. Add water via spray bottle as needed, blotting with a paper towel or drying with a heat tool as desired.

Once you are happy with your card panel, set it aside to dry completely.
Card 3 - Finishing
When panel is dry, die cut center hexagon and trim panel to 3 7/8” x 5 1/8”. Center the panel over an A2 card base and align sentiment stamp in open hexagon. Stamp sentiment directly onto card base using Altenew Lavender Fields ink.


Use foam tape to pop up the card panel, then add sequins and jewels to accent.


The brightness of this card is a great contrast to the first card, and it lends a more whimsical air to the set. For a somewhat similar card design, this card gives an entirely different effect.


For the full video tutorial, check out my video below.
I hope 2 Cards 1 Stamp – SSS Hexagons has brought you inspiration on ways to stretch your supplies and craft multiple card designs from one set (or collection) of products. If you have any requests for sets you would like to see a 2 Cards 1 Stamp installment on, let me know in the comments!
For more inspiration on different ways to use the same products, see my post on 2 Cards from 1 Die.
