I always have a need of more birthday cards. Lately, of a masculine theme. Today, I’ve put together a few to add to my card stash.
To start, I began embossing watercolor card panels using various embossing folders from my stash and my Big Shot die cutting machine.
I selected a few Distress Oxide inks for my color palette: Black Soot, Fossilized Amber and Peacock Feathers. After pressing some of each ink on my work surface, I spritzed both ink and watercolor panels with water, then pressed card panels into the ink puddles.
For one of the panels, I began by pressing ink directly to the embossed paper, then heavily spritzed until the ink began to run. After drying, I added additional layers of ink by pressing into puddles of ink, as mentioned above.
This process was repeated a few times with each of the three panels, sometimes drying between layers. Once I was happy with panels, I let them all dry completely.
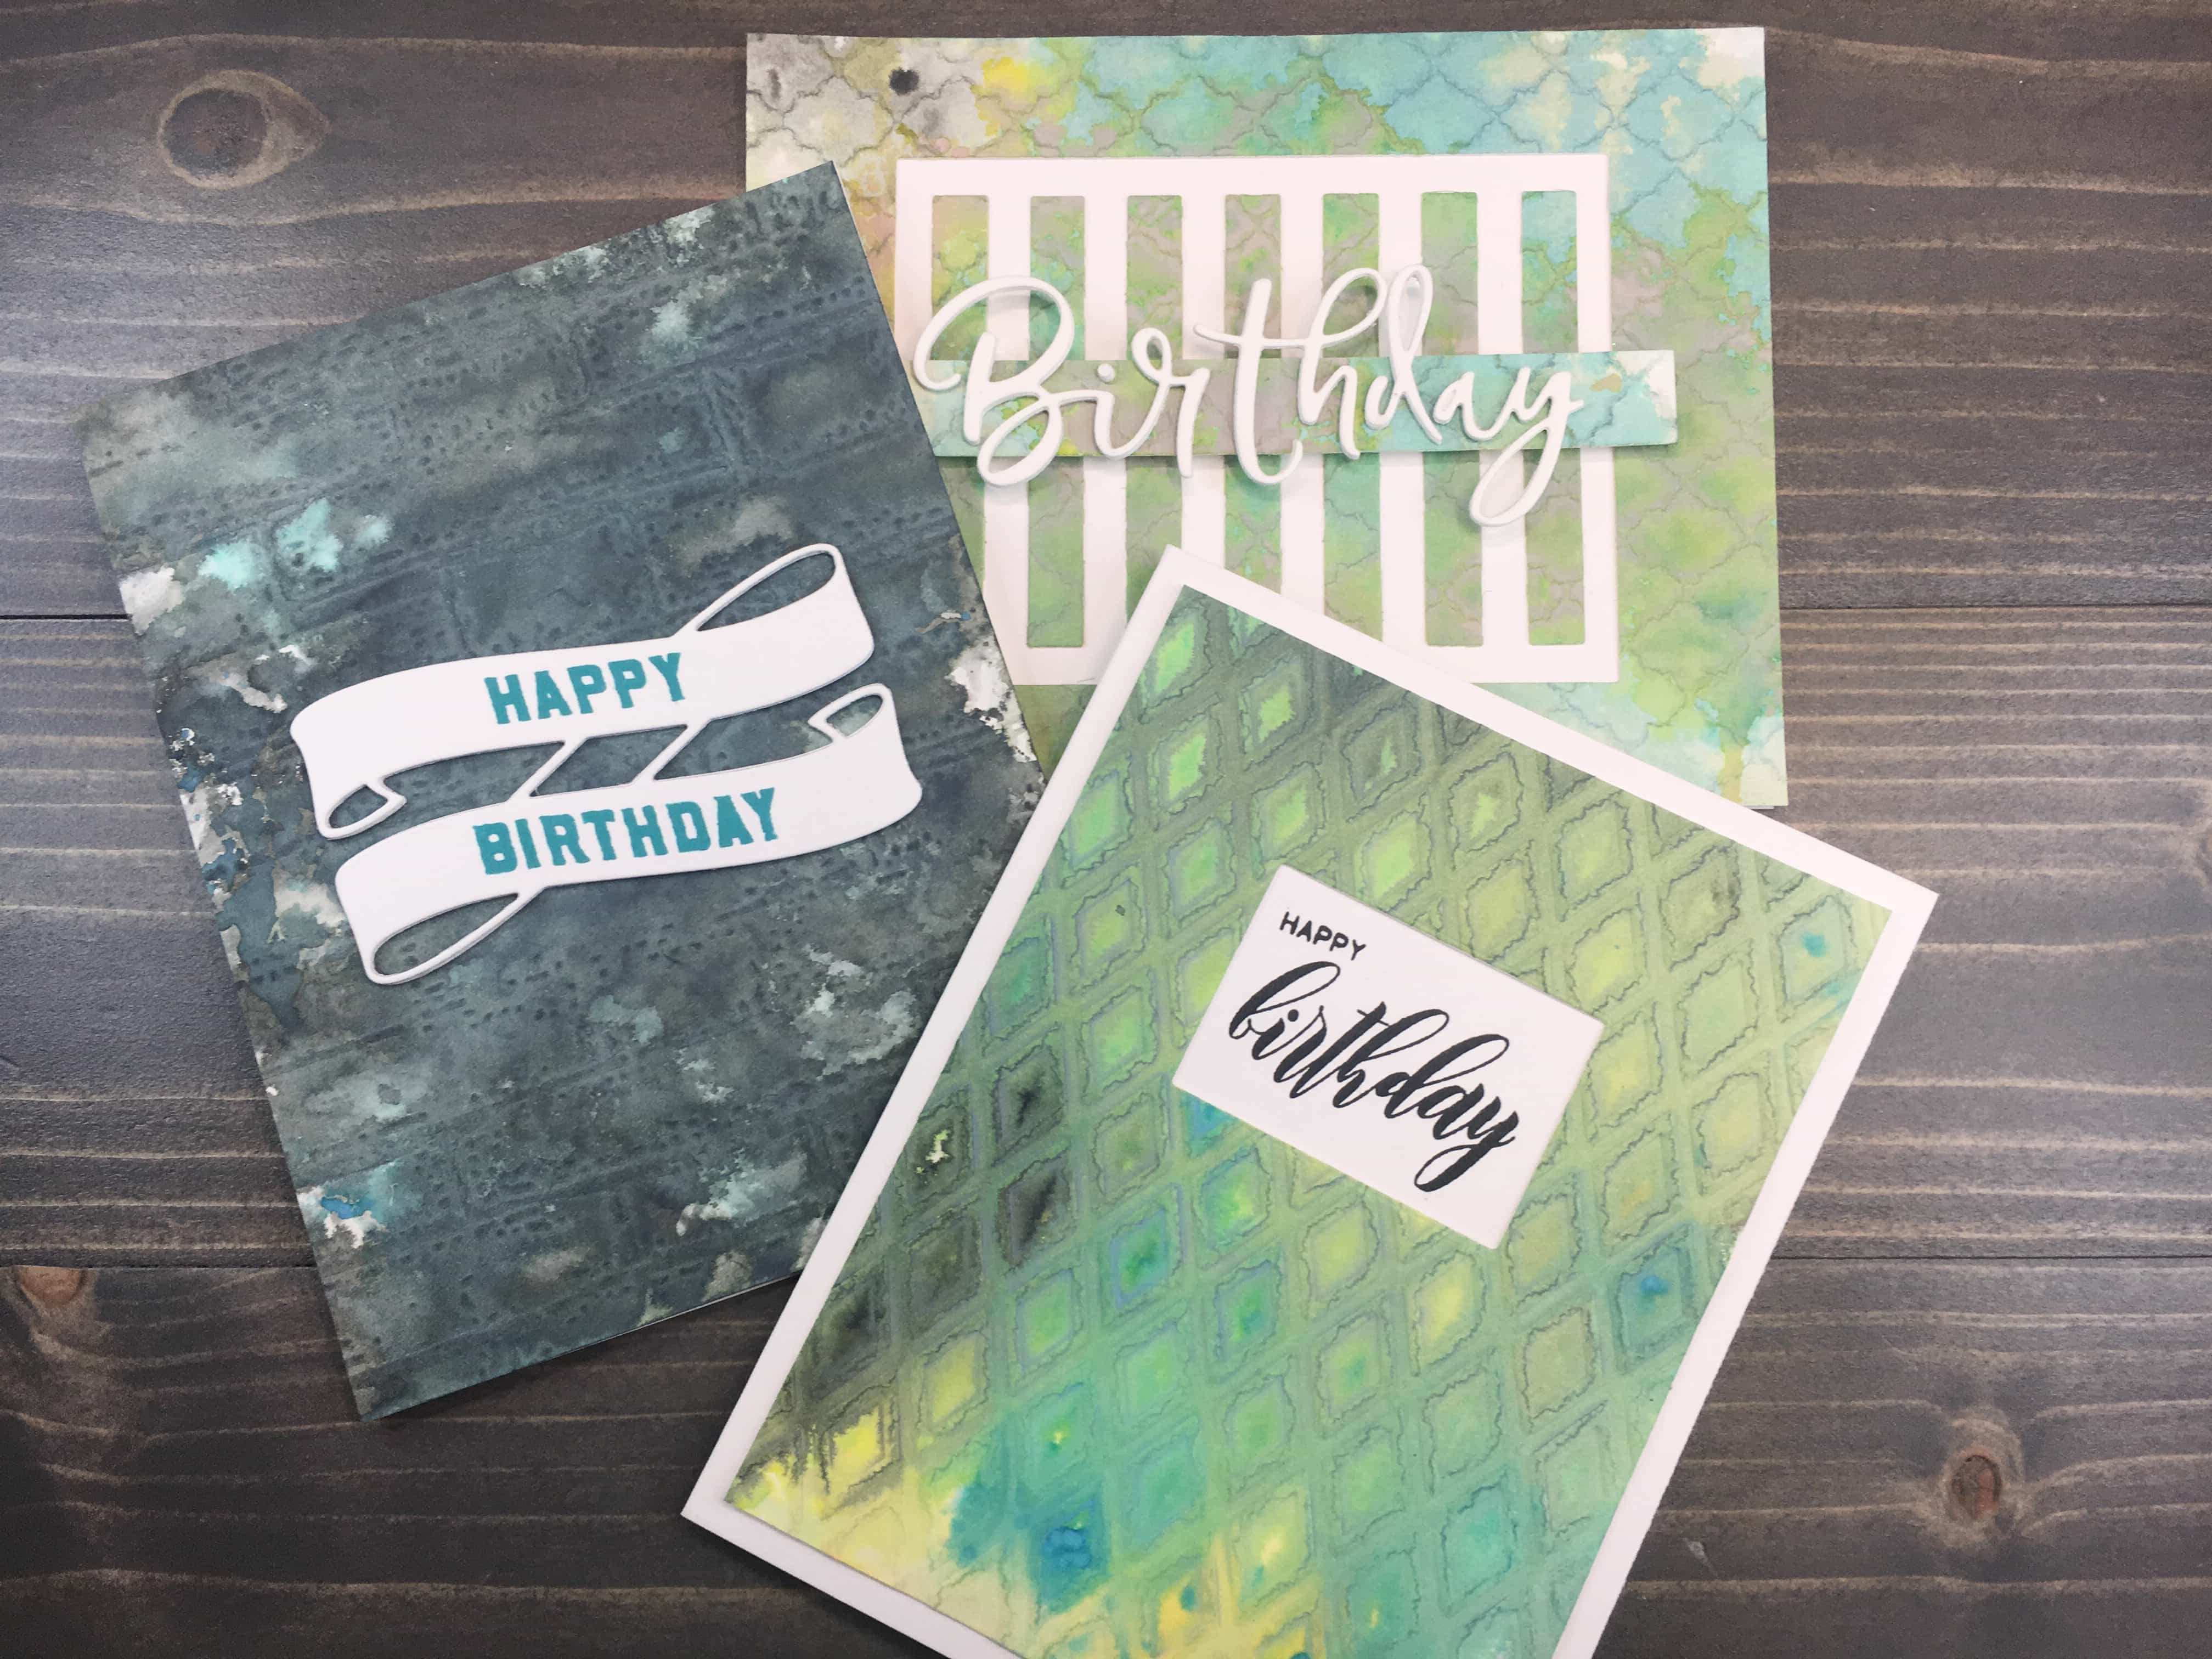
Card 1
For the first card, I trimmed down the panel to fit an A2 card front (5 1/2” x 4 1/4”). Using Concord & 9th’s Ribbon Banner Die, I cut 3 ribbons from Neenah 80lb Solar White cardstock, which I then glued together for greater dimension.
Utilizing Concord & 9th’s Banners & Blooms set, I stamped my sentiment onto the die cut banner. After gluing the banner to the embossed image and adhering the panel to the card base, my first card was complete.
Card 2
For the second card, I began once again by trimming the card to A2. I lightly stamped my sentiment (Altenew Wispy Begonia set) on the panel for placement so I could determine where I wanted a window cut.
Unfortunately, I don’t have a die the exact size I wanted. To get around this, I pulled a die that was close in size to what I wanted from my A2 Layers Die set created by Waffle Flower. I justified the die to the left of my sentiment and as I prepared my die cutting sandwich I purposely did not cover the entire die, leaving the entire right side uncovered.
After running the die and panel through my machine, I was left with a half cut rectangle. I realigned the die to where I wanted the right side of the window to be. While running the panel and die through the machine the second time, I purposely did not cover the left side of the die.
The end result was a window cut smaller than my die, and exactly the size I wanted!
I adhered the panel to a card base then using Gina K Amalgam Ink, stamped the sentiment in the window. Boom! Second card complete!
Card 3
Similarly, the third card started just as the other two by being trimmed to fit an A2 card base. I then used Avery Elle’s Focal Point Stripes die to cut a series of panels from the center. For this card, I used the negative space, and the actual frame went into my spare parts bin to be used in a future project.
Keeping all bits together, I used the frame as a guide to glue down the interior panels onto the card base.
I cut three ‘birthday’ die cuts from cardstock using Honey Bee’s Happy Birthday dies. After adhering each layer together, I glued the entire sentiment onto a scrap trimmed from the panel. A bit of craft foam added to the back preceded adhering to the card panel. As a result, the sentiment pops off the stripes and is not lost in the design.
Card #3 complete!
I had fun with these masculine cards today. The colors maintain the masculine air, especially with the flat, oxidized finish. Keeping the card simple also keeps them appealing to men.
What are your go to colors for masculine cards? Let me know in the comments below!