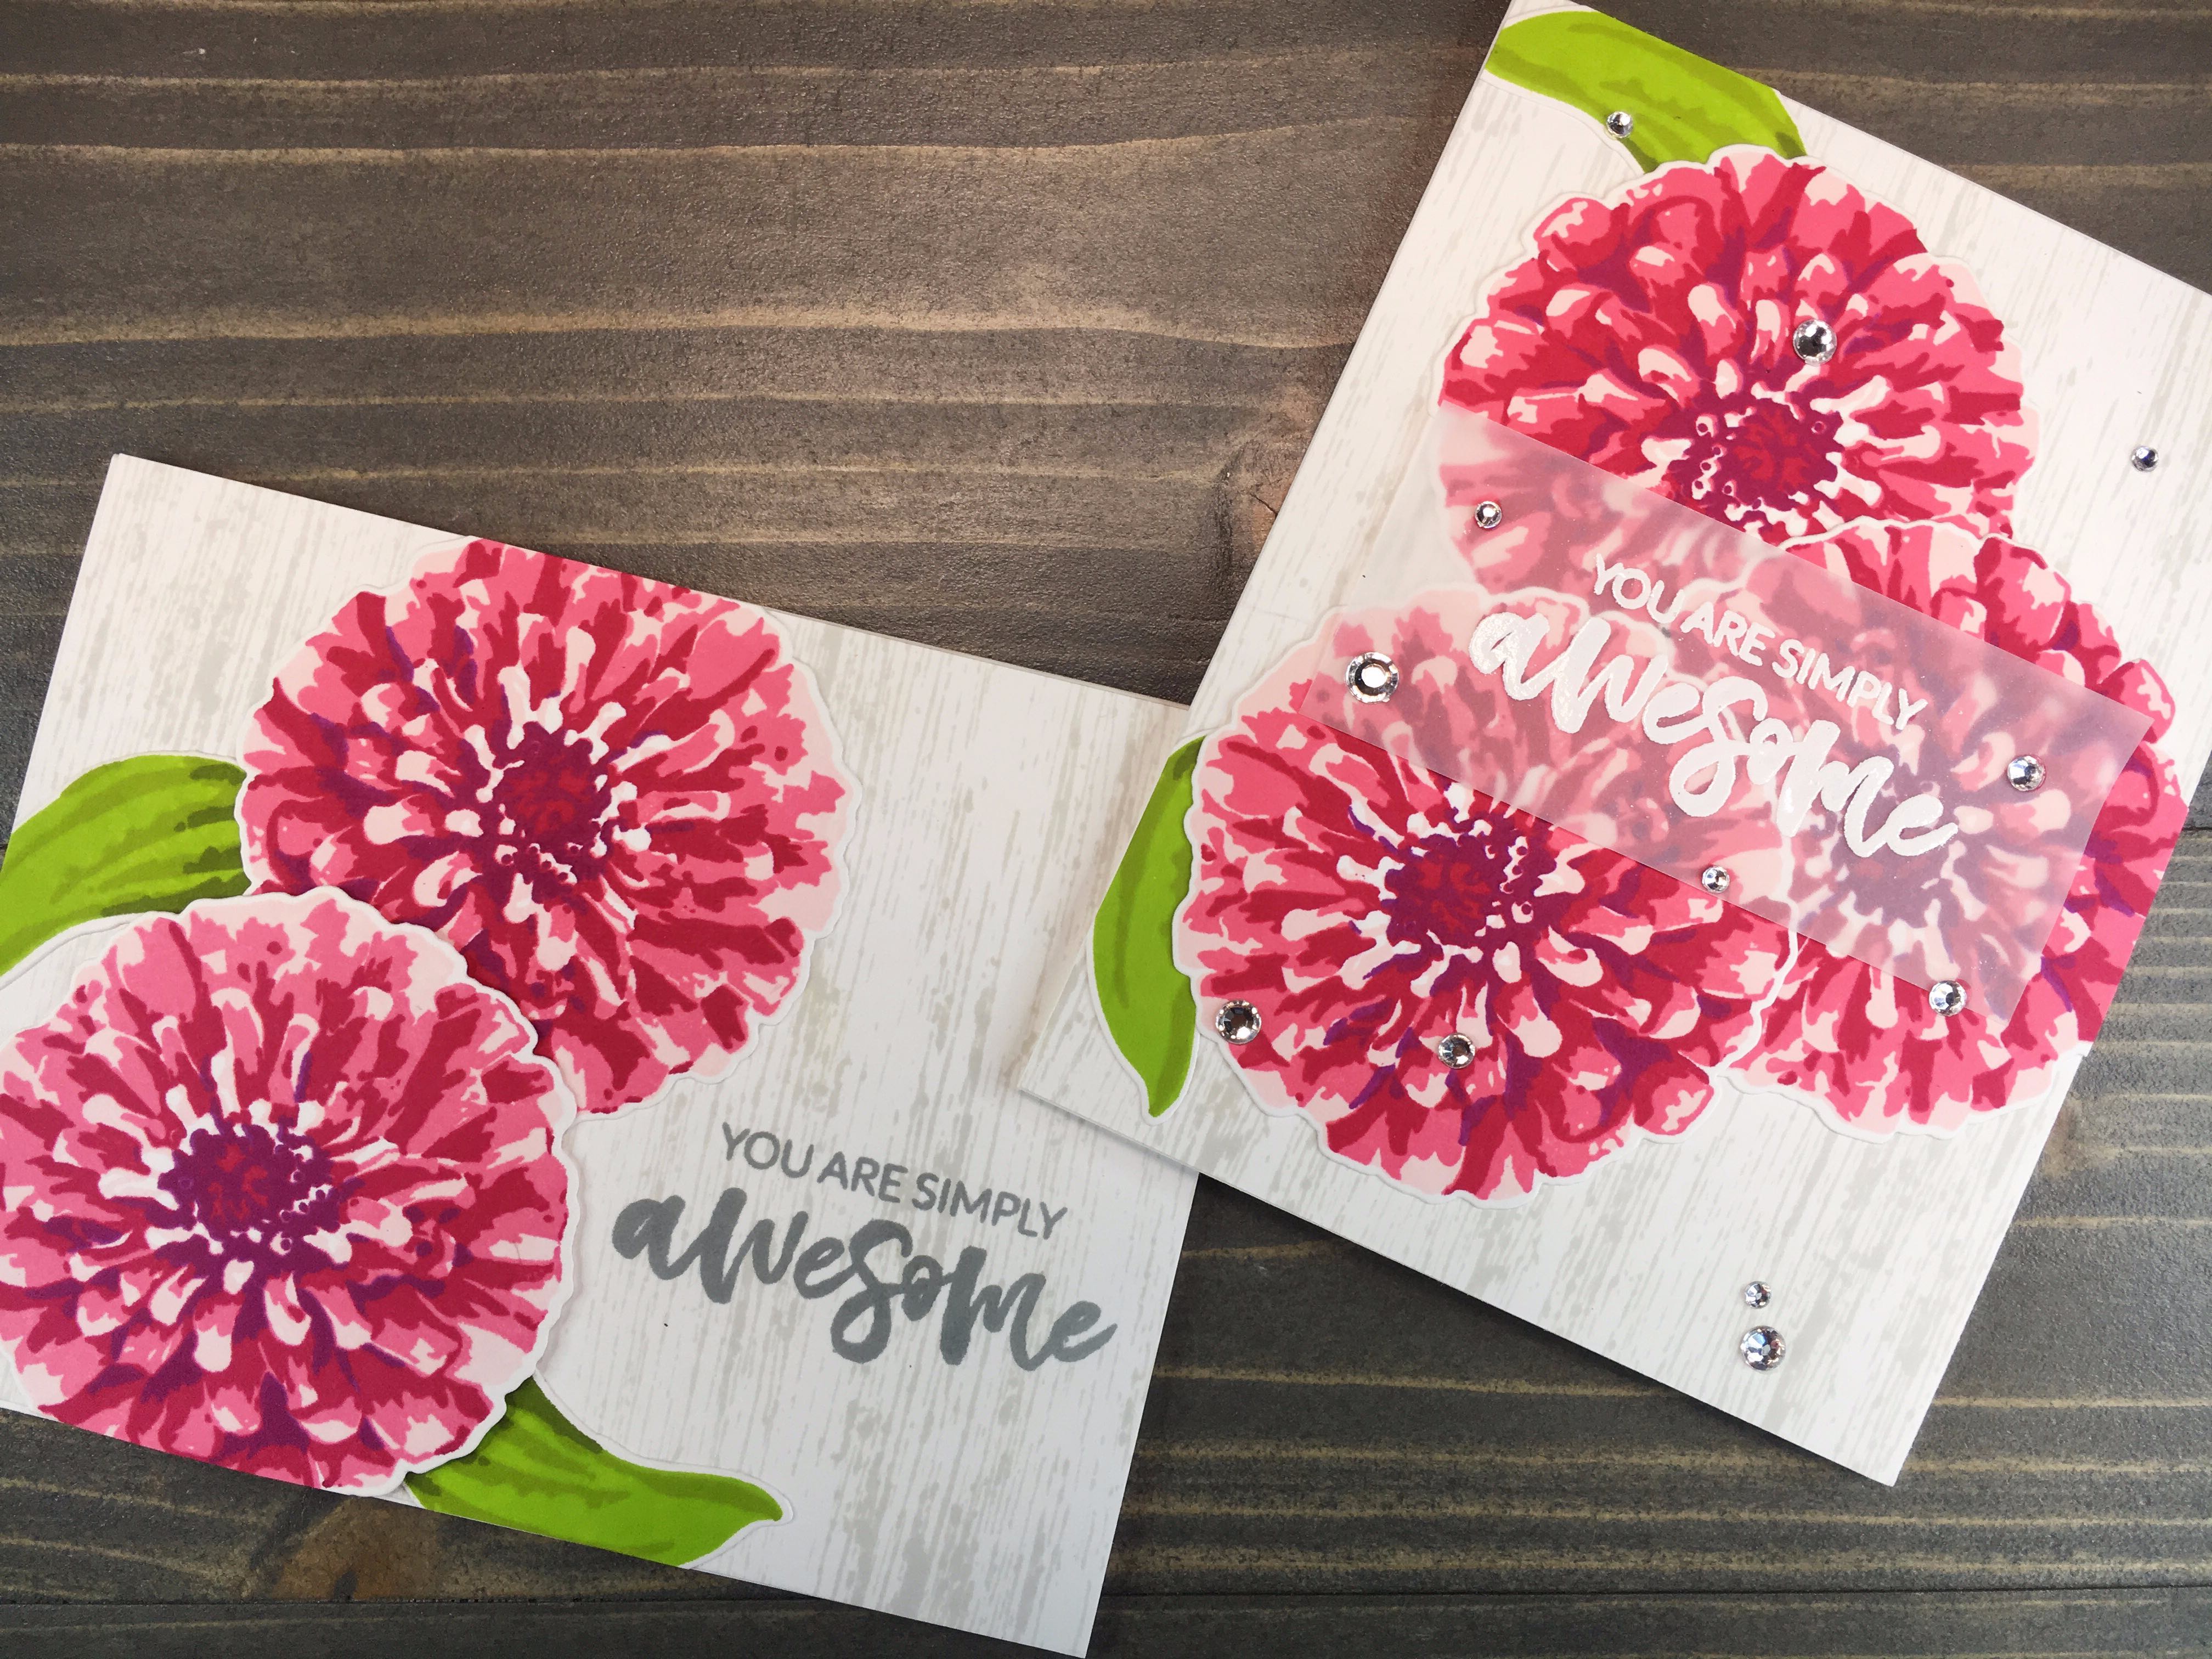
I enjoy 3D floral images, especially using them as die cuts. Altenew has so many Make a Flower sets, and I absolutely love every set in my collection.
Today’s cards utilize one of Altenew’s Make a Flower sets, Flourishing Zinnia. I’m also using Altenew inks, as they are available in color groups, perfect for using when stamping layered flowers. Following the included layering guide, I started stamping working from lightest to darkest inks.
Frosty Pink for the flower base, followed by Coral Berry as the main petal color came out great. I added the next floral layer in Ruby Red, then the fourth flower layer in Cosmic Berry. Feeling the flowers looked complete as is, I skipped the fifth layer of the flower.

The leaves came next; I stamped them using Parrot as the base, Olive as the mid-accent, and Moss as the darkest accent color.
I die cut all flowers and leaves using the included dies.

Next, it was time to move onto a base panel for layering flowers. Taking Simon Says Stamp Fog ink and W Plus 9’s Wood Planks stamps, I created two panels of wood grain. I like how the light wood grain does not detract from the colorful flowers, yet adds a bit of dimension to the card design.
Card 1
For the first card, I layered a couple flowers and leaves, leaving room for a stamped sentiment. Wanting to keep the coloring light, I stamped the sentiment using Hero Arts Soft Granite ink. This grey was just dark enough to stand out, but not overtake the card.


I adhered leaves and first flower to the card panel using Gina K Connect Glue. Using Mini 3D Foam Squares, I layered the second flower atop. After trimming the overhanging bits, I adhered the card panel to an A2 card base cut from Neenah Classic Crest 110lb cardstock.

Card 2
Taking the remaining three flowers and two leaves, I layered the flowers atop the second card panel. I decided to add my sentiment above the flowers, so I stamped it on a spare bit of vellum.
Using VersaMark ink and Ranger White Embossing powder, I carefully embossed the sentiment. As I was working with vellum, I was careful to preheat my heat tool and use short strokes passing over the front and back of the vellum to melt the embossing powder, but prevent the heat from warping the vellum.


Using Gina K Connect Glue, I added glue to the back of the vellum, being careful to adhere glue only behind the embossed letters. After adhering the vellum to the flowers, I added acrylic jewels across the card as an accent.


For the jewels across the vellum, I first added a dab of glue under the vellum, giving another tack point adhering the vellum to the flowers. I then covered the mark with a jewel glued on top.
After trimming overhanding bits of flower and leaves, the second card was complete!

I love how these cards turned out. The brightness of the flowers are perfectly balanced by the rustic, light grey background. The sentiment is fantastic as well, it fits wonderfully with the card design.


