Hello! I have a great card project for you today which showcases a couple different techniques. Individually, each technique can bring great outcomes. Yet, when used together, they can bring phenomenal results!
To start things off, I started with a card panel cut from Neenah Solar White 80lb cardstock. I stamped a circular wreath using Catherine Pooler ink in Over Coffee. I used the Fresh Foliage stamp set by Fun Stampers Journey, which has a good selection of pieces great for making various greenery and wreaths.
After stamping the wreath, I took the other leaf sprig and layered another circular wreath right over the top. I used a spare bit of cellophane to position the stamp without risking getting ink on my project. This time, I utilized Catherine Pooler Sage ink while stamping. I wanted to add some gold accents, so out came my Spellbinders Glimmer Hot Foil System.
While the Glimmer Hot Foil platform preheated, I prepared my card panel. I centered two Glimmer plates from the Spellbinders Circle Pattern set and used micropore tape to hold in place. I cut a piece of Glimmer Hot Foil in Matte Gold, sized just larger than the plates. Lifting the plates carefully, I slid the foil between the plates and cardstock, making sure the shiny side of the foil faced the plates. Note, image below shows Glimmer plates face up. I set them this way to visualize how they would appear on the card. After I was happy with placement, I flipped them over before taping down.
Once the Glimmer Hot Foil platform was preheated I placed my stack, glimmer plate side down, and started the timer. I added the shims, and when the platform indicated it was ready, I detached the base and ran it through my Big Shot.
I repeated the process with a sentiment selected from Spellbinders Everyday Sentiments 2 set. Again, I carefully centered my sentiment, and taped it down to secure.
When I removed the sheet of foil, I discovered a beautifully foiled sentiment, directly in the center of the card. Awesome results! However, as careful as I thought I was, my beautifully foiled sentiment was crooked. Drat! No worries though, it was easy enough to cover it up, and I am super pleased with how the card ended up.
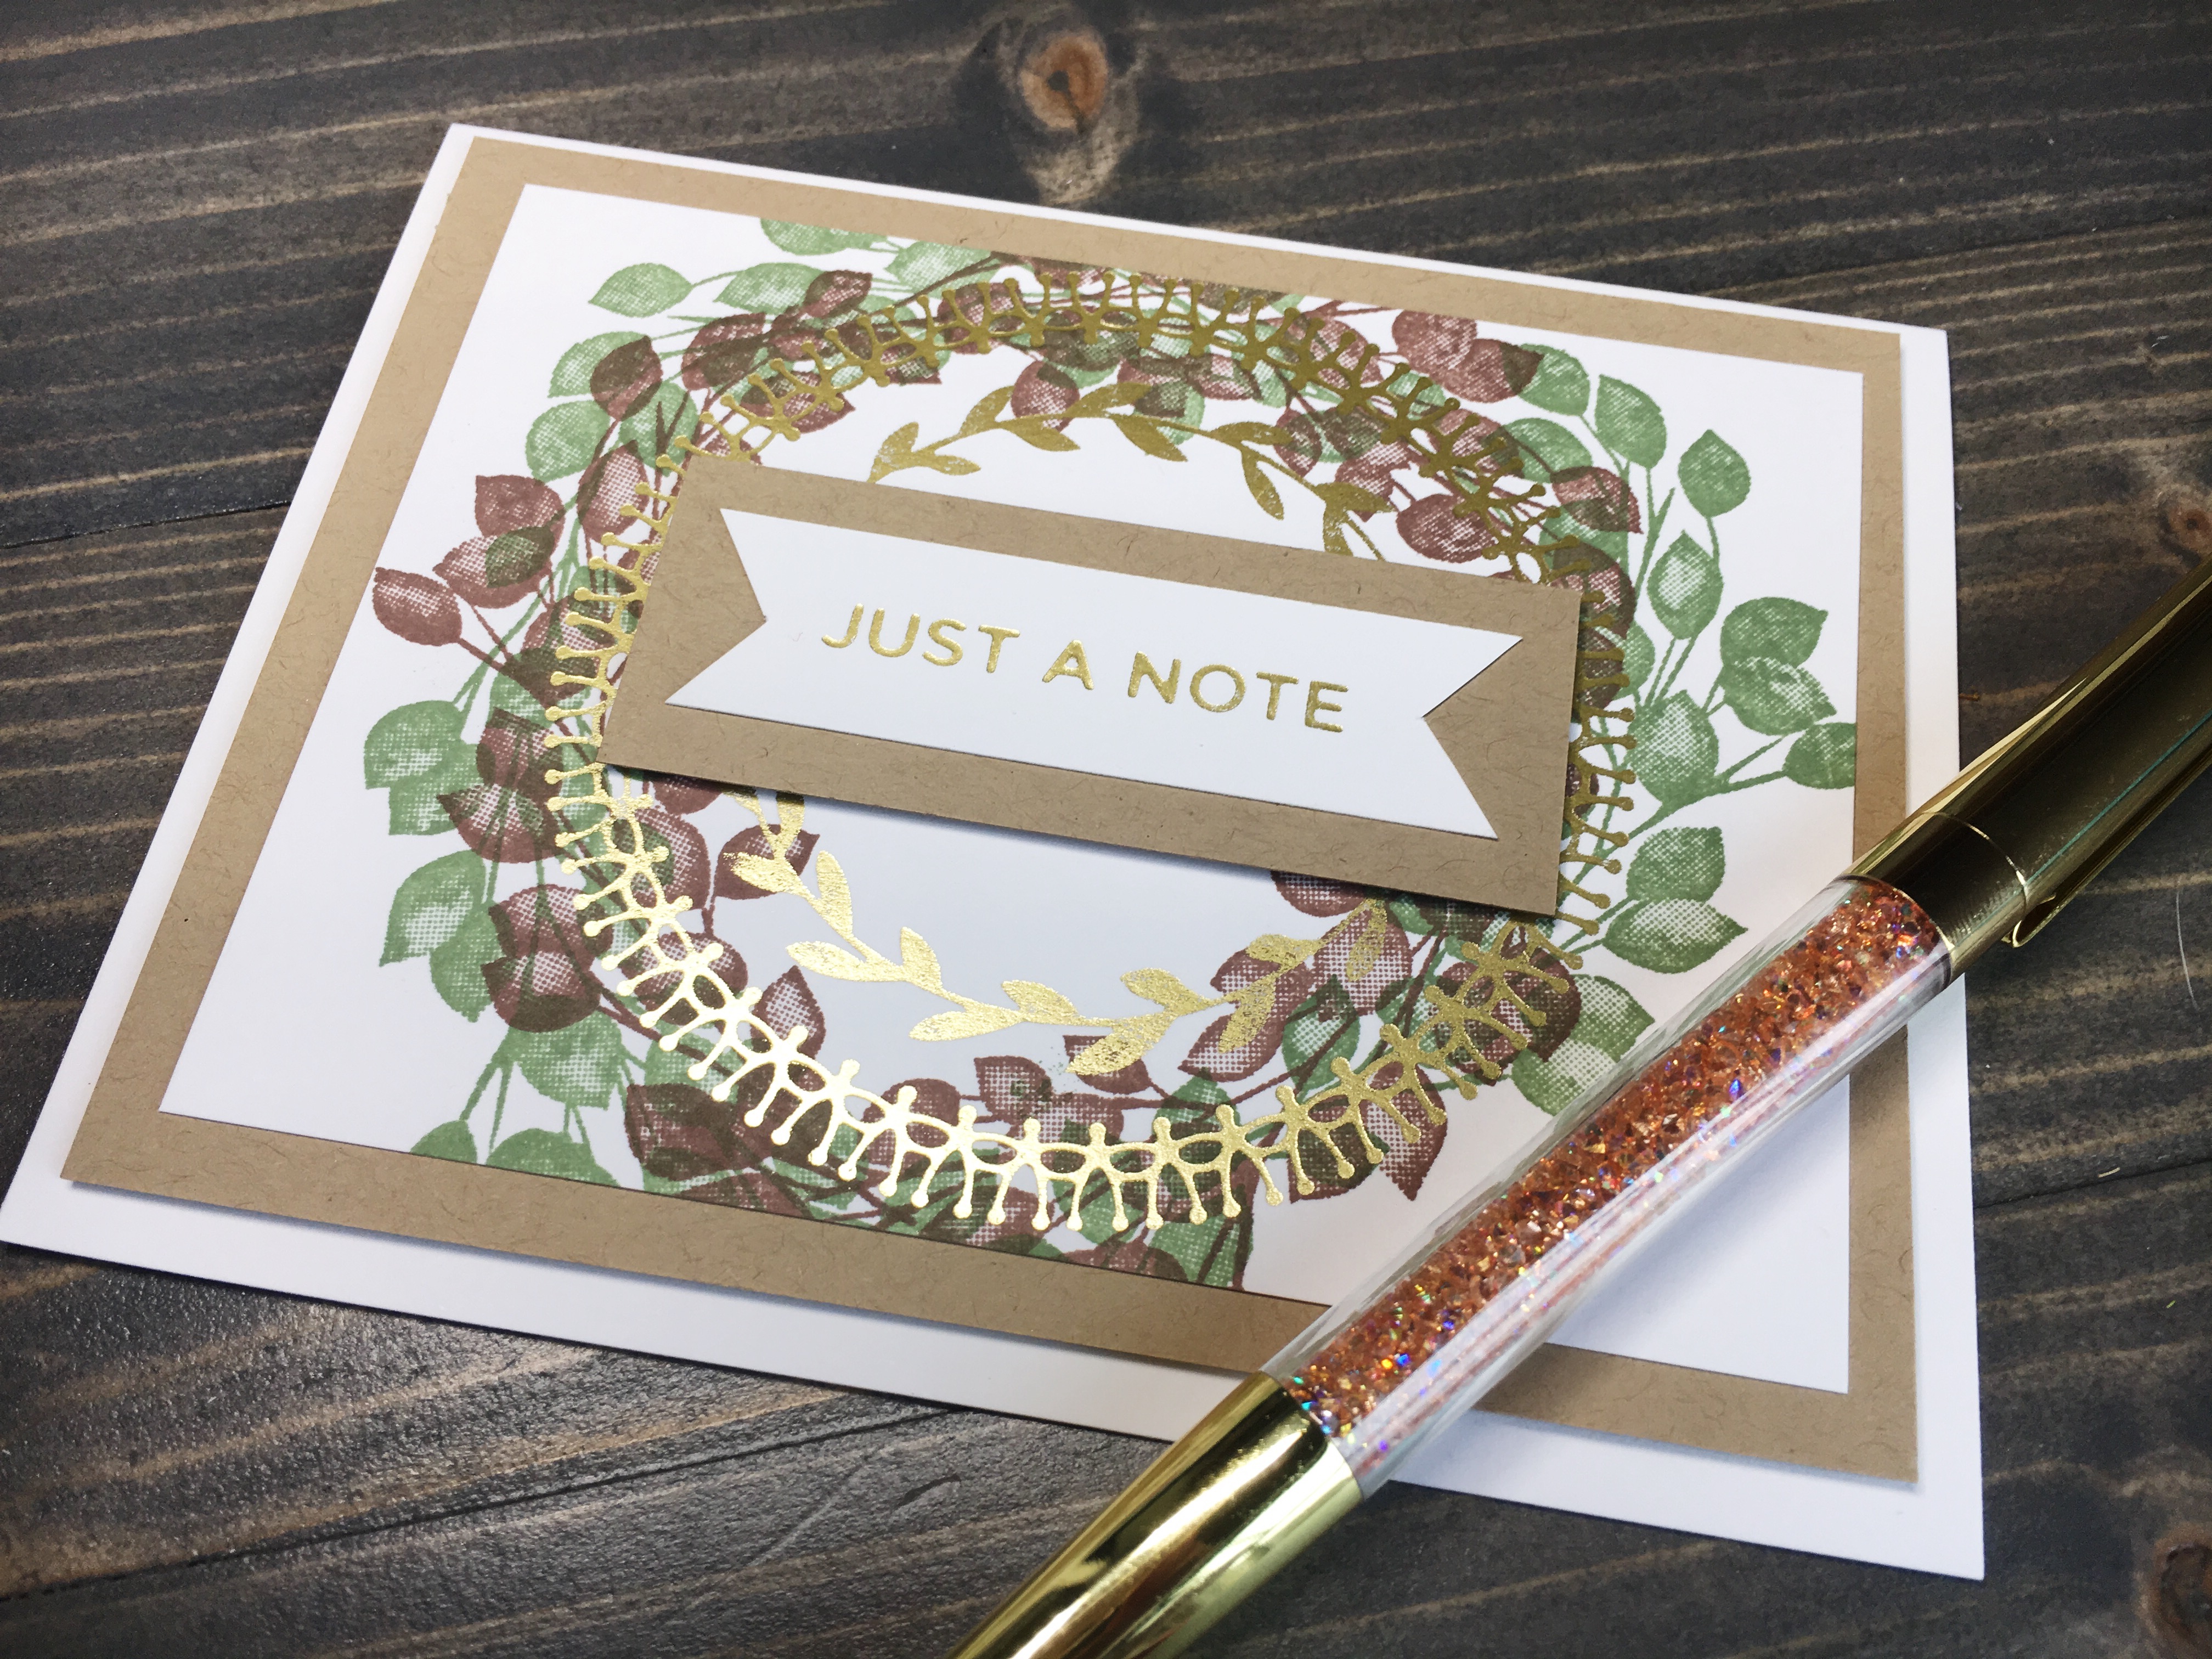
To cover my Oopsie, I foiled another sentiment onto a Neenah cardstock scrap. I trimmed the scrap, and cut flags into the ends. I backed the sentiment with Gina K Kraft cardstock cut to a rectangle 3/8″ larger. For the card panel I cut it down to 4 3/4″ x 3 1/2″, then backed it with a larger mat of Kraft cardstock, cut to 5 1/8″ x 3 7/8″.
Using Scotch Foam Tape, I adhered the card mats to an A2 card base cut from Neenah 110lb Classic Crest cardstock. I also popped up the sentiment with foam tape, adding nice depth to the card.
The finished card is stunning! The colors pair well together, and the pop of gold brings elegance, without being overly ornate. The sentiment definitely looks fantastic popped up and the Kraft cardstock frames it nicely. It goes to show that mistakes aren’t always detrimental – in this case, I would have ended up covering the sentiment anyway!
Have you tried hot foiling yet? If you are interested in any products I have used today, check out spellbinderspaperarts.com and check out their Glimmer Hot Foil System. I am in love with mine, and will be glimmering more in the near future!