Today’s fast & simple birthday card is perfect for when you need a customizable card, but are short on time. Utilizing a couple handy dies, a great script stamp set and some colored cardstock keep this card easy to create, yet full of color and pizazz!
Supplies
Neenah Classic Crest Solar White Cardstock: 110lb for card base, 80lb for die cutting
Gina K Card Stock: Blue Lagoon, Bubble Gum Pink, Passionate Pink
This project starts with preparing card panels. Begin by cutting a slimline card base – there is a bit of variation on card sizes, I prefer 3 1/2” x 8 1/2” cards, as this allows me to cut one card base and one card panel from each sheet of 8 1/2” x 11” cardstock.
For the slimline card base, cut 7” x 8 1/2” from heavy weight cardstock (1 prefer 110lb). Score at 3 1/2” (parallel to 8 1/2” side), then fold and reinforce fold line.
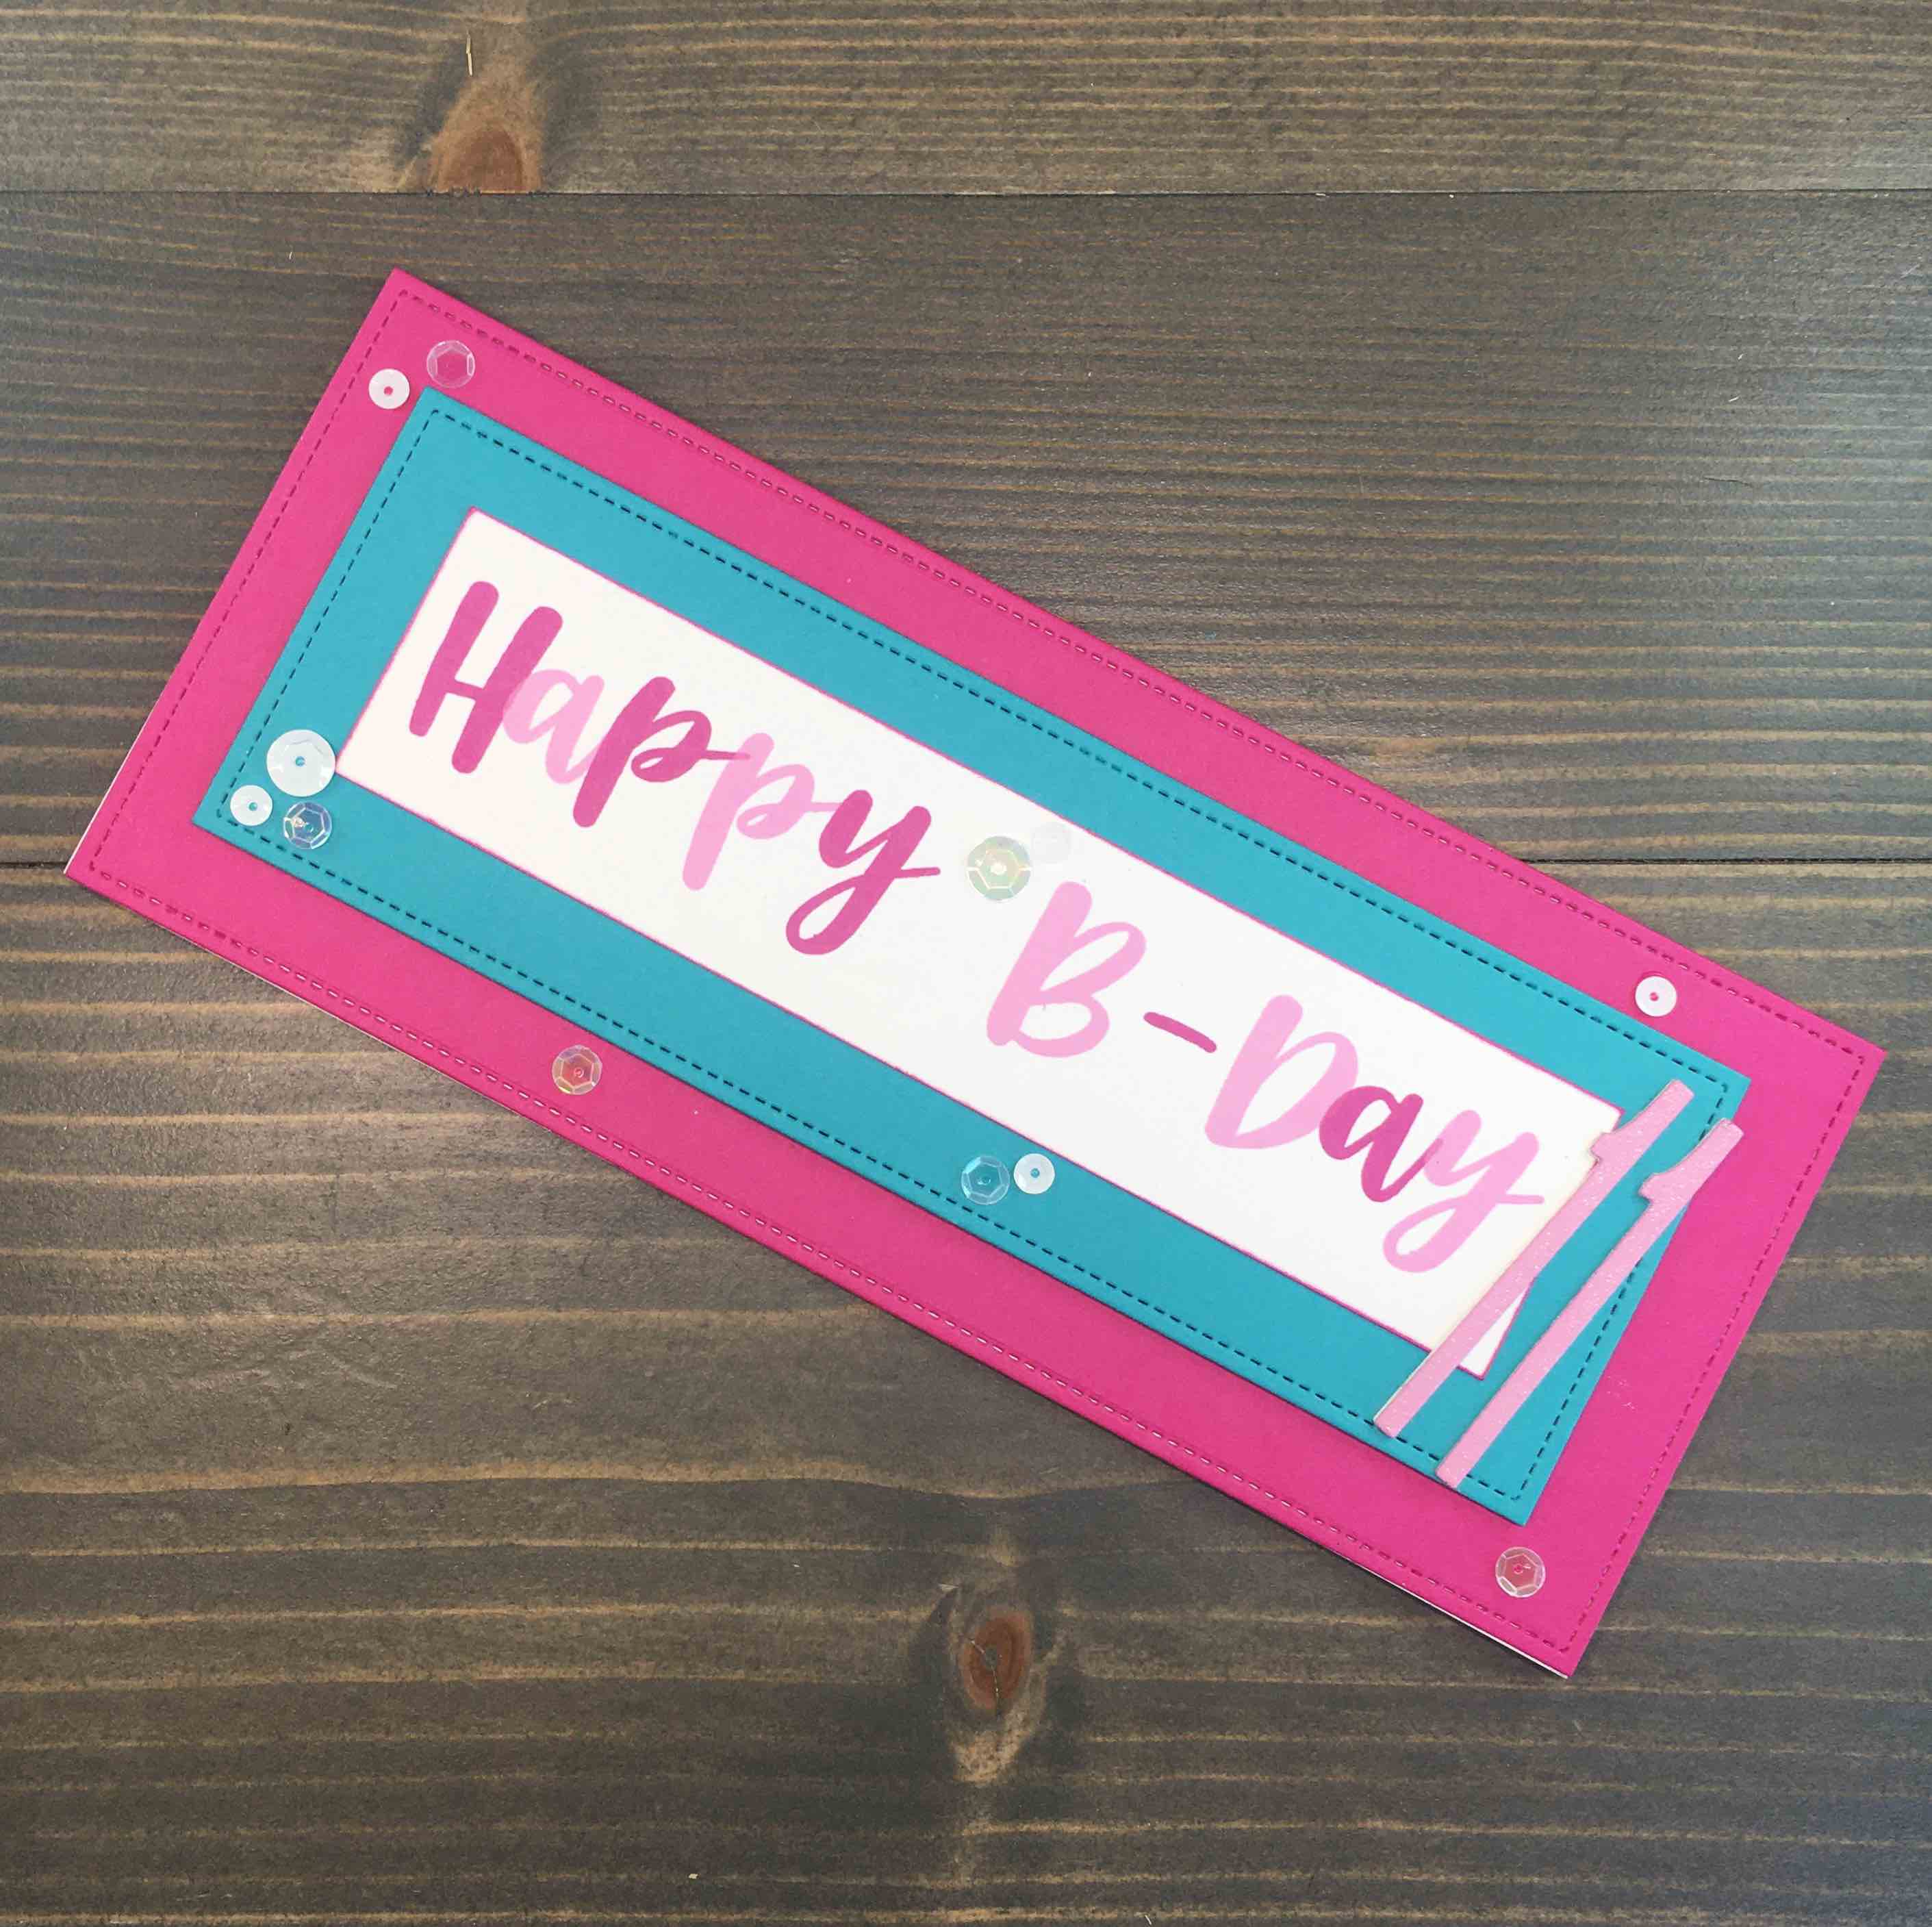
Using the Large Slimline frames from Lawn Fawn, die cut panels from colored cardstock. Set aside.
Using Skinny Upper Numbers dies, die cut 3 sets of each number needed. I put an ’11’ on my card, so I cut six number 1 die cuts. Note: for a colored number, cut the top layer from colored cardstock, and the remaining layers from white. I like the look of white layers beneath, but if you prefer, cut all layers from colored cardstock. Adhere layers together using liquid glue.
Trim a panel of white cardstock to 6 1/2” x 1 1/2”. This panel will be for stamping.
Stamping
The Bold & Brushy alphabet sets from Concord & 9th are fantastic for customizable messages. They are easy to use, stamp well, and look great in multiple colors, or monochromatic.
Prior to beginning stamping, position letters in their places to you can get an idea of spacing. Then, using a stamp positioning tool, stamp each letter, one at a time with a slight overlap. Using ink colors that coordinate with your cardstock will tie everything together.
After stamping, run edge of card panel across an ink pad to add a slight border.
Finishing
Use liquid glue to adhere numbers and card panels to card base. To add interest in layers, use scotch foam tape between your bottom two layers.
Add sequins as desired, also using liquid glue to attach.
Finish card by adding a bit of glitter to numbers using a Nuvo Aqua Shimmer Pen.
This fast & simple birthday card is a perfect project for those with limited time. Though it’s a quick project, it is customized by both color and a specific number. If you would like to see my video of this card, click the link below. For more inspiration on quick birthday cards, Click Here!