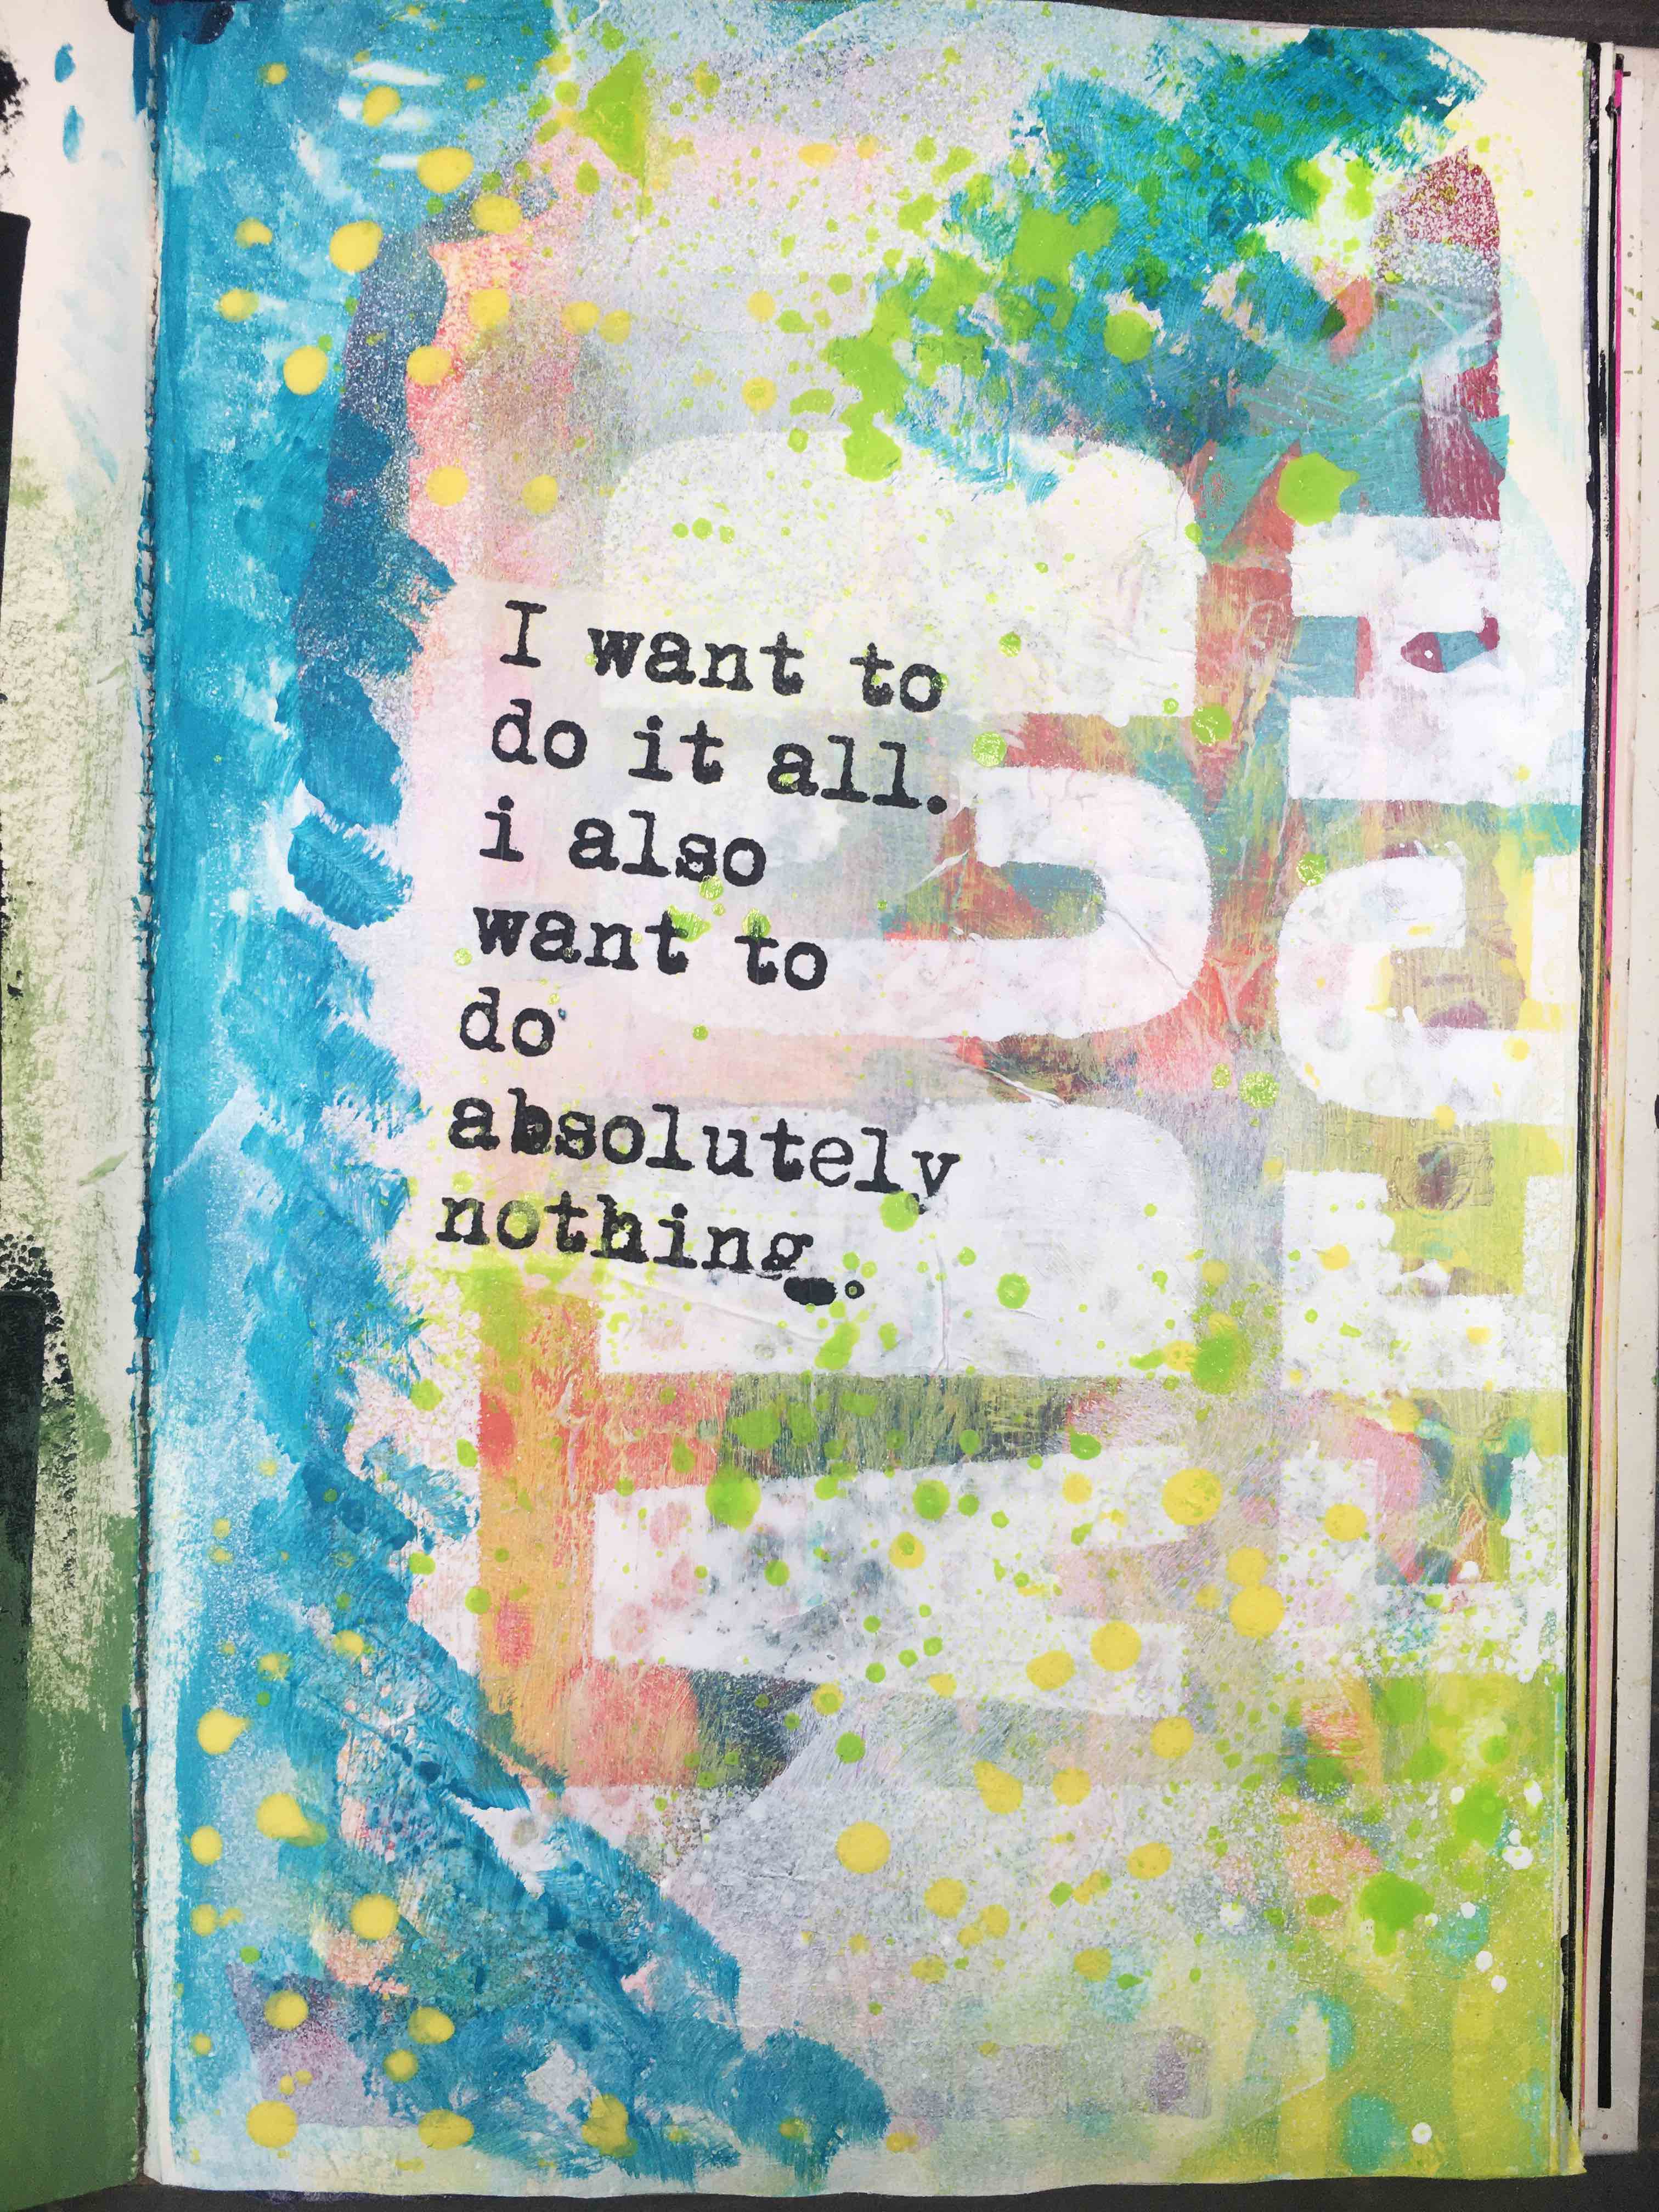
I have an art journal with Dina Wakley Media page for you, and it perfectly reflects my current feelings at this stage in the Covid-19 epidemic. I’ve used multiple Dina Wakley Media products, along with a repurposed book journal I’ve been working on.
Pop on over to YouTube to watch the video on the process, but for all the deets, keep on scrolling.
Supplies
Journal: Modified book journal
Dina Wakley Media Acrylic Paint: Lemon, Ocean, Turquoise, White
Dina Wakley Media Paint Brushes
Carabelle Studio stencil – Courbes
Dylusions Stencil – Bowl of Cherries
Dina Wakley Stencils – Big Leafy, Alpha Masks
Baby Wipes
Makeup sponge
Dina Wakley Media Gloss Sprays: Lime, White
Dina Wakley Media Collage Words 3
The Crafters Workshop Gel Medium
Process
I’m starting on a broken page – which essentially means I’ve already started the page during a previous art journaling session. The page consists of deli paper scraps adhered via gel medium. These deli paper scraps were created when gel plate printing a while back. Whenever I am gel printing, I utilize deli paper to clean my brayer, remove excess paint from gel plates, slide under pages to protect pages (or surfaces) beneath, etc.
I began by adding swathes of color, in a vertical and horizontal manner. Not much rhyme or reason, just placing color where the urge struck.

Before the paint dries, I place a stencil above the wet paint and rub the page (through the stencil) with a baby wipe.

I repeat the above process with my selected colors and stencils, sometimes drying between layers. After adding (and partially removing) my three colors, I thoroughly dry using a heat tool and time.
Note: acrylic is a plastic, so I don’t like to heat dry much. I will use a heat tool for a quick dry, but for longer curing I allow my project to sit and air dry.
To bring a bit of white space back to my page, I added white acrylic paint using a makeup sponge. I just followed my intuition for application locations. After the majority of paint was used, I began to drag the makeup sponge across the page. This applied a bit of white paint on the raised ridges created when the deli paper was glued down.
Gloss Spray and Mark Making
Next, I prepared my journal for some gloss sprays. Essentially, this means moving it to my spray box (just a left over box I spray projects in to protect my desk from overspray) and placed deli paper under the pages (to protect the rest of the journal from overspray).
I placed my stencil on the page and spritzed the paint over it a few times. I removed the stencil and placed in between a couple pages of another journal to use up the paint from the stencil. After transferring the paint, I lightly wiped the stencil with a baby wipe – just to remove any excess wet paint, not necessarily to clean the stencil.

Regarding stencils – as a general rule, I always clean my card making stencils. I lightly wipe, but do not thoroughly clean my art journal stencils. And yes, I do have separate stencils for card making and art journaling. Sometimes these stencils cross over, but I tend to visualize their use differently…if that makes any sense.
Anyway, after allowing the gloss spray to dry, I selected some verbiage from Dina Wakley’s collage collection, which I adhered using gel medium.
For mark making, I added more acrylic paint and a few spritzes of Lime Gloss spray. Note, for the gloss spray, I wasn’t looking for a mist of color, so I only depressed the spray pump partially to get a more spotty application of color. I also removed the pump and flicked gloss spray from the pump itself onto the page.

With this, all the page needed was some time to dry thoroughly. I am happy with how this art journal with Dina Wakley Media page looks in it’s completion, along with all the processes it took to get it there. I hope you join me again for another art journal page! Until then, have you seen my first post? Click Here to check it out.


