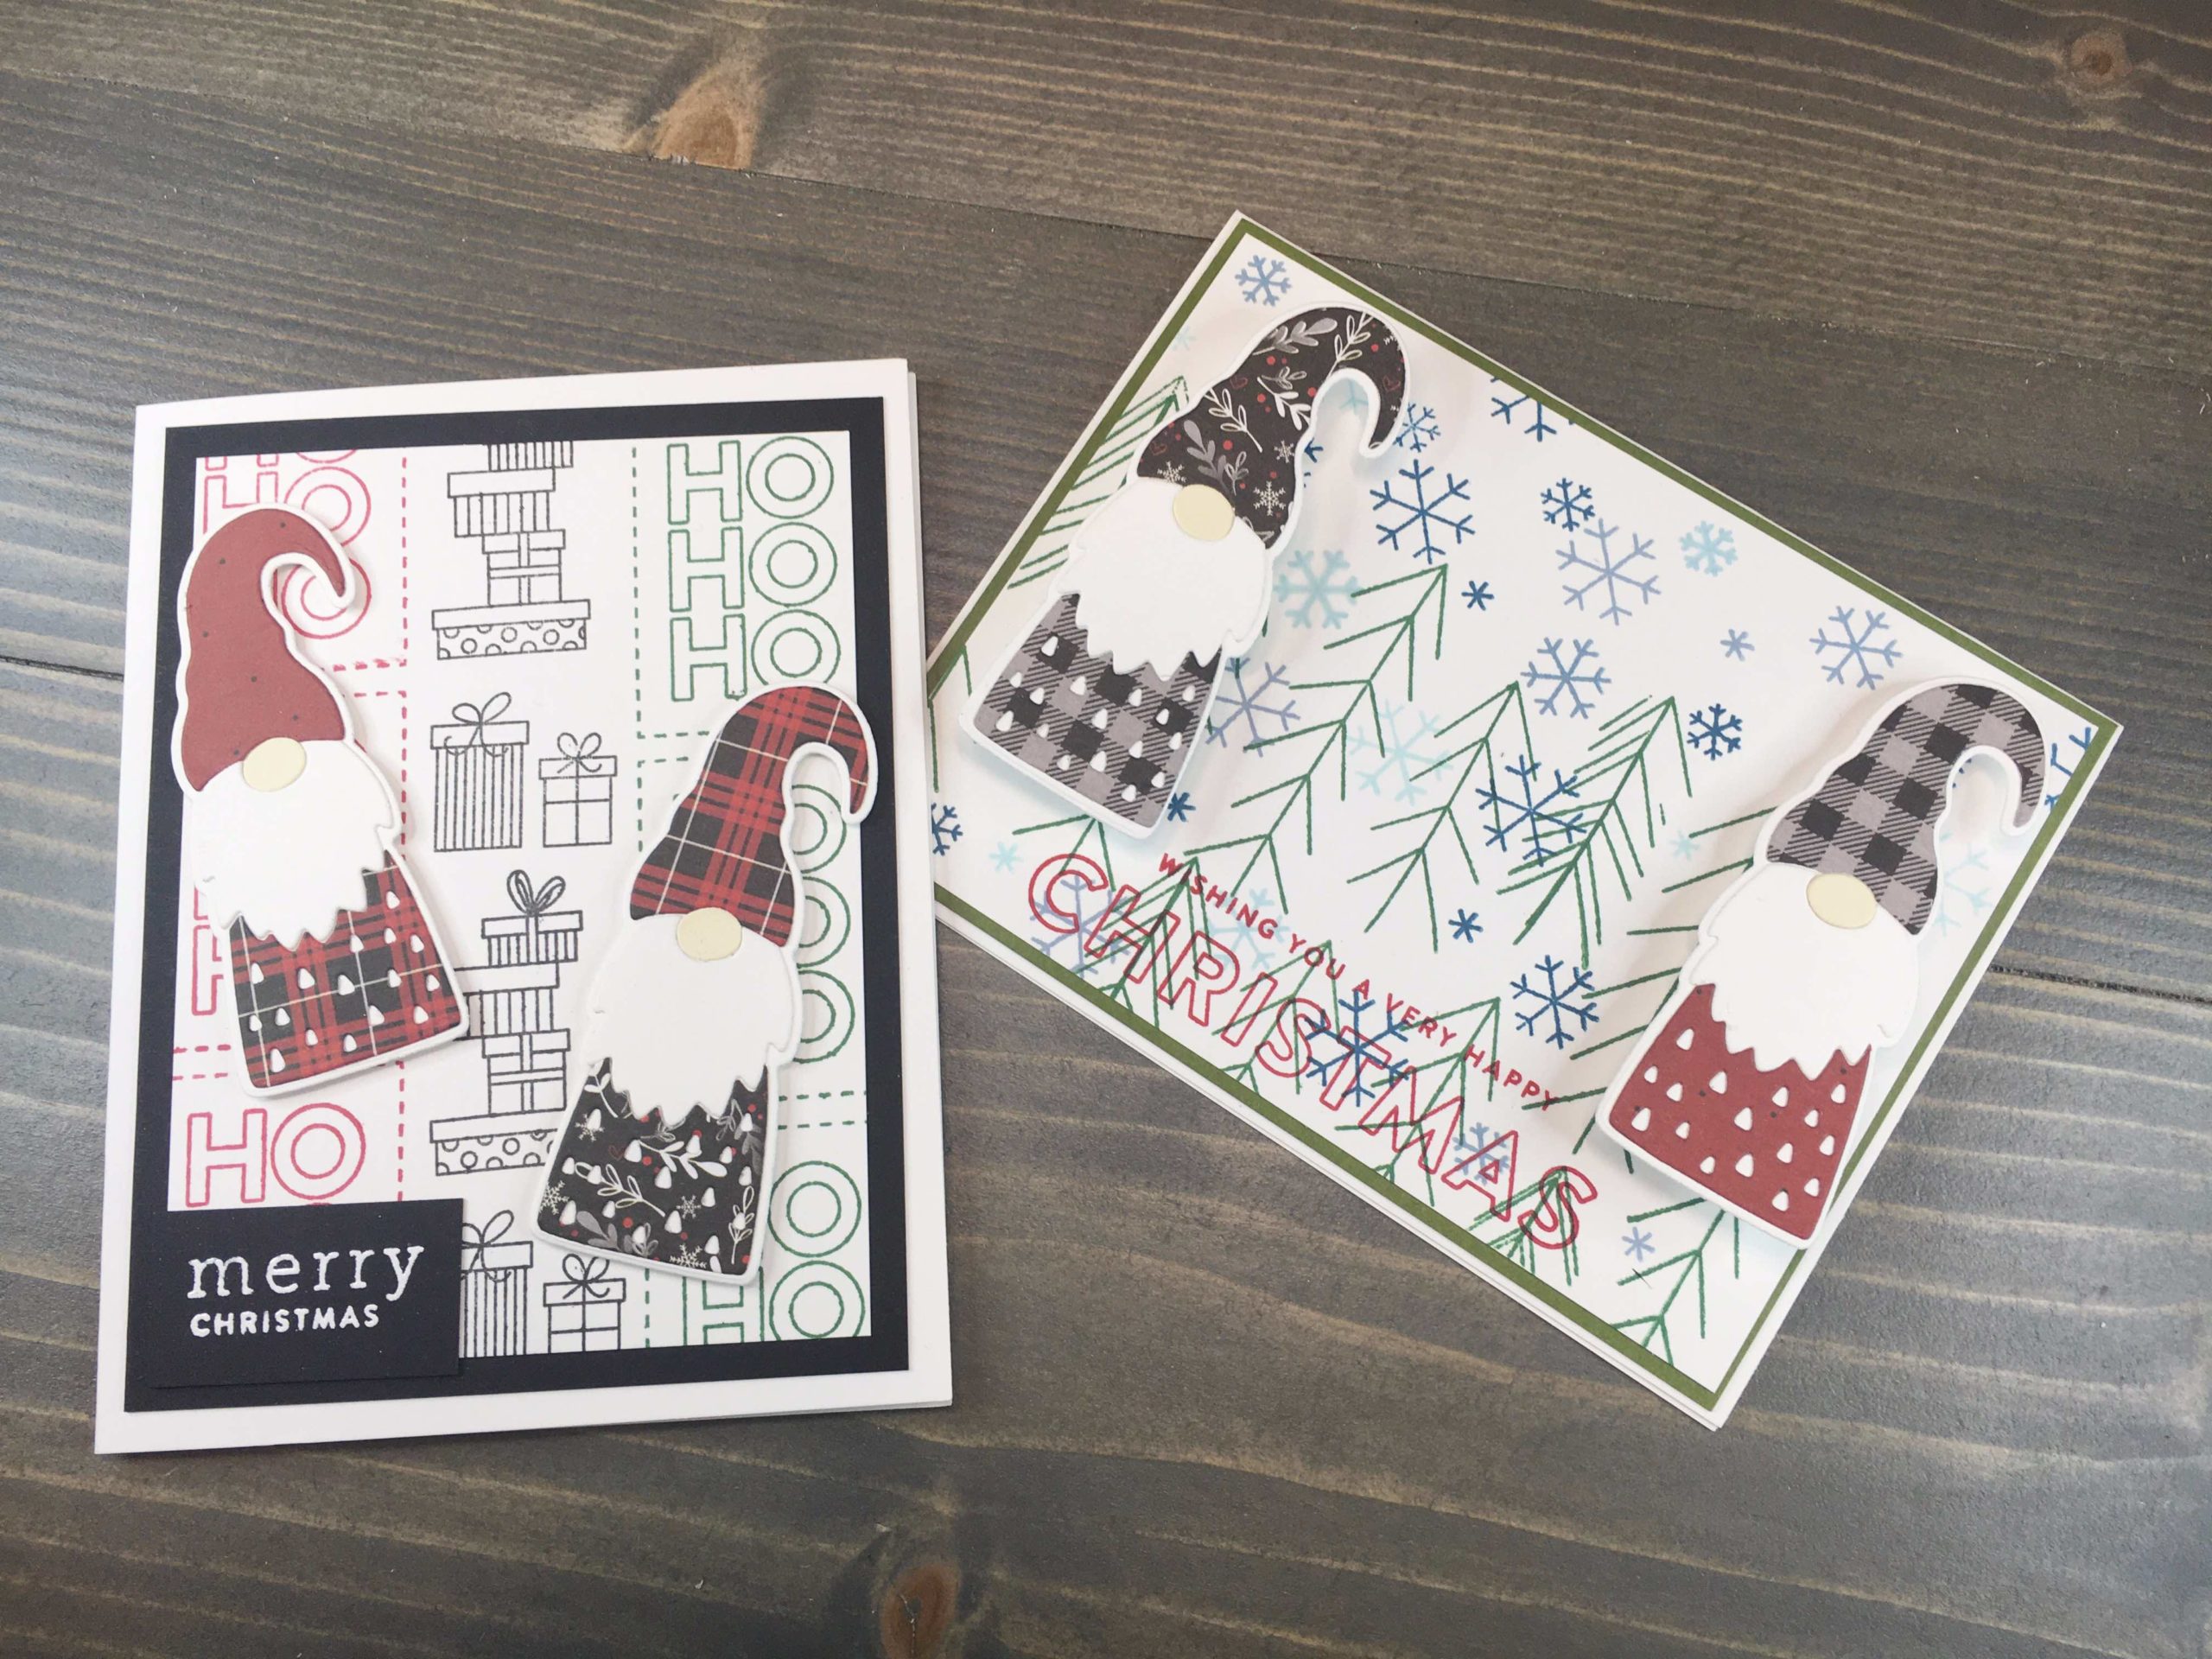
Gnomes are so popular this season, I couldn’t pass up the opportunity to create a card (or two!) centered on them. The December Card Kit from Simon Says Stamp provided the perfect supplies for it as well!
Supplies
Simon Says Stamp Lil’ Gnome Wafer Thin Die
PhotoPlay Kringle & Co 6”x6” paper
Neenah Classic Crest Solar White Cardstock: 110lb for card base, 80lb for card panel and die cutting
scrapbook.com ink in Cardinal Red and Pine
Gina K Cardstock in Black Onyx and Fresh Asparagus
Simon Says Stamp Gnome for the Holidays Stamp Set
Simon Says Stamp ink in Deep Sea, Sea Glass and Steel Blue
Hero Arts INTENSE Black ink
VersaMark Watermark Ink and Ranger White Embossing Powder
Mini Action Wobbles
Gina K Connect Glue
Scotch Foam Tape
Stamping
For the first card panel, stamp conifers in green across the bottom two thirds of a card panel. Follow with snowflakes across the entire panel in the three blue inks and using various sizes. Stamp a sentiment using red ink at the bottom center.


For the second card panel, start by selecting some images you want repeated. Next, stamp vertically, changing colors and images as wanted.

On black cardstock, stamp (and emboss) a selected sentiment.

If wanted, stamp a sentiment inside card bases.

Die Cutting
First, cut multiple gnome outlines in white cardstock. Next, cut multiple gnomes from various patterned papers, along with white and neutral colors for the gnome nose.
Tip: When needing certain colors (eg. white for beard), the entire die need not be cut. Place paper across beard portion to cut entire beard, but not entire die.
Once die cutting is complete, use liquid glue to adhere all die cut pieces atop a gnome base.
Finalizing
Take the conifer and snowflake panel and trim to 5 1/4” x 4”. Adhere to a mat of green cardstock measuring 5 3/8” x 4 1/8”. This is followed by glueing the stack to an A2 card base.

Affix gnomes to card using mini action wobblers. These come with adhesive panels on both sides, so application is easy. With this, the first card is complete!
For the repeating pattern panel, trim to 4 3/4” x 3 1/2”. Adhere to a black cardstock panel measuring 5 1/8” x 3 7/8”, then affix this to an A2 card base.

Adhere gnomes using scotch foam tape to add some dimension. Trim sentiment panel and glue to a corner of your card panel. Card #2 is complete!


I love these gnomes! The Lil’ Gnome die makes it easy to create these adorable little creatures, and the complimentary stamp set has perfect images and sentiments.
The action wobblers on the first card bring great animation, while the off kilter placement of the gnomes on the second card create the illusion of movement from a stationary card.
Join me tomorrow for the last day of my 12 Days of Christmas Cards. I hope you’ve enjoyed following along, but more importantly hope you’ve gained some inspiration for your own handmade cards!


