Nuvo Glimmer Paste is the highlight for today’s cards. Maybe intimidating for newer crafters, but surprisingly easy to use!
Supplies
Nuvo Glimmer Paste in Golden Crystal, Emerald Green and Garnet Red
Neenah Classic Crest Solar White Cardstock: 110lb for card base, 80lb for card panel
Avery Removable Labels #6465
Honey Bee Mini Pines stencil, Gina K Designs Sun Spots stencil
palette scraper
Wendy Vecchi Make Art Staytion
wet wipes
scrapbook.com Sentiments for Every Occasion stamp set
VersaMark Watermark Ink pad
Wow! Embossing Powder in Green Glitz and Red Glitz
Wagner Heat Tool
Card Panels 1 & 2
To start, tape an A2 card panel to the back of your selected stencil. When working with stencils, I like to use my Wendy Vecchi Make Art Staytion. This tool is a metal board with measurement markings and strong magnets to hold your project in place. While not a requirement for stenciling, it’s definitely a help and I’ve really liked using this tool.
Next, using a palette scraper, scoop some glitter paste and begin to spread over the stencil. To obtain even coverage, try to keep your palette scraper level with the stencil. Don’t overwork the product. It begins to dry quickly and will harden on your tools and stencil if you work it too long.
Scrape excess paste from your project and return to jar. Note – if you are using multiple pastes on a project, do not return excess paste to your jars as the colors may mix. Use a wet wipe to quickly clean your palette scraper and rim of jar if paste is present. This paste can glue your lid shut!
Carefully remove stencil from your card panel before paste dries, or it won’t come apart. Wipe excess paste from stencil with wet wipe then thoroughly clean in warm, soapy water before paste dries.
Set panel aside to dry.
I completed two panels using the above method.
Card Panel 3
I decided I wanted to create a large ornament image using glitter paste. As I didn’t have a stencil for that I decided to create my own. Using a removable label cut to fit an A2 card (4 1/4” x 5 1/2”), I die cut a large circle in the upper third of the label. You can create any design, shape, or even lettering using removable labels. The sky’s the limit on creativity here.
Next, place removable label over card panel and press firmly to ensure a solid adhesion. Then, proceed to apply paste as mentioned above.
For my card, I applied three colors of paste. I tried to get enough paste for one solid spread across my panel from each color – cleaning my tool with a wet wipe between each color, and not scraping excess product back into jars.
After my three pastes were applied, I carefully spread across entire panel only a couple times to ensure no gaps between colors, but not over mixing paste as this can cause muddiness.
While paste was still wet, I gently removed the removable label and allowed panel to dry.
Turning Panels into Cards
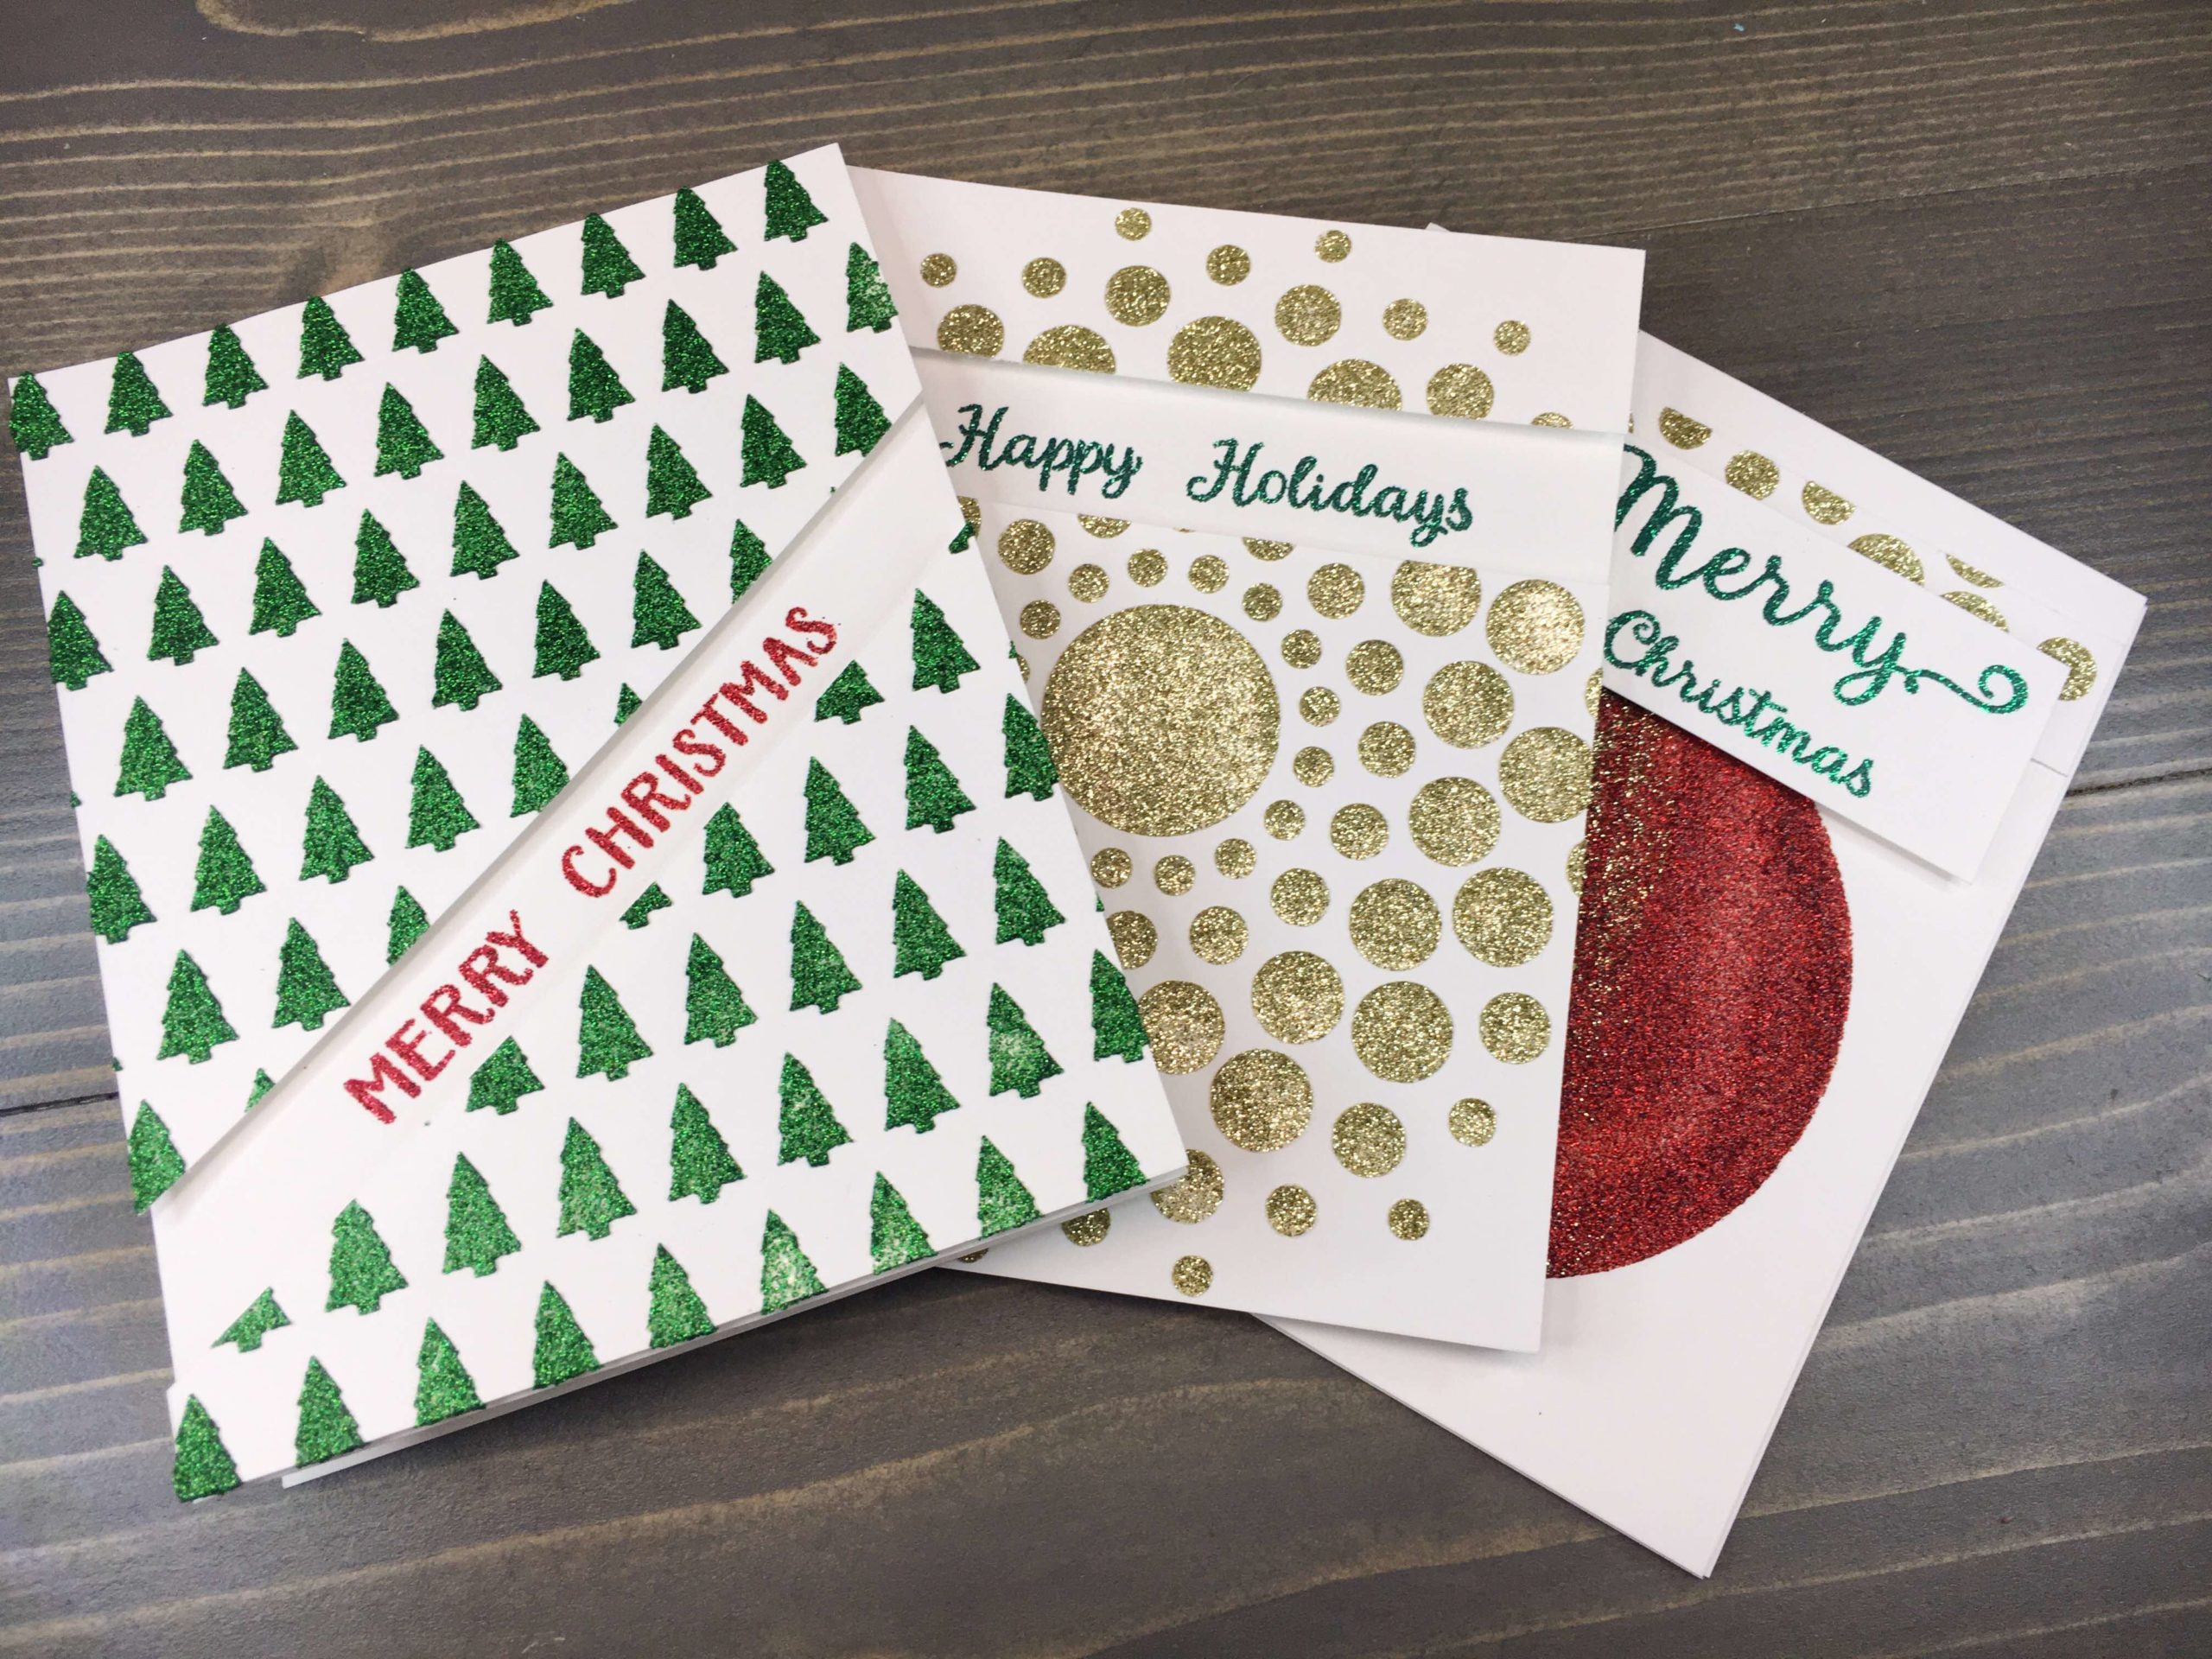
For card panels 1 & 2, a simple technique is to cut a portion from the card, and fil the space with a sentiment. Card panel 1 uses a diagonal cut; whereas, card panel 2 uses a horizontal cut. An embossed sentiment works great is the gaps. I popped up the card panel with craft foam to add interest.
For the third panel, a small grey topper (freehand cut) and hand drawn hanger gave the circle an ornament feel. I added the strip cut from panel 2, and popped up a sentiment using foam tape for added dimension.
I love working with glitter paste. The texture and vibrant colors are perfect for the holiday season!