Welcome 2020! Hope everyone had a lovely holiday, and have had a good start to the new year! I took a few weeks off to focus on time with my family, but as school is back in today I’m back to card making!
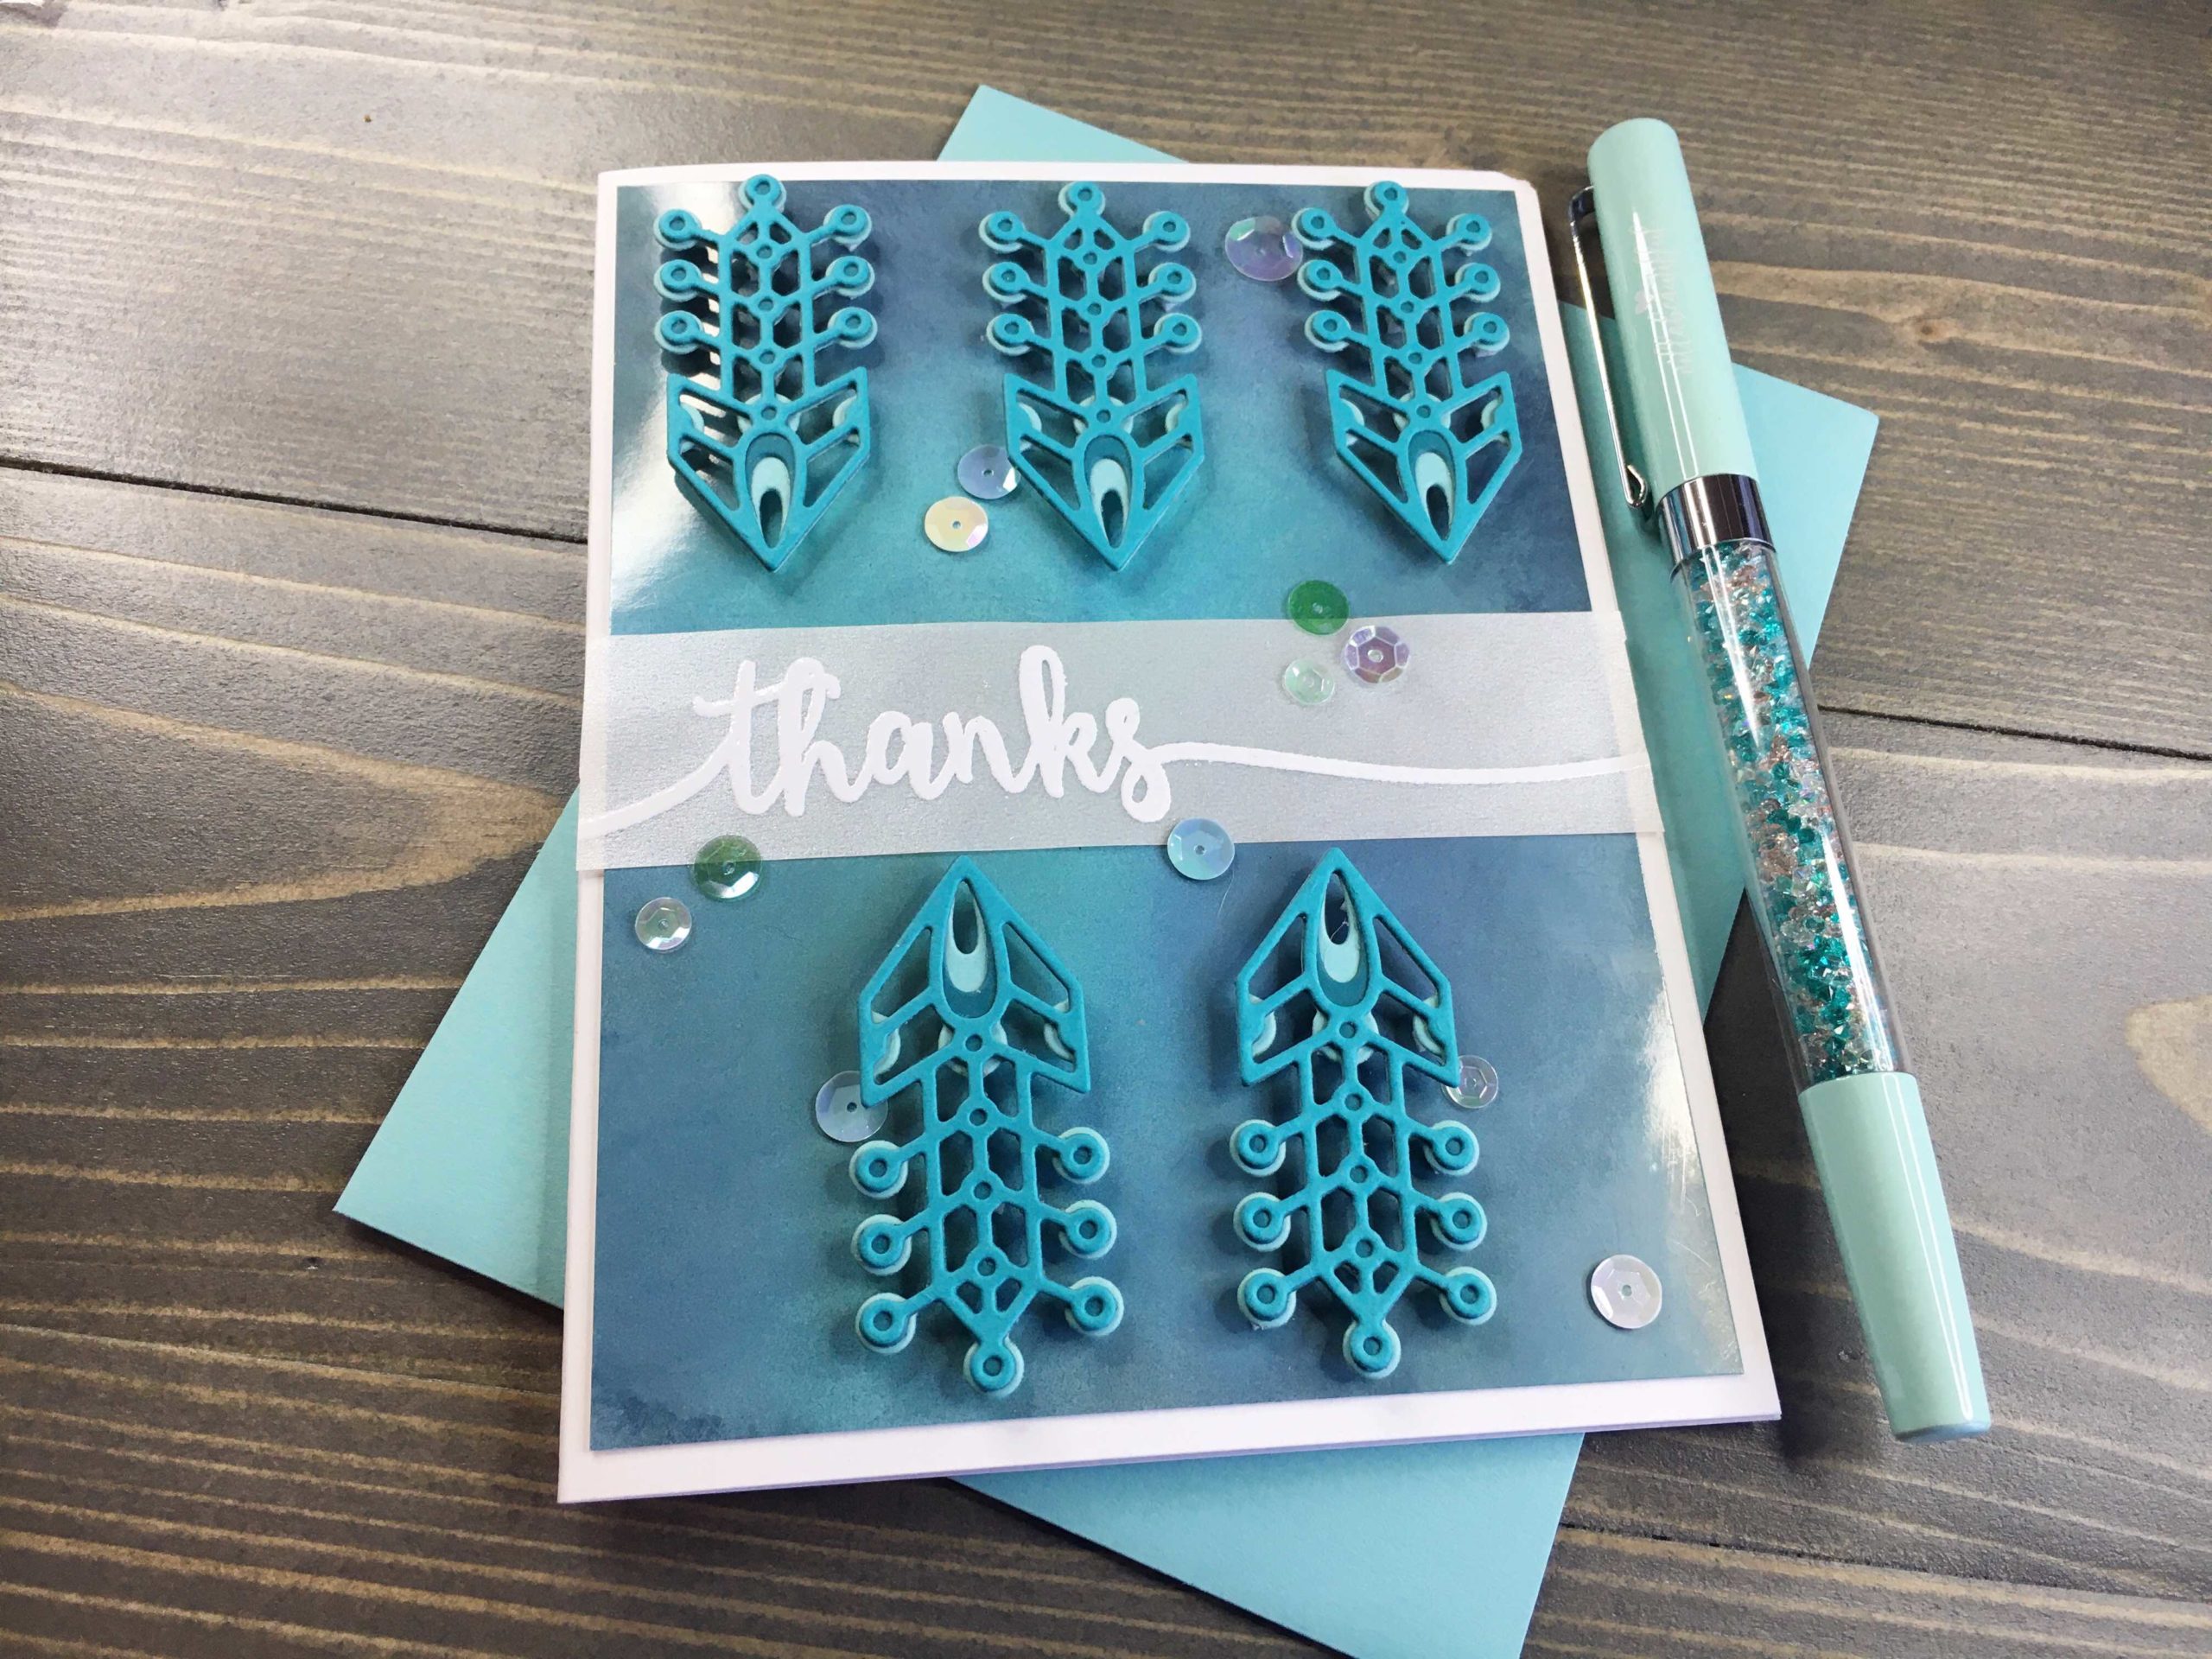
Today’s card utilizes a great technique for ink blending along with some left over die cuts from last month. Originally intended as snowflake petals, these die cuts are great as decorative pop ups on today’s card.
Let’s Get Started!
Supplies
Neenah Classic Crest Solar White Cardstock: 110lb for card base
Gina K Cardstock in Tranquil Teal, Sea Glass, Blue Lagoon for die cuts
Tim Holtz Alcohol Ink Cardstock
Graffix Vellum
Distress Oxide Inks: Salty Ocean, Chipped Sapphire, Peacock Feathers
Ranger Mini Ink Blending Tool
Tim Holtz Distress Micro Glaze
Spellbinders Small Die of the Month November 2019 set
Avery Elle Sentimental Stamp set
Ranger White Embossing Powder and Ranger Heat Tool
Double Sided Adhesive
scrapbook.com Double Sided Foam Adhesive Shapes
Gina K Connect Glue
Little Things sequins in Sea Glass
Ink Blending
Using Tim Holtz Alcohol Ink Cardstock, ink blend using Distress Oxides inks. I know the cardstock is created for alcohol inks, but trust me and try it for this technique. Just ink blend as usual, using circular motions and continually blending between colors until you are happy with the results.
Let the panel dry thoroughly.
Using a mini ink blending tool, apply a small amount of Distress Micro Glaze and buff onto the ink blended panel. Note – I applied way too much! Luckily, it’s easy to fix. Just buff your panel with a clean micro fiber towel to absorb the excess glaze. Easy peasy!
As you buff the glaze onto the panel you will notice the colors begin to really pop! The glaze also allows more dimension from the ink blending to shine through. It creates a truly gorgeous panel with a light shine that really showcases the color variations.


Die Cutting
I had left over snowflake petals from my 12 Days of Christmas Cards project last month. Click here for details on that card (Day 7). I’ve included the instructions on how I created the die cuts below.

Die cut snowflake ‘petals’. For this snowflake, five petals are required – each comprised of three layers. I elected to create each layer a different color, cutting individual layers from individual colored cardstock.
For layering die cut sets like this, I like to batch die cut. In other words, cut all pieces in multiple colors, cutting more than needed. You can then either save the extra pieces for a future project, or make additional cards to save for future use.
Using Gina K Connect glue, adhere each layer of the petals, then place under an acrylic block until the glue sets.
Sentiment
Trim down a scrap of vellum to fit your card panel. Stamp a sentiment using VersaMark Watermark ink and heat set Ranger White Embossing Powder.

I love the size of the Avery Elle Sentimental stamps as they will stretch the entire width of a horizontal A2 card. Today’s card is a portrait layout, so a little trimming of the vellum panel is all that is required.
Finishing the Card
Trim ink blended panel to 4″ x 5 1/4″ to allow a small white border from your card base to show. Adhere panel to card base using double sided adhesive.

Quick Tip!
Quick Tip: Double sided tape can be very sticky, which is what you want, but makes centering panel difficult. To make positioning easier, pull only a small portion of each tape backing off (enough for backing to reach past edge of card, creating a tab of sorts). When you are positioning your panel, just a small portion of the adhesive will be released allowing you to adjust panel until it is exactly where you want it. Then, as you hold panel in place, pull the backing tabs you created which allows the remaining adhesive strip to come into contact with your card base.
After making some measurements to ensure even spacing of die cuts, adhere foam to backside of die cuts. The new Double Sided Foam Adhesive Shapes from Scrapbook.com are fantastic and easy to use. They trim easily and adhere well.
A few Sea Glass sequins from Little Things applied with Gina K Connect Glue finished this card.
I love how the sparkle of the sequins pairs with the shine of the background panel. While this card is quite monochromatic, the variations in hue keep it interesting. The bright white of the sentiment and card base also help the colors pop.
Have you tried this technique yet, or are you interested in trying it out? If so, let me know your thoughts. I love the results and will definitely be using this on future cards.
I’ll be seeing you next Wednesday for another card tutorial. Until then, happy crafting!


