Good evening friends! Today, I’ve been testing the Glimmer Hot Foil System by Spellbinders. Hot foiling uses specialized metal plates (though some regular dies are compatible), heat, and pressure to create foiled impressions on craft projects. The look is similar to traditional foiling utilizing a laminator, yet there is a distinguishable difference. As a note, foil transfer sheets (aka Deco Foil) do not work with this hot foiling process. Specialized foil rolls are required, and should be labeled as ‘Hot Foil’ instead of ‘transfer sheet’.
The Glimmer Hot Foil System consists of a heat plate, a heating platform, specialized shims, two sample rolls of Hot Foil, two glimmer plates, a silicone cooling pad and magnetic tweezers. As the machine can reach temperatures of up to 250 degrees F, it’s great to have the added safety items. An easy to follow instruction manual is also included. Within only a few minutes, I had my platform heating and was prepping my foils.

The process goes like this; turn on machine, and allow platform to preheat. A handy green light illuminates when platform is ready, which only takes a few minutes. While waiting, prep foil by cutting down to just larger than foil plate. This is not required, but does cut down on over foiling (foiling more area than what the plate touches). When the green light indicating the platform is ready, place a foiling plate face up directly on the platform and tap the timer button. When the timer light is solid green, you are ready to foil.

Layer foil with color side down directly on top of the hot plate. Next, layer cardstock (or other medium) right on top. Finally, top with the shims (the manual has a handy chart for which shims are required for which materials). Gently slide the platform off the base and run slowly through a die cutting machine. Remove the foil and plates, and a beautiful foiled piece remains. Unless you layer your foil incorrectly (aka, layer foil shiny side up). Then you will have beautifully foiled glimmer plates. Luckily, this does not damage, nor negatively effect the performance of the plates. Even if you manage to foil your plates more than once. ‘Cause you know, this friend of mine…


Anyway, I have a Sizzix Big Shot, and the Glimmer Machine worked great with it. No additional shims were needed. I did experiment using some extra sheets of cardstock, but this didn’t seem to effect my foiling in the least. I found, that the best results occurred when I did not deviate from the included instructions. Imagine that! Let me explain, I tried layering the cardstock, foil, then foiling plate on my table, using a piece of washi tape to hold everything in place. I then flipped the entire stack onto the preheated glimmer platform and then started the timer. Everything was in the same order, just all placed on the platform at the same time. This process yielded some areas missing foil and no matter how I shimmed the project, the results remained the same. Of course, I’ll keep experimenting because that’s just what I do.
Another thing to consider is the heat involved. And, no, I did not get burned. Even when a hot plate was stuck to the magnetic tweezers and I grabbed at it. The plate was definitely hot, but not enough to burn. So, don’t be afraid of the system because of the heat involved. The platform had a nice handle that stays cool, I hardly even noticed the heat as I worked on my projects.
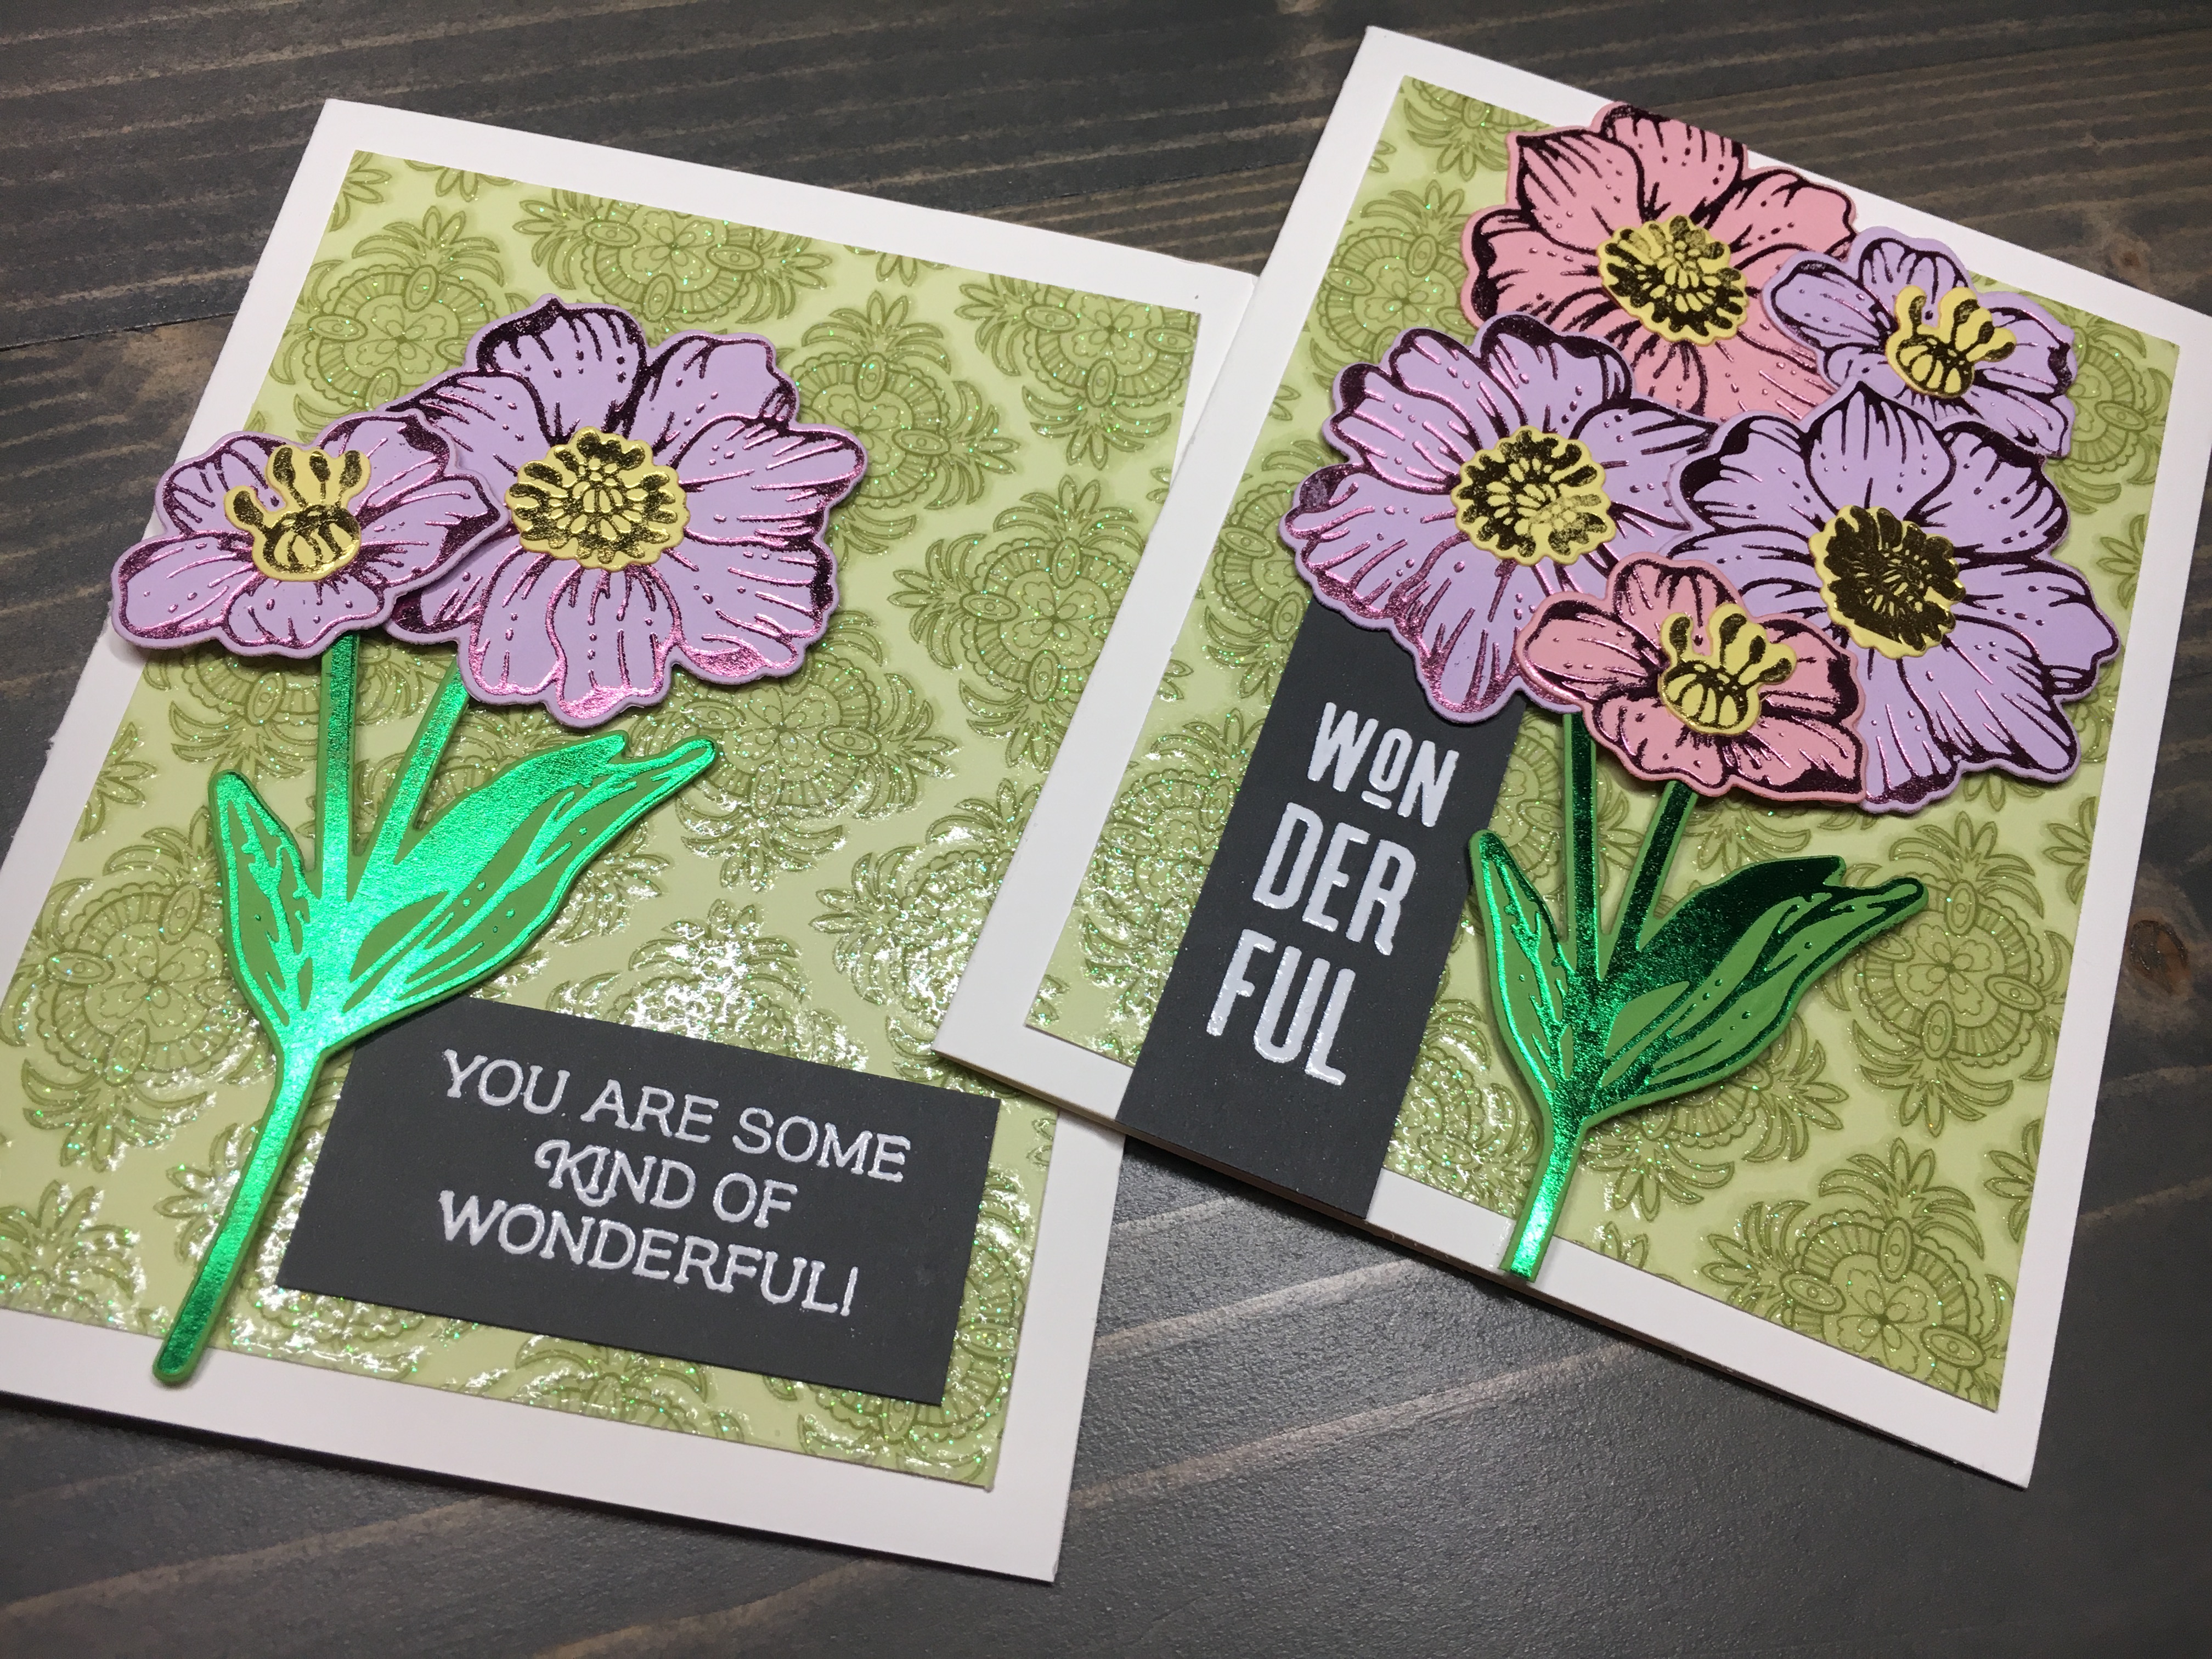
Using the Glimmer Hot Foil System was easy. With a short learning curve and simple to follow steps, I was in business! After I hot foiled with the included Glimmer Plates (Spellbinders terminology for Hot Foil plates) I pulled out the June Glimmer Kit of the Month plates and dies. This is a subscription club Spellbinders has, and the June Glimmer kit is gorgeous! The set consists of two flowers, two flower stamens (for layering), a single leaf and leaf/stem combo. In addition, coordinating dies for all pieces were included. As I tested the system out (aka played with it), I ended up with a ton of flowers, which I decided to turn into a couple cards. The remaining flowers are going into my die cut bins for another day.
Both my cards have a standard A2 base cut from Neenah Solar White 110lb cardstock. I cut down a couple panels from an older 12” x 12” paper stack from my stash (the Blossom Song stack by DCWV). I then popped up various leaves and flowers using Scotch foam tape, craft foam with Gina K Connect glue, and in some places Thin 3D Foam Squares. I selected my sentiments from The Stamp Market’s Just Wonderful Stamp set, which I heat embossed using Ranger White Embossing powder. Color cardstock used was all from Gina K; Moonlit Fog (sentiment), Lucky Clover (leaves), Lovely Lavender (flowers), Innocent Pink (flowers), Lemon Drop (stamens).


These cards were quick to put together, and the foiling gives them an elegant look. The simple sentiments were great to balance the shine from both the foiling and the patterned cardstock. For my first round of hot foiling, I’m quite happy with how these turned out. My final vote on the Spellbinders Glimmer Hot Foil System is two thumbs up! The price point is good, the fact that it is compatible with most die cut machines is a huge positive, and the ease of use is fantastic. Now, I need to remind myself to remain patient while I await my July Glimmer Kit of the Month’s arrival. In the meantime, Keep Calm and Craft On!


