Die cutting is a fun way to add creative elements to handmade cards. There are many automatic die cutting machines out there (Cricuit & Silhouette are a couple of the most popular for crafters), in addition to numerous manual machines that require the use of metal dies. Manual machines is the type of die cutting that will be discussed in today’s Card Making Basics.
Die Cutting Machines
Die cutting machines are used to cut shapes out of paper and other materials. There are many different die cutting machines on the market today. They range from small manual feed machines (that utilize a crank to move the die plates through the machine), to larger electronic machines. I am not going to make recommendations on which machines are best as I have only had one machine. It’s the Big Shot, and it’s worked great for me.
Dies
Dies are templates with sharp cutting edges that when pressed through a machine can cut through various materials (eg paper, cardstock, chipboard). There are many different brands of dies, and they generally work with most die cutting machines. At least, I haven’t come across a die that hasn’t worked in my Big Shot.
How to Die Cut
Every die cutting machine should come with comprehensive instructions on how to die cut and how to properly layer for quality die cutting. Essentially, there are die cutting platforms, die adaptor platforms, silicone mats and cutting pads.
Each individual machine will have instructions on the proper ‘sandwich’ (proper layers) to achieve best results. For my Big Shot, my ‘sandwich’ is generally a base platform, a cutting plate, a sheet of cardstock, a metal die and finishing with another cutting plate on top.
This layering works for most die cutting, but occasionally I augment my sandwich with an additional sheet or two of cardstock. This increases the pressure of the sandwich slightly, which is effective especially if the die is highly detailed and/or intricate.
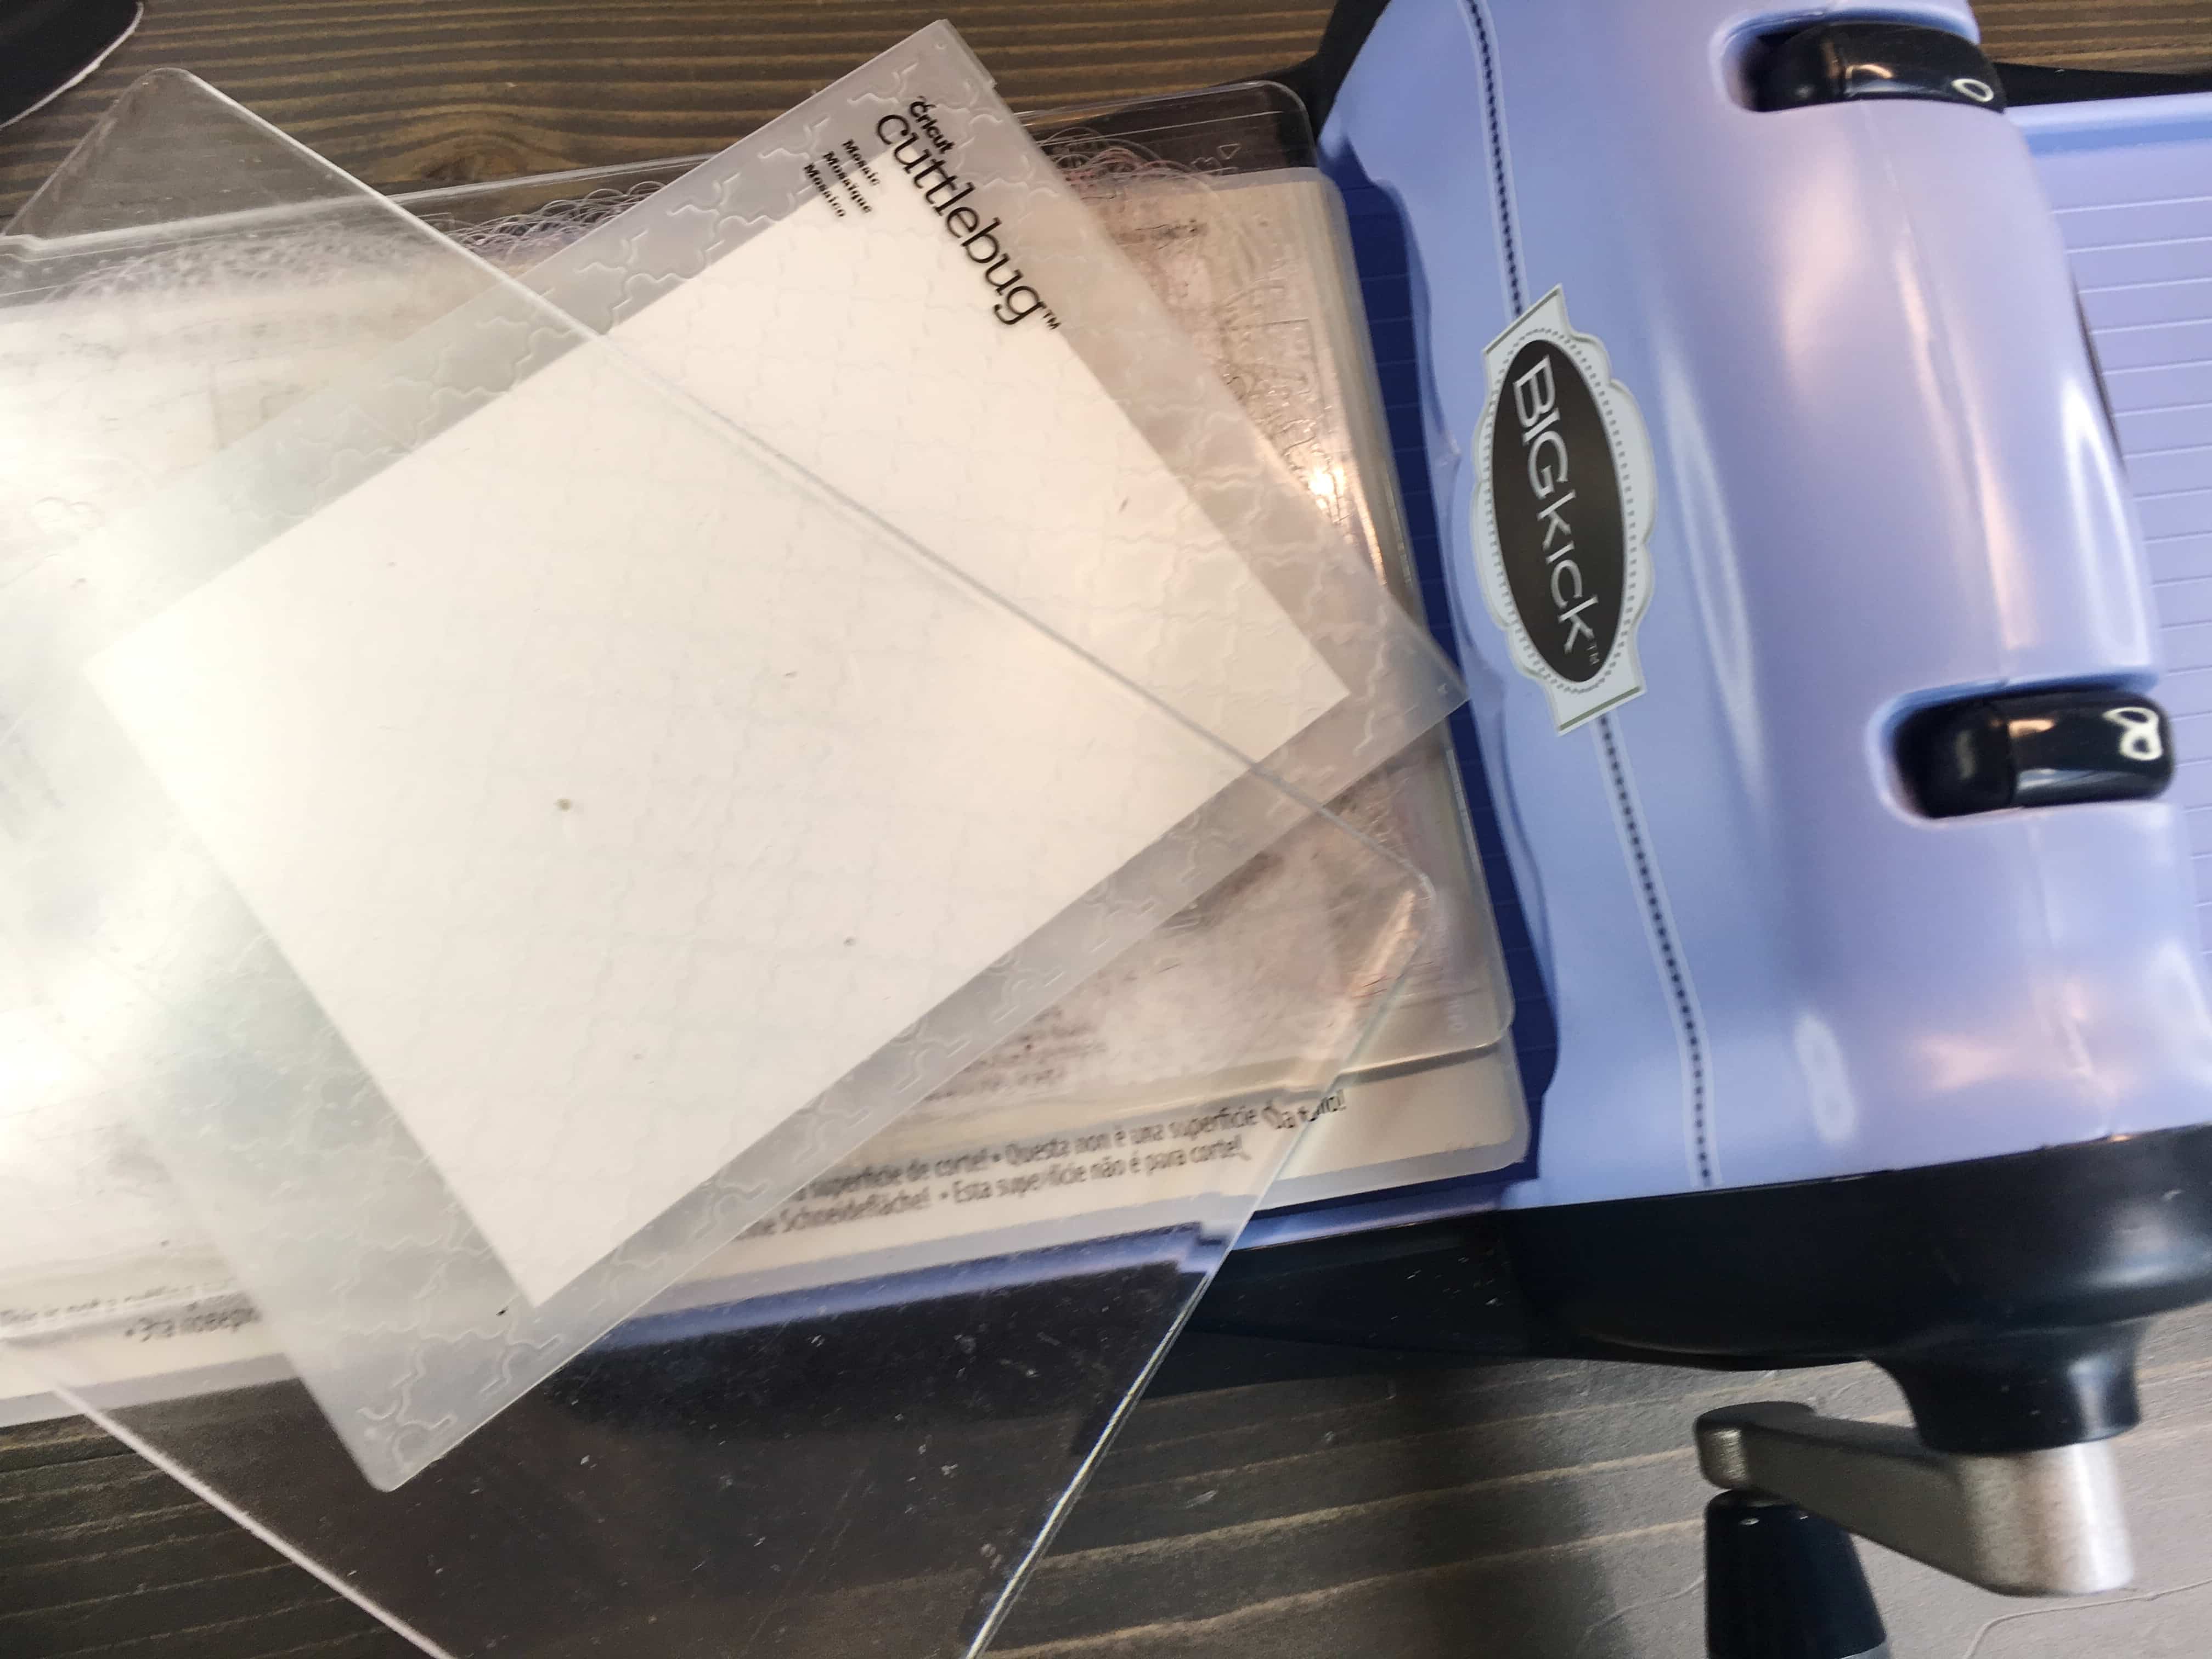
Embossing with Dies & Embossing Folders
Die cutting machines can also emboss images using dies. Generally, a silicone mat is used instead of a cutting plate which prevents the sharp edge of the die from cutting through the material. There are also embossing folders, which have a specific ‘sandwich’ (aka layering) as embossing folders are thicker than dies. This process can create an impressed image across an entire panel of cardstock.
Using Die Cuts
There are multiple uses for die cuts. Highlighting a specific area and/or phrase is effective with the raised dimension achieved through die cuts.
This effect can be increased by layering die cuts as well. I often cut multiple sets of a die cut and glue them together for just this purpose. I find a layer of three (cut from 80lb cardstock) works great for a majority of my projects.
In addition, don’t shy from mixing and matching die cuts. Just because dies are from different sets, does not necessarily mean they can’t pair up on a project.
3D Die Cuts
Many companies have 3D layering die cut sets that create great elements for use on handmade cards. These sets create multiple pieces that create more depth as they are stacked. These sets can be for smaller elements, or as large as entire card faces.
Negative Space
Don’t forget about the bits left over from die cutting! Often times, the negative space can be used to great effect in projects.
With using die cuts, this post is just the tip of the iceberg. As with any paper crafting, I recommend experimenting. Use different color combinations and materials, play around with how and where you might layer. Use the negative space from your die cuts, mix and match sets, and essentially play. Let your imagination guide you and enjoy the process.