I’ve recently purchased some Nuvo Shimmer Powders and I cannot get over how gorgeous they are – not to mention how easy they are to use!
Supplies
Nuvo Shimmer Powders in Atlantis Burst and Blue Blitz
Neenah Classic Crest Solar White Cardstock: 110lb for card base, 80lb for card panel & die cutting
Simon Says Stamp Holly and Pine Frame Wafer Die
Tim Holtz Distress Sprayer filled with water
Pink Fresh Studio Classic Holiday Word Dies
Clear Film
Gina K Connect Glue and Scotch Foam Tape
Little Things Sea Glass sequins
Card Panel
Nuvo Shimmer Powders are so easy to use! For today’s card, I lightly tapped some powder onto a few A2 sized card panels. As I spritzed with water the magic began.
You can move back and forth between adding powder and spritzing with water until you achieve a look you like.
For my cards, I also tilted my panels thus moving the water and color around. I also squished separate panels together transferring color and further mixing.
Set panels aside to dry completely.
Die Cutting
Once my panels were dry, I began die cutting. A large snowflake and my sentiment both fit on one A2 panel. I saved my other two panels for a future project.
For a die cut sentiment, cut three layers then glue the layers together. This will result in a more substantial greeting.
The top layer of my greeting die cut was cut from one of my shimmer powder panels. The bottom two layers were cut from white cardstock.
On a white, A2 sized card panel, cut a circle so the placement (and size of the circle) correlates to your snowflake die cut. I center justified my snowflake, toward the top of the card.
Use a piece of clear film (cut larger than die cut circle) to back the hole in your card panel. Securely adhere using Gina K Connect glue or double-sided tape.
Using foam tape, create a frame around the back of your card panel. Ensure no gaps are large enough for sequins or glitter to escape.
For my cards, I create a pocket for sequins to reside, in addition to the frame of foam tape.
Before adhering card panel to card base, lay a pile of sequins and/or glitter where the shaker window will reside.
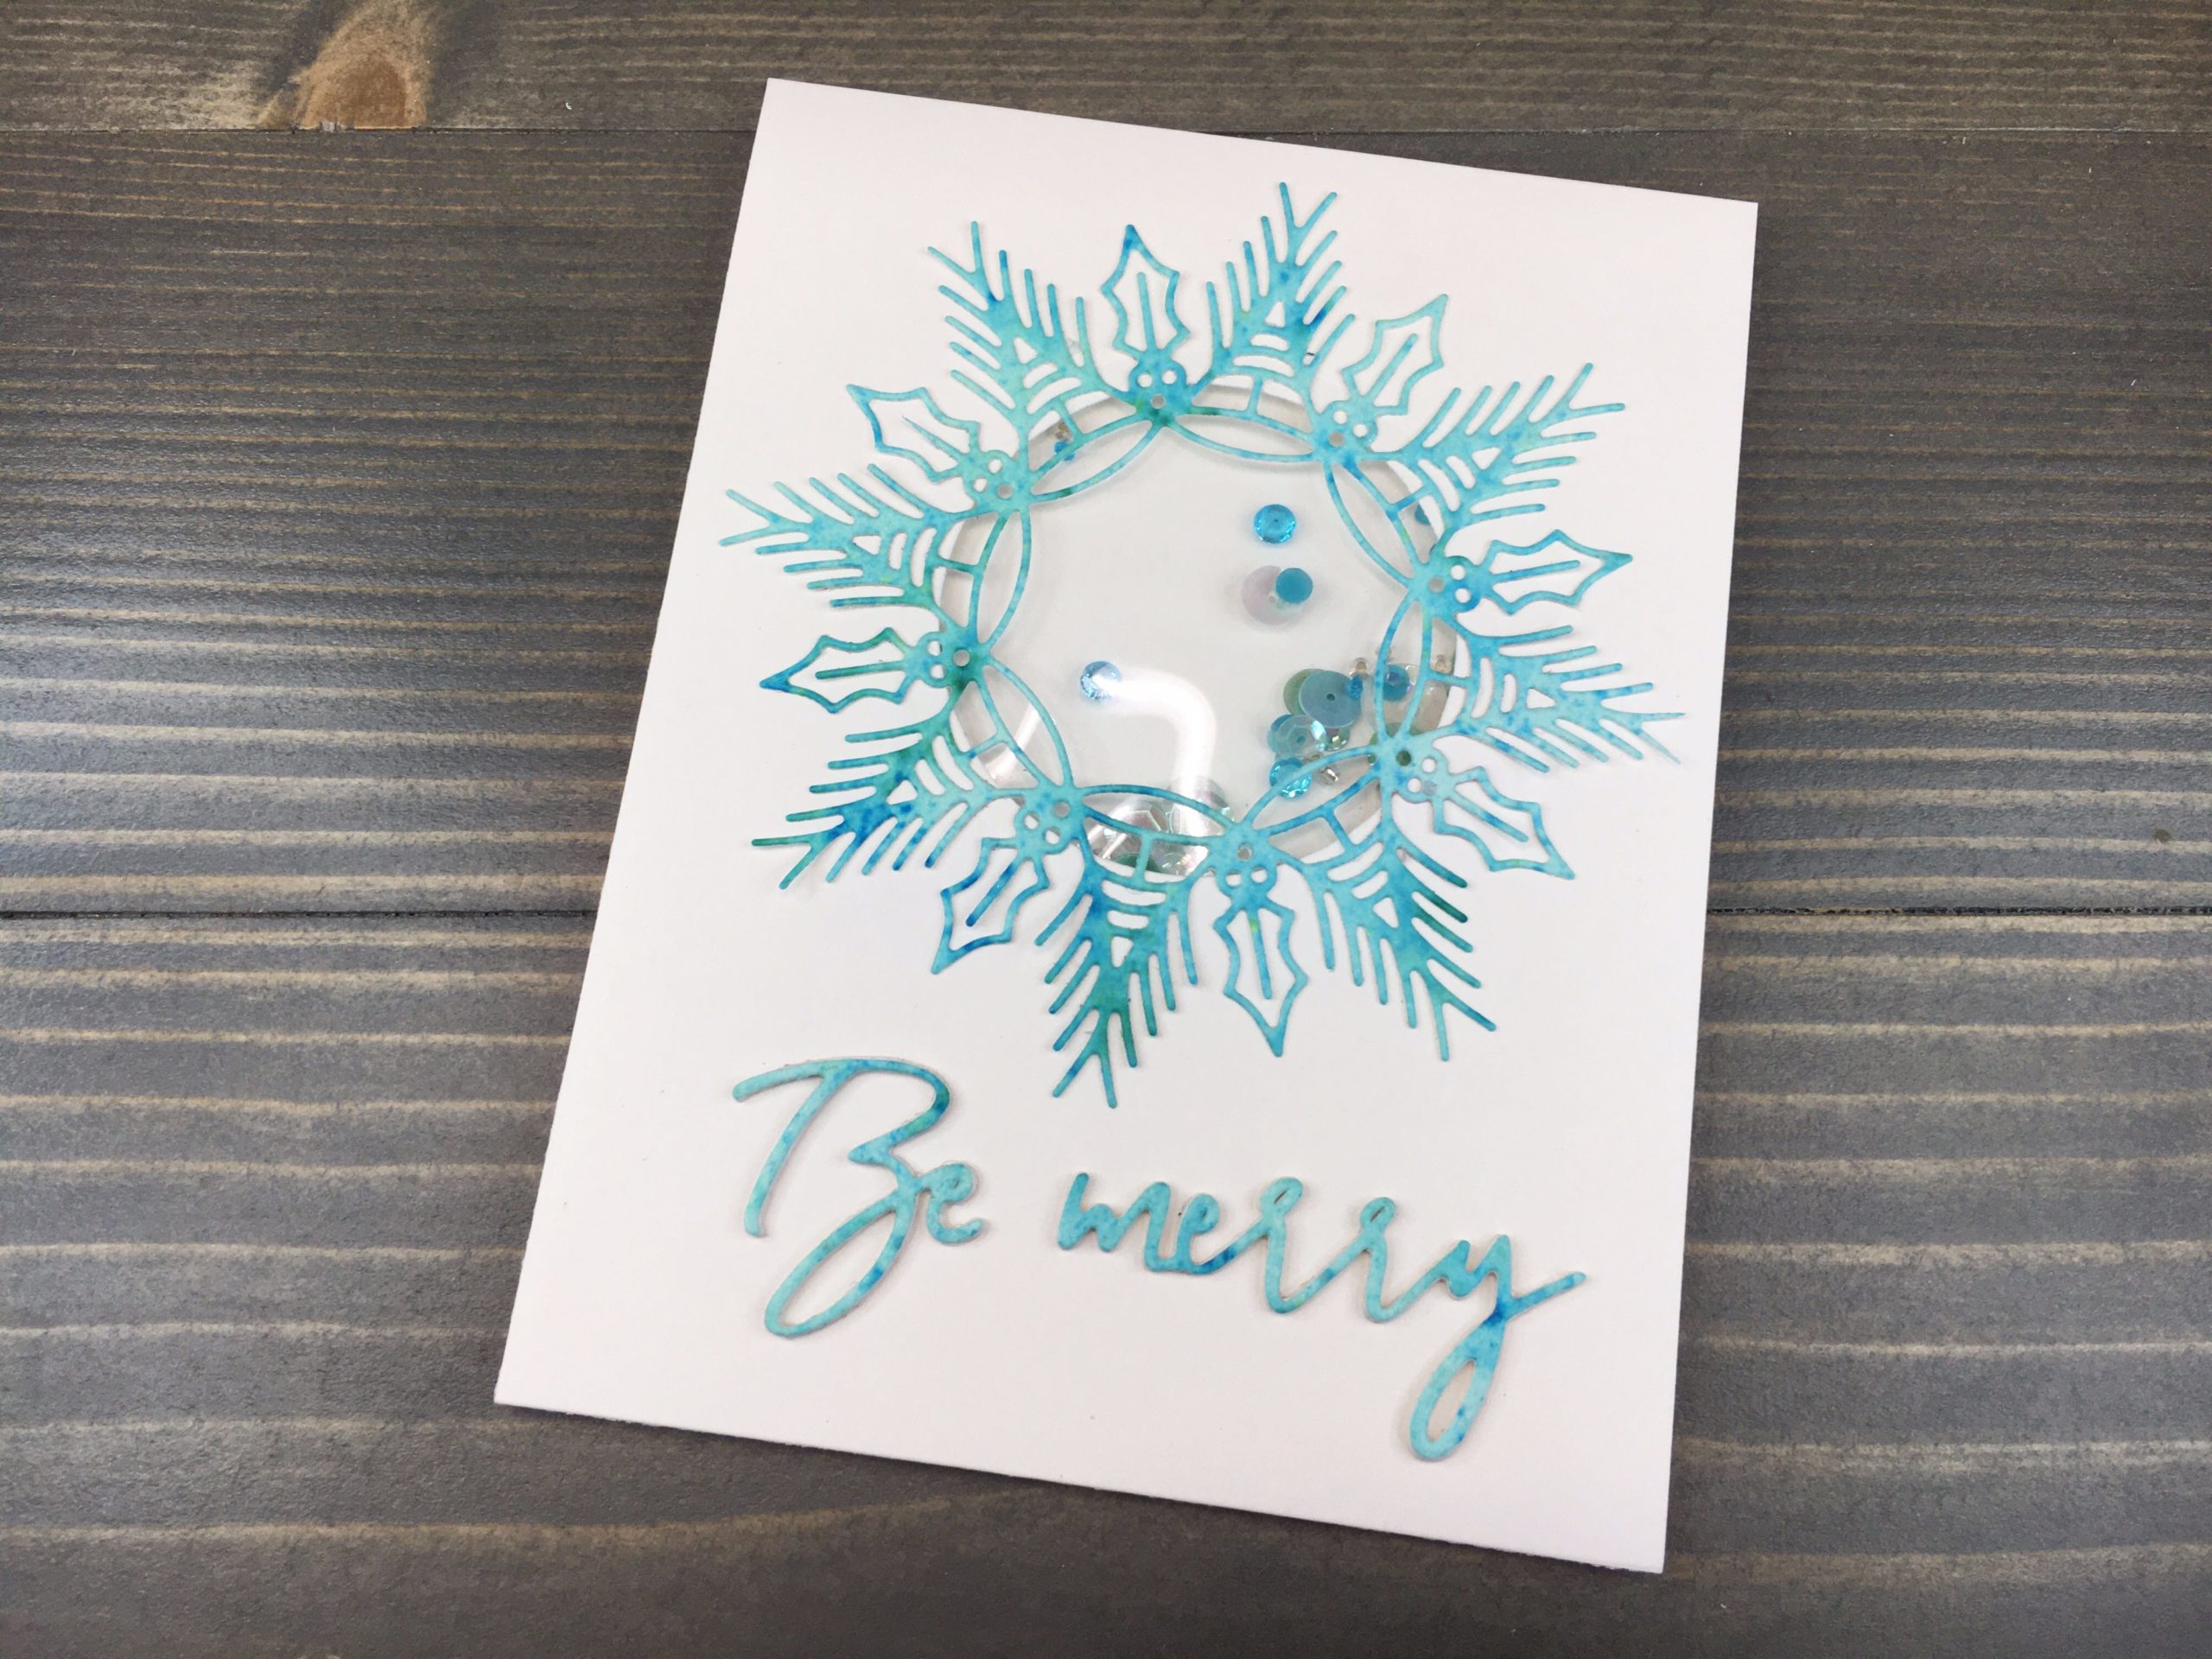
To finish card, use Gina K Connect glue to adhere snowflake atop shaker window and sentiment below.
I love the white space of this card. It allows the snowflake, sentiment and sequins to really pop. Beautiful elegance paired with sequin whimsy!