Using Distress Oxide inks, blend using circular motions until panel is to your liking. Take your time, and continually blend back and forth between colors to obtain an even blend between colors. Allow variations in color as well, especially between light and dark. I blend until I cannot see strong or harsh color changes – in other words, blend until it is hard to distinguish where one color ends and the next begins.
To add shimmer to my panel, I placed it in a box and sprayed it with Sheer Shimmer Craft Spray. The mist of this spray leaves a layer of fine silver particles that create a gentle sparkle.
I also lightly sprayed my panel using my Distress Sprayer as I like the oxidation when the ink reacts with it. Set panel aside to dry why die cutting.
Die Cutting
Die cut snowflakes. A great tip for intricate/delicate die cuts is to lay your die cut on a microfiber cloth and run a Spellbinders Tool In 1 across it. This helps pop all the small bits out, while protecting your die cut.
I also sprayed my snowflakes with the Sheer Shimmer Spray, using the same method as mentioned above.
Adding the Sentiments
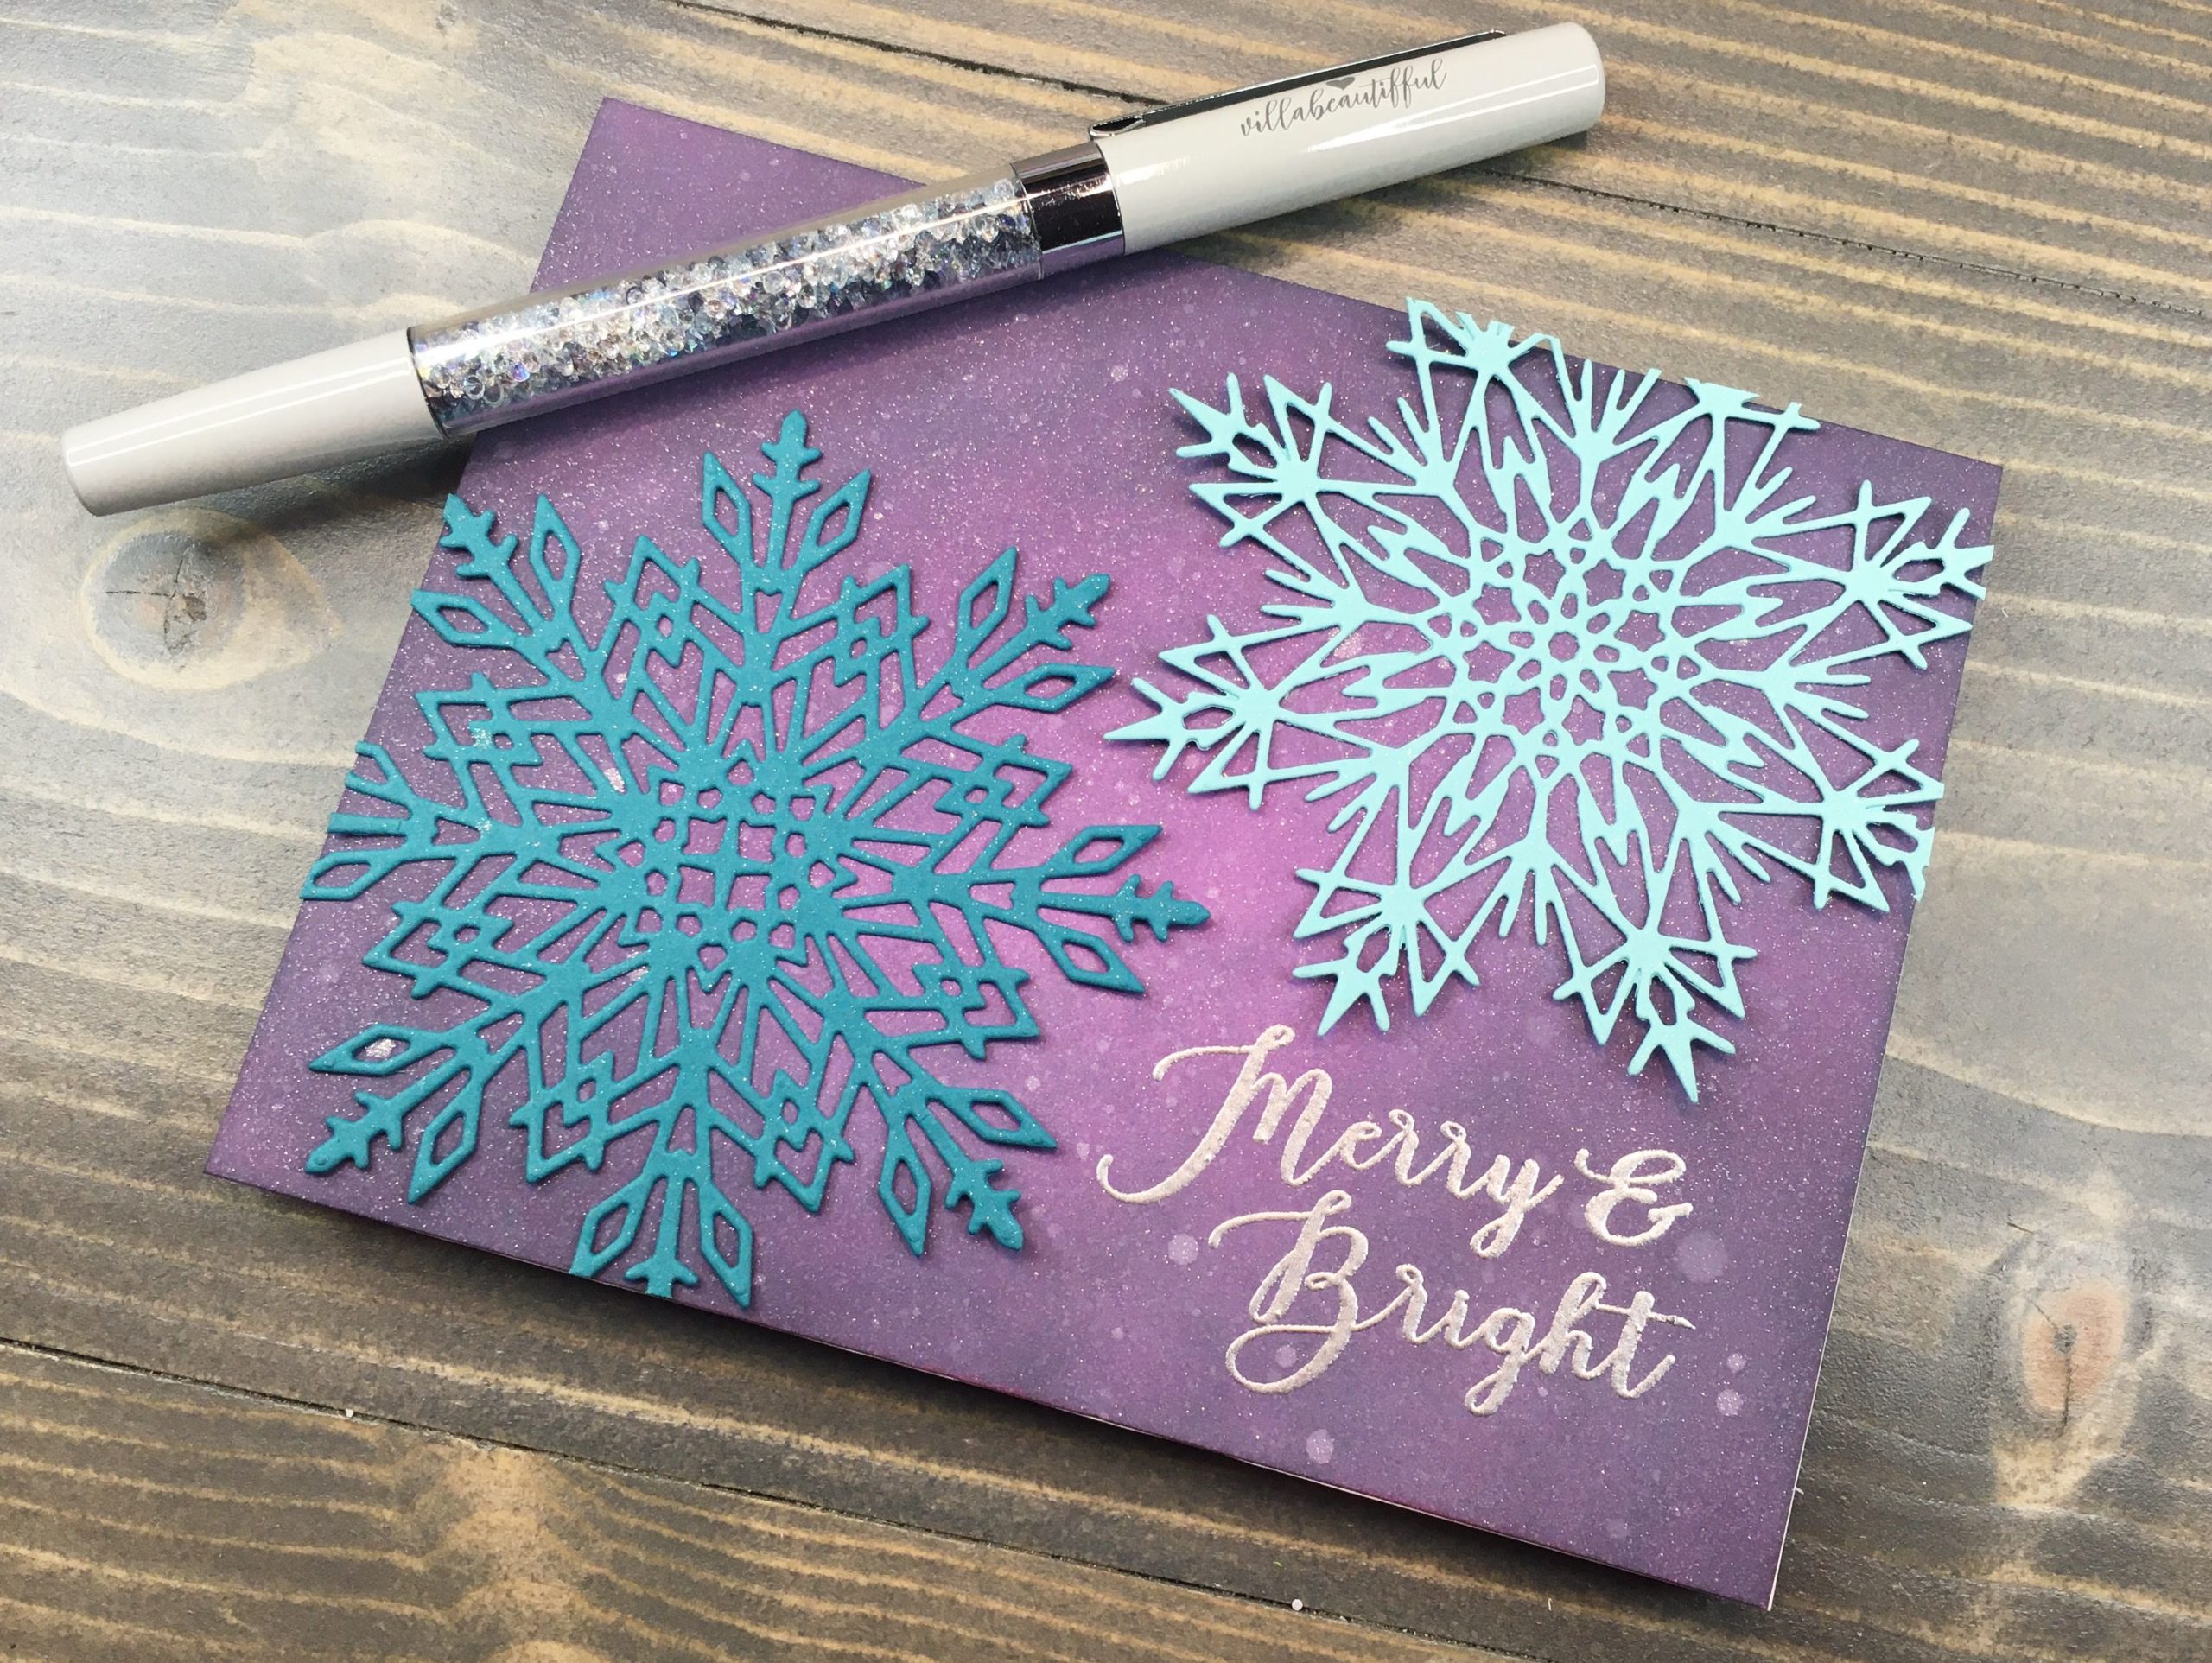
First, I oriented my snowflakes across my card and determined a location for my sentiment. Second, Stamping with VersaMark ink then heat embossing with Ranger Silver Embossing Powder matched perfectly with the silver sparkle. Third, stamping a second sentiment inside the card using Seedless Preserves tied in the purple ink.
After the embossing had cooled, I adhered the snowflakes using Gina K Connect Glue by only glueing the inner 2/3rds or so. Doing this allowed the snowflakes to arch off the card a bit, adding some dimension. I trimmed all snowflake overhang before adhering the card panel to the card base using double sided tape.
With that, the card was complete! Such a fun take using non-traditional colors for a holiday card. Come back again tomorrow for another original design to help inspire your own creative ideas!