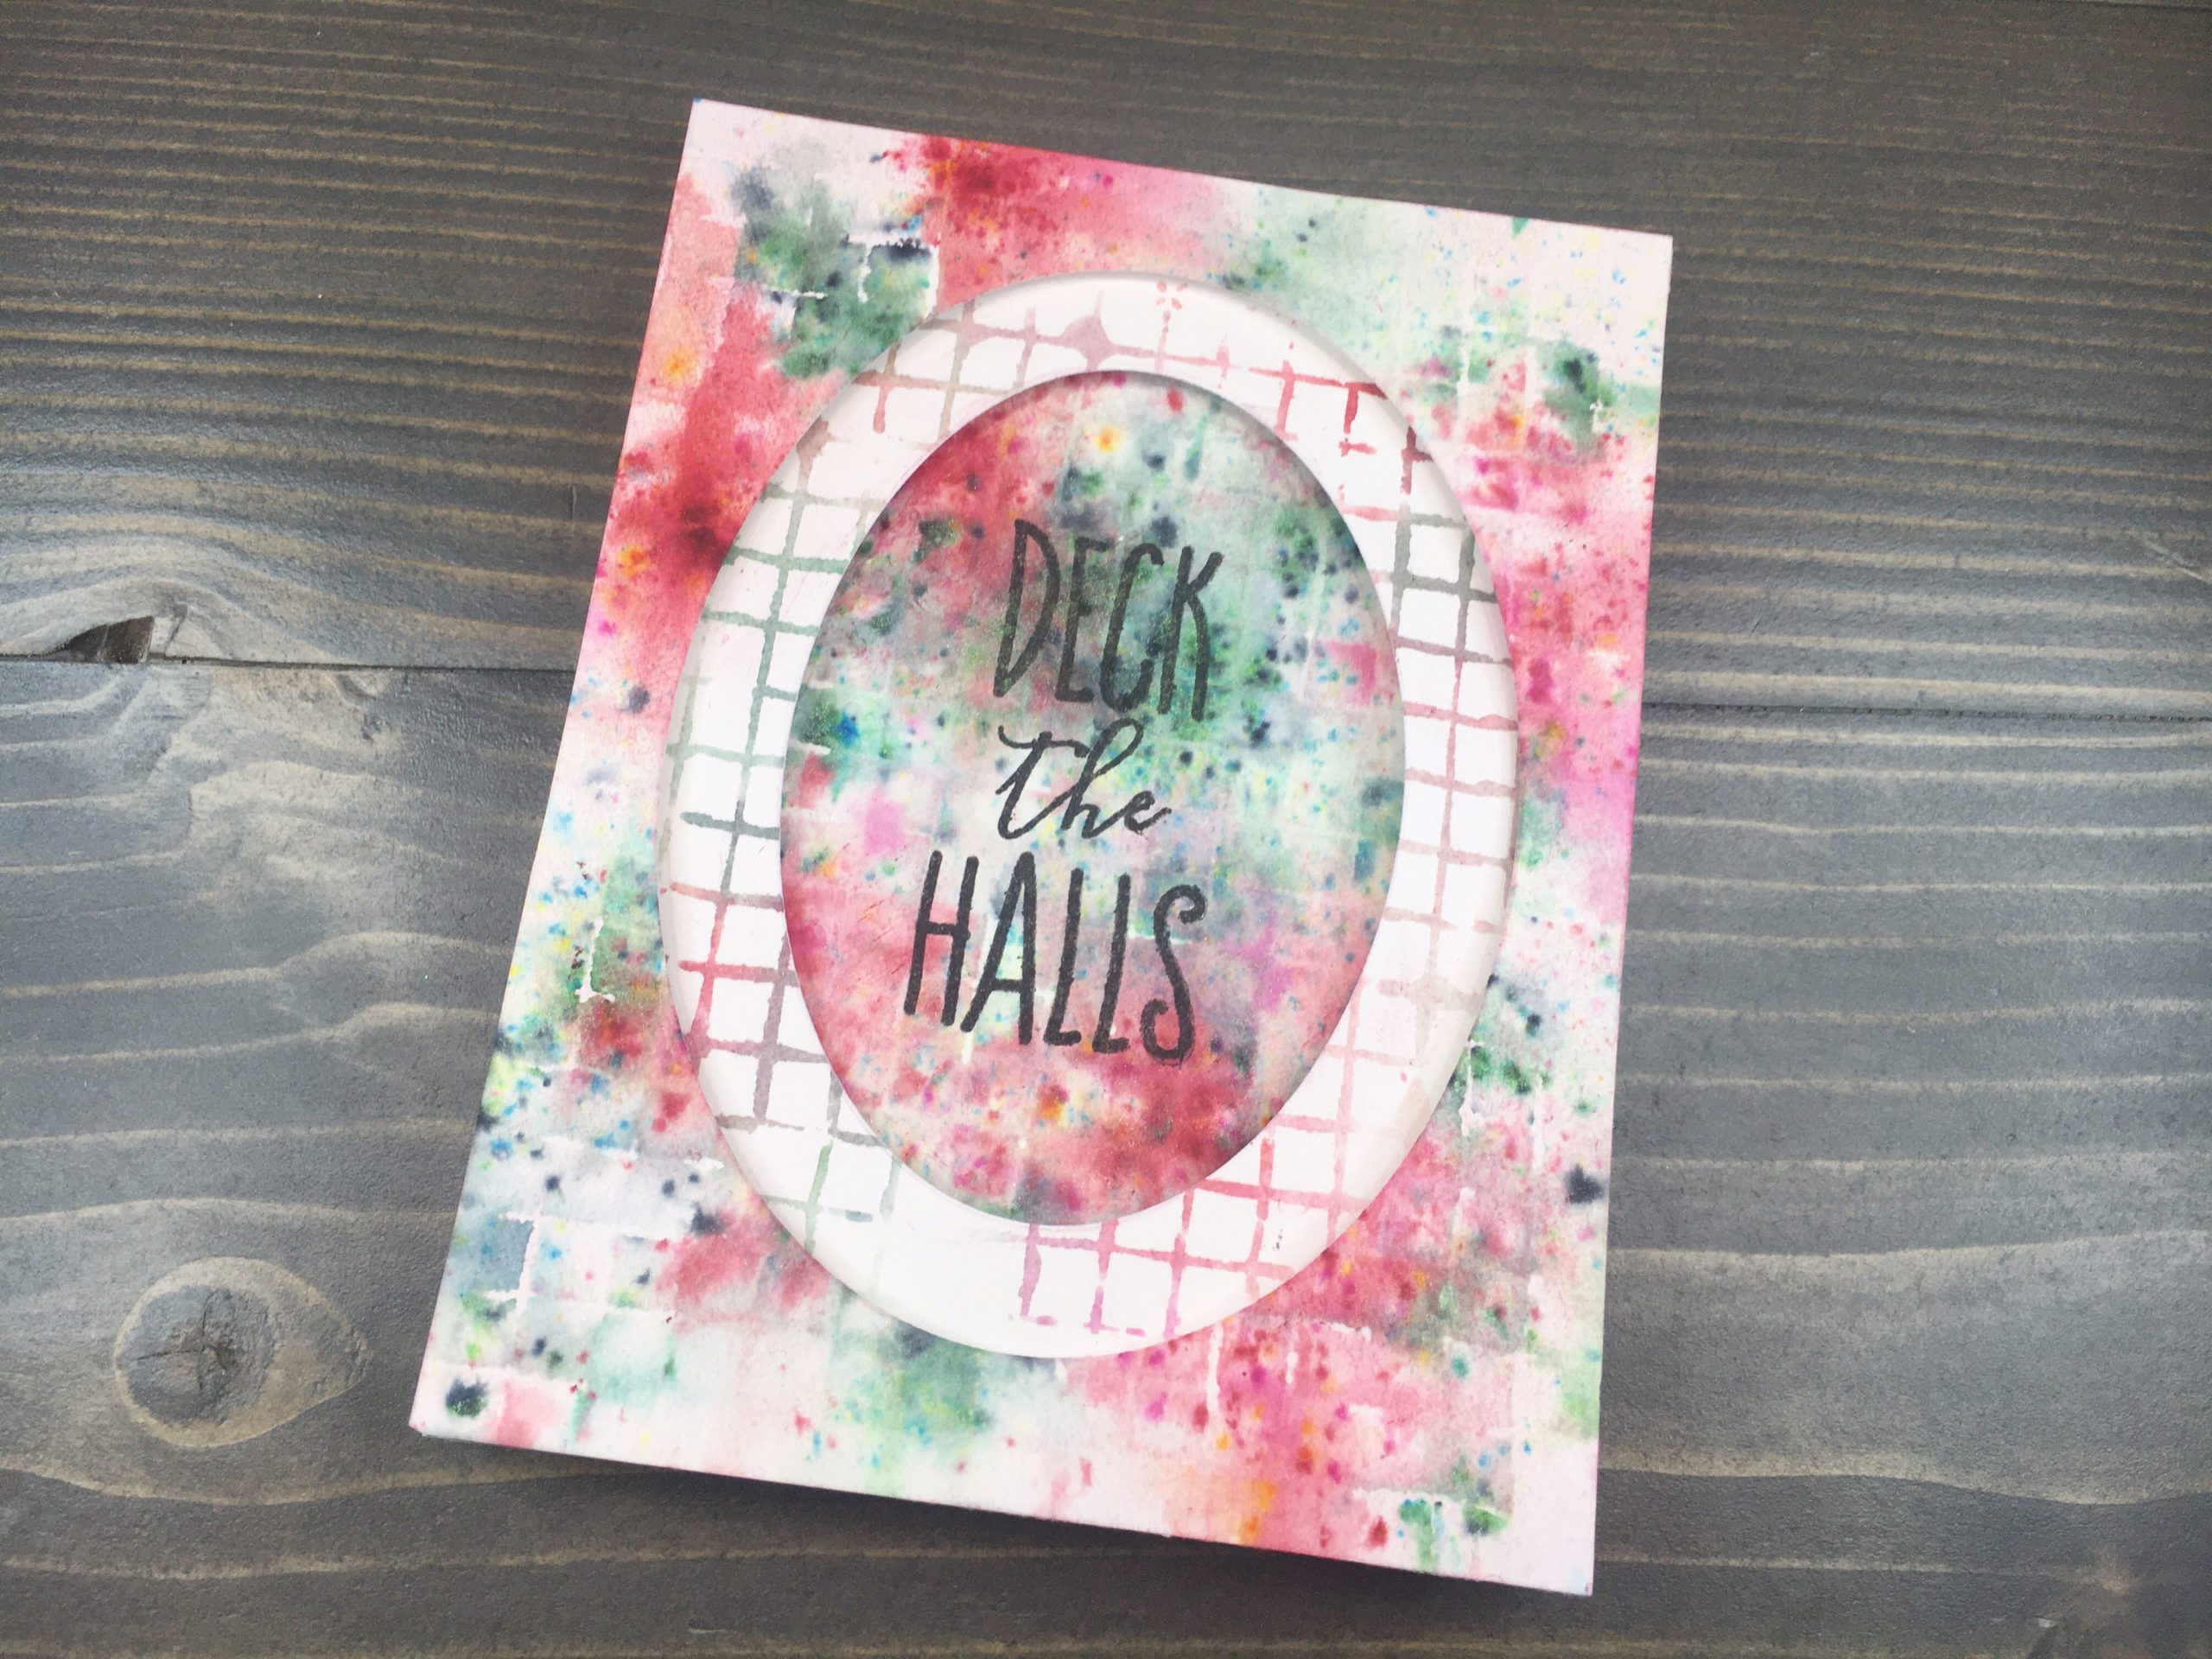
Todays’s card uses a fun (and easy!) technique that requires only a few supplies.
Supplies
Neenah Classic Crest Solar White Cardstock: 110lb for card base, 80lb for card panel
Nuvo Shimmer Powders in Green Parade and Catherine Wheel
Carta Bella 6×6 Stencil – Wire Basket
Wendy Vecchi Make Art Staytion
Tim Holtz Distress Sprayer filled with water
Sizzix Oval Dies & Die Cutting Machine
Craft Foam
Gina K Connect Glue
Concord & 9th O Christmas Tree stamp set & Misti Stamping Tool
Hero Arts Intense Black ink
Card Panel
To start, layer a stencil atop an A2 card panel. There is no need to tape your card panel to the stencil. That being said, I used magnets to hold my stencil in place when using the Make Art Staytion. This technique is meant to be a bit messy, so it’s perfectly fine for the stencil to move a bit.
Note – choose a stencil with quite a bit of open space for the best effect.
Next, Lightly tap Nuvo Shimmer Powder across the panel. Lightly spritz with water to activate the powder. Add powder and water until you like the coverage.
Gently remove the stencil, but do not clean it yet! Grab another card panel and place the stencil above it. Layer the stack with another card panel and press the card panel/stencil sandwich to fully transfer the remaining water and shimmer powder to the new card panels.
Finally, Let all three panels dry and clean your stencil.
Die Cutting
Start by selecting two card panels and save the third for a future project. Center a die on each panel, selecting sizes that will showcase your panels. In other words, select dies that when layered, will show enough of each patterned card panel.
Die cut your panels.

Trim two pieces of craft foam to approximately 5 1/4” x 4”. Layer a piece of craft foam under each card panel and make a few markings where your die cut area is. Select a die that is just larger than your panel’s die cut area. Use the markings to help you place your die on the foam.
Die cut your craft foam.
Assembling
Begin by adhering your craft foam to it’s corresponding card panel. Next, adhere your card panels, the larger die cut on top. Finish the layering by adhering the center panel, which was cut from the top card panel, to the bottom of the stack.
I stamped my sentiment after adhering all my layers, but you my elect to do so before gluing the final panel on.


Final step is to adhere the stack to an A2 card base.
I love the variations in the card panels – yet still being able to see the continuous design flow across both. The shine from using the shimmer powder adds great dimension to the already layered card. A fun card to make, and visually interesting for your recipient!


